
The Moon is undoubtedly the easiest celestial object to photograph owing to its brightness and huge angular size.
In the early days of plate camera photography, it took decades for decent photographs of the Moon to be achieved. Early lunar imaging was comparable in difficulty to deep-sky astrophotography due to the low sensitivity of daguerreotype and collodion cameras, which required exposures of at least several minutes. It wasn’t until the 1870s that decent results were achieved.
Today, you can hold your smartphone up to the eyepiece of any telescope and take photos that would have blown away someone back then.

Cameras for Lunar Photography
Imaging the Moon can be done quite well with three types of cameras:
- Your smartphone
- A DSLR/mirrorless camera
- A CCD/CMOS video camera
All have advantages and disadvantages, as well as requiring different hardware to attach to the telescope.
I recommend at least trying smartphone photography before getting into other types of cameras, since odds are that you already have a decent smartphone camera and suitable eyepieces for your telescope.
- Imaging with Smartphone Camera
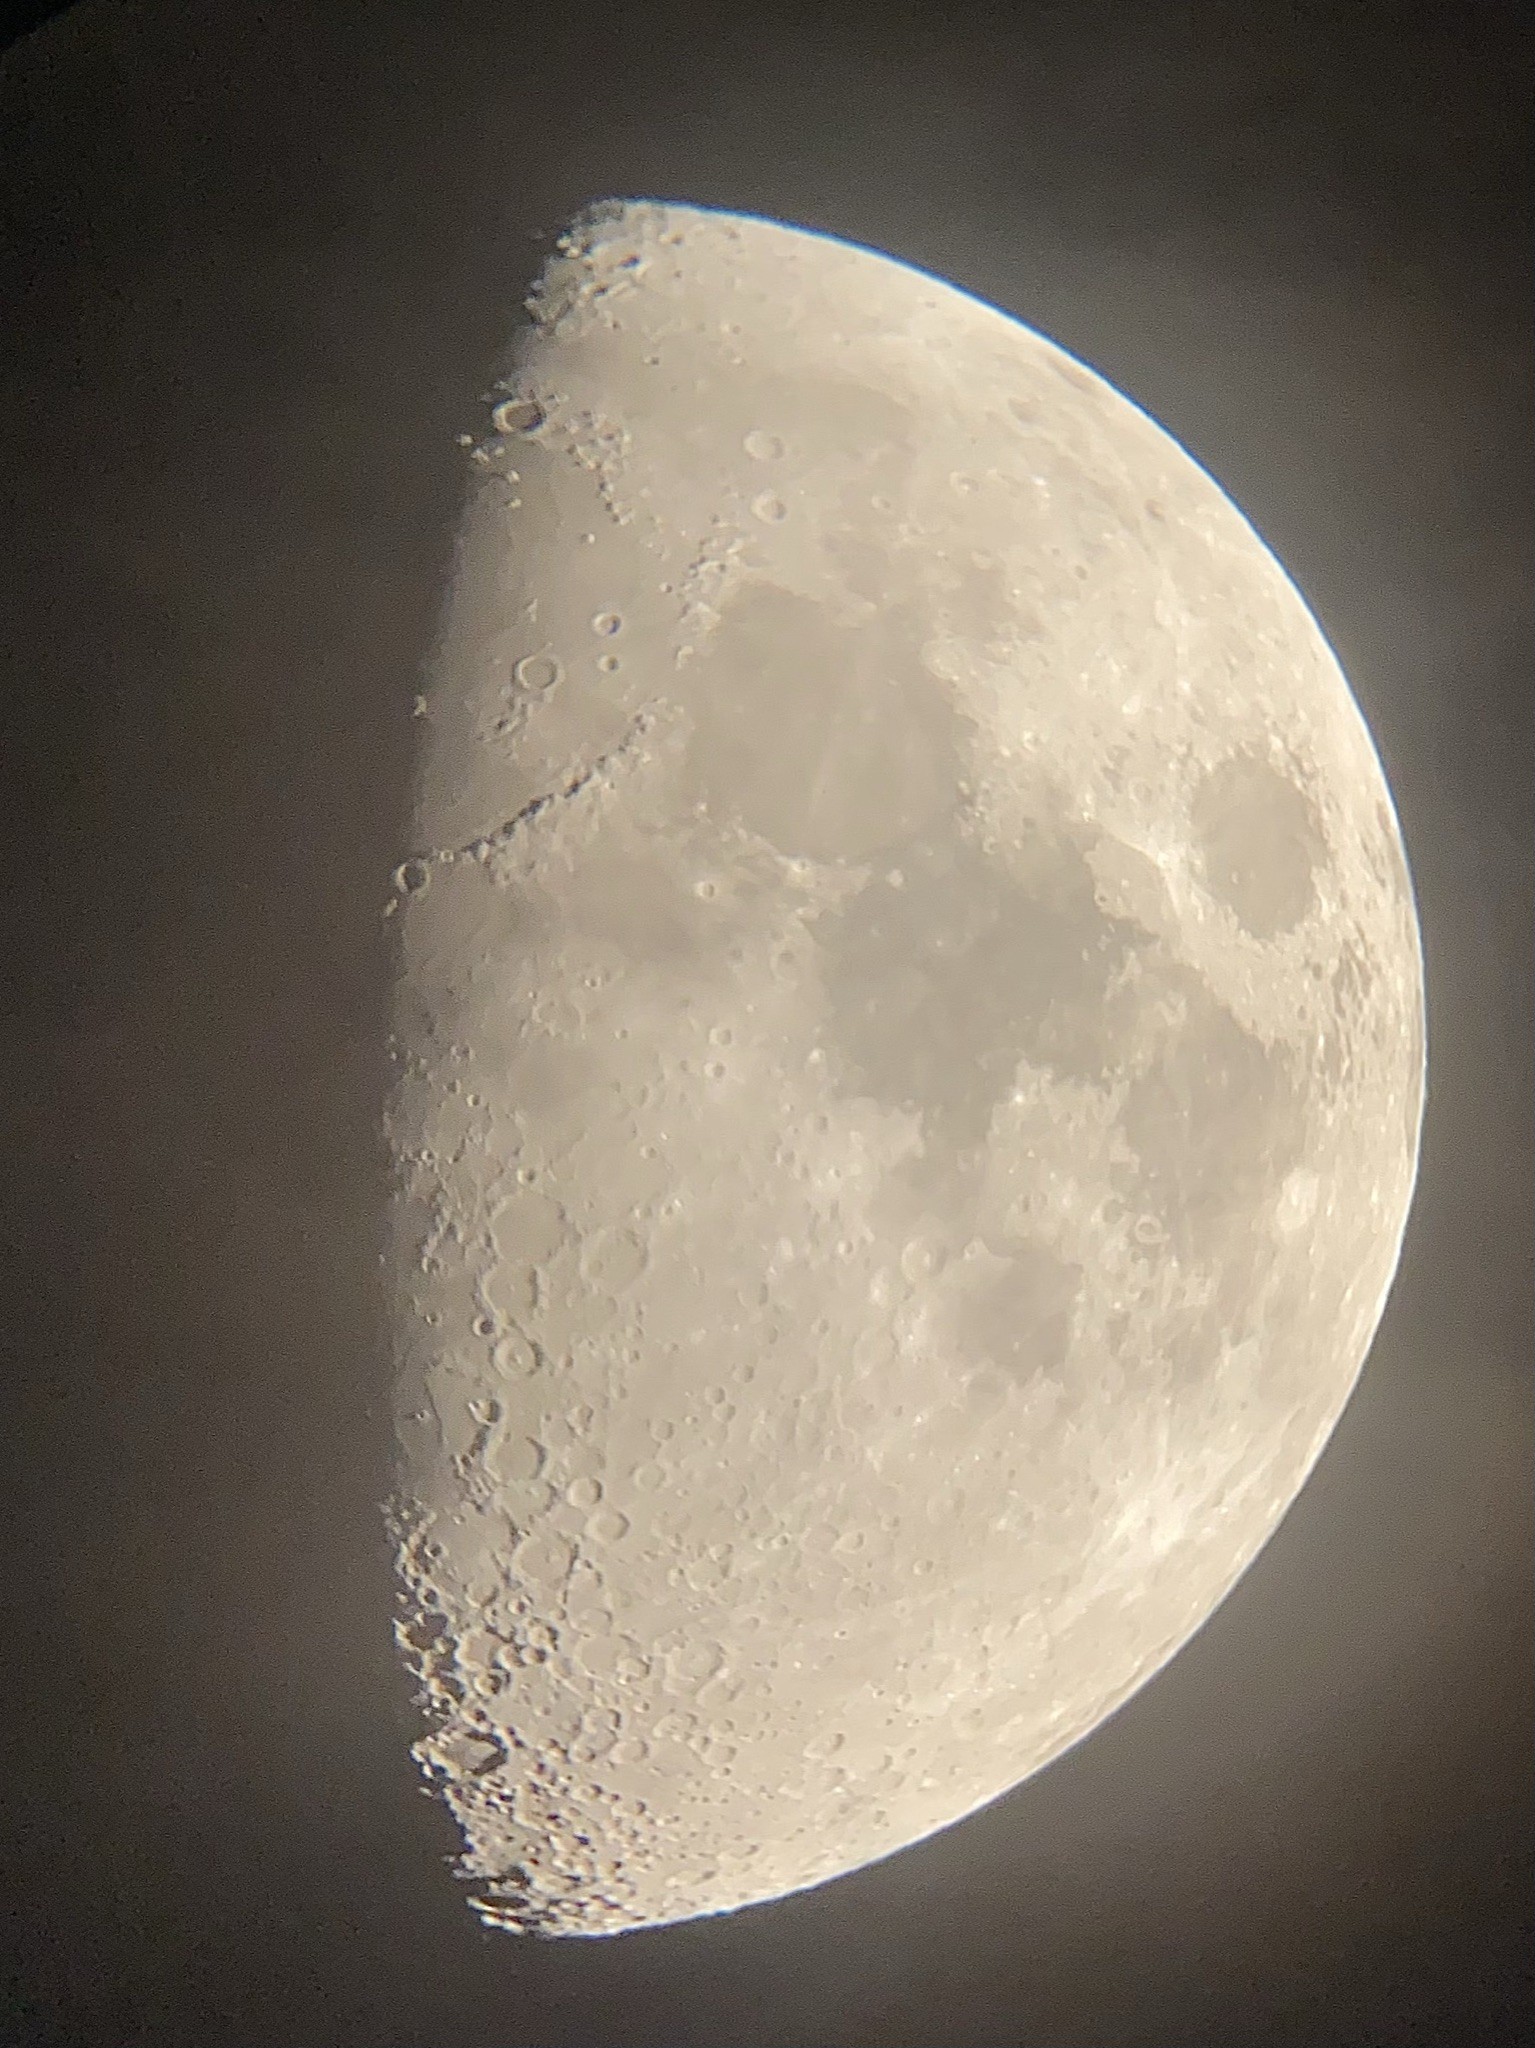
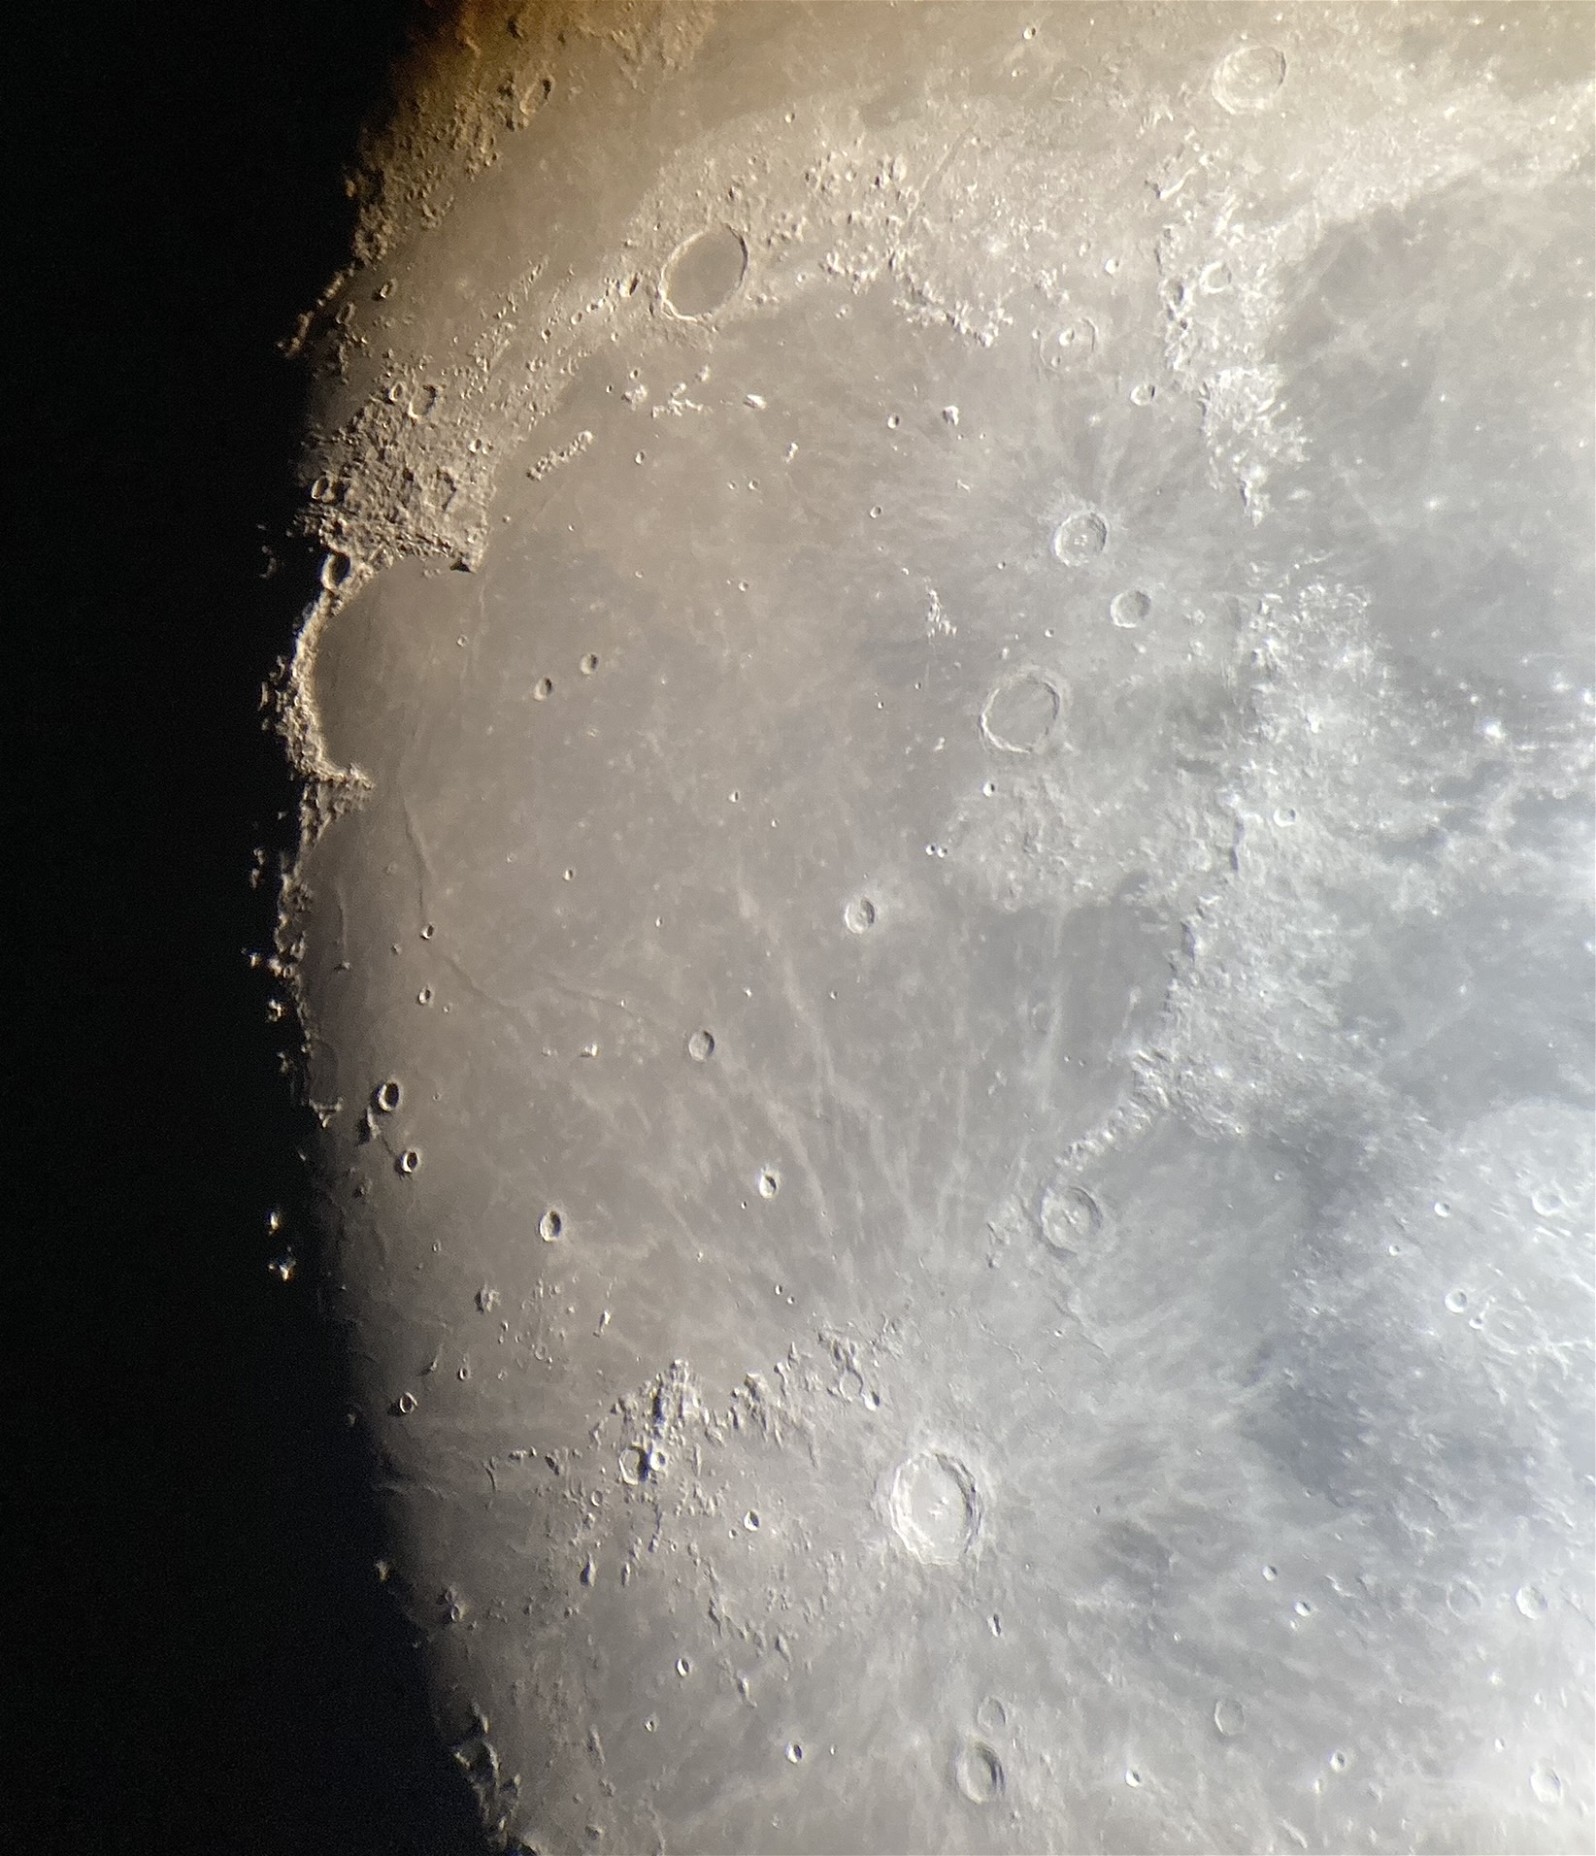
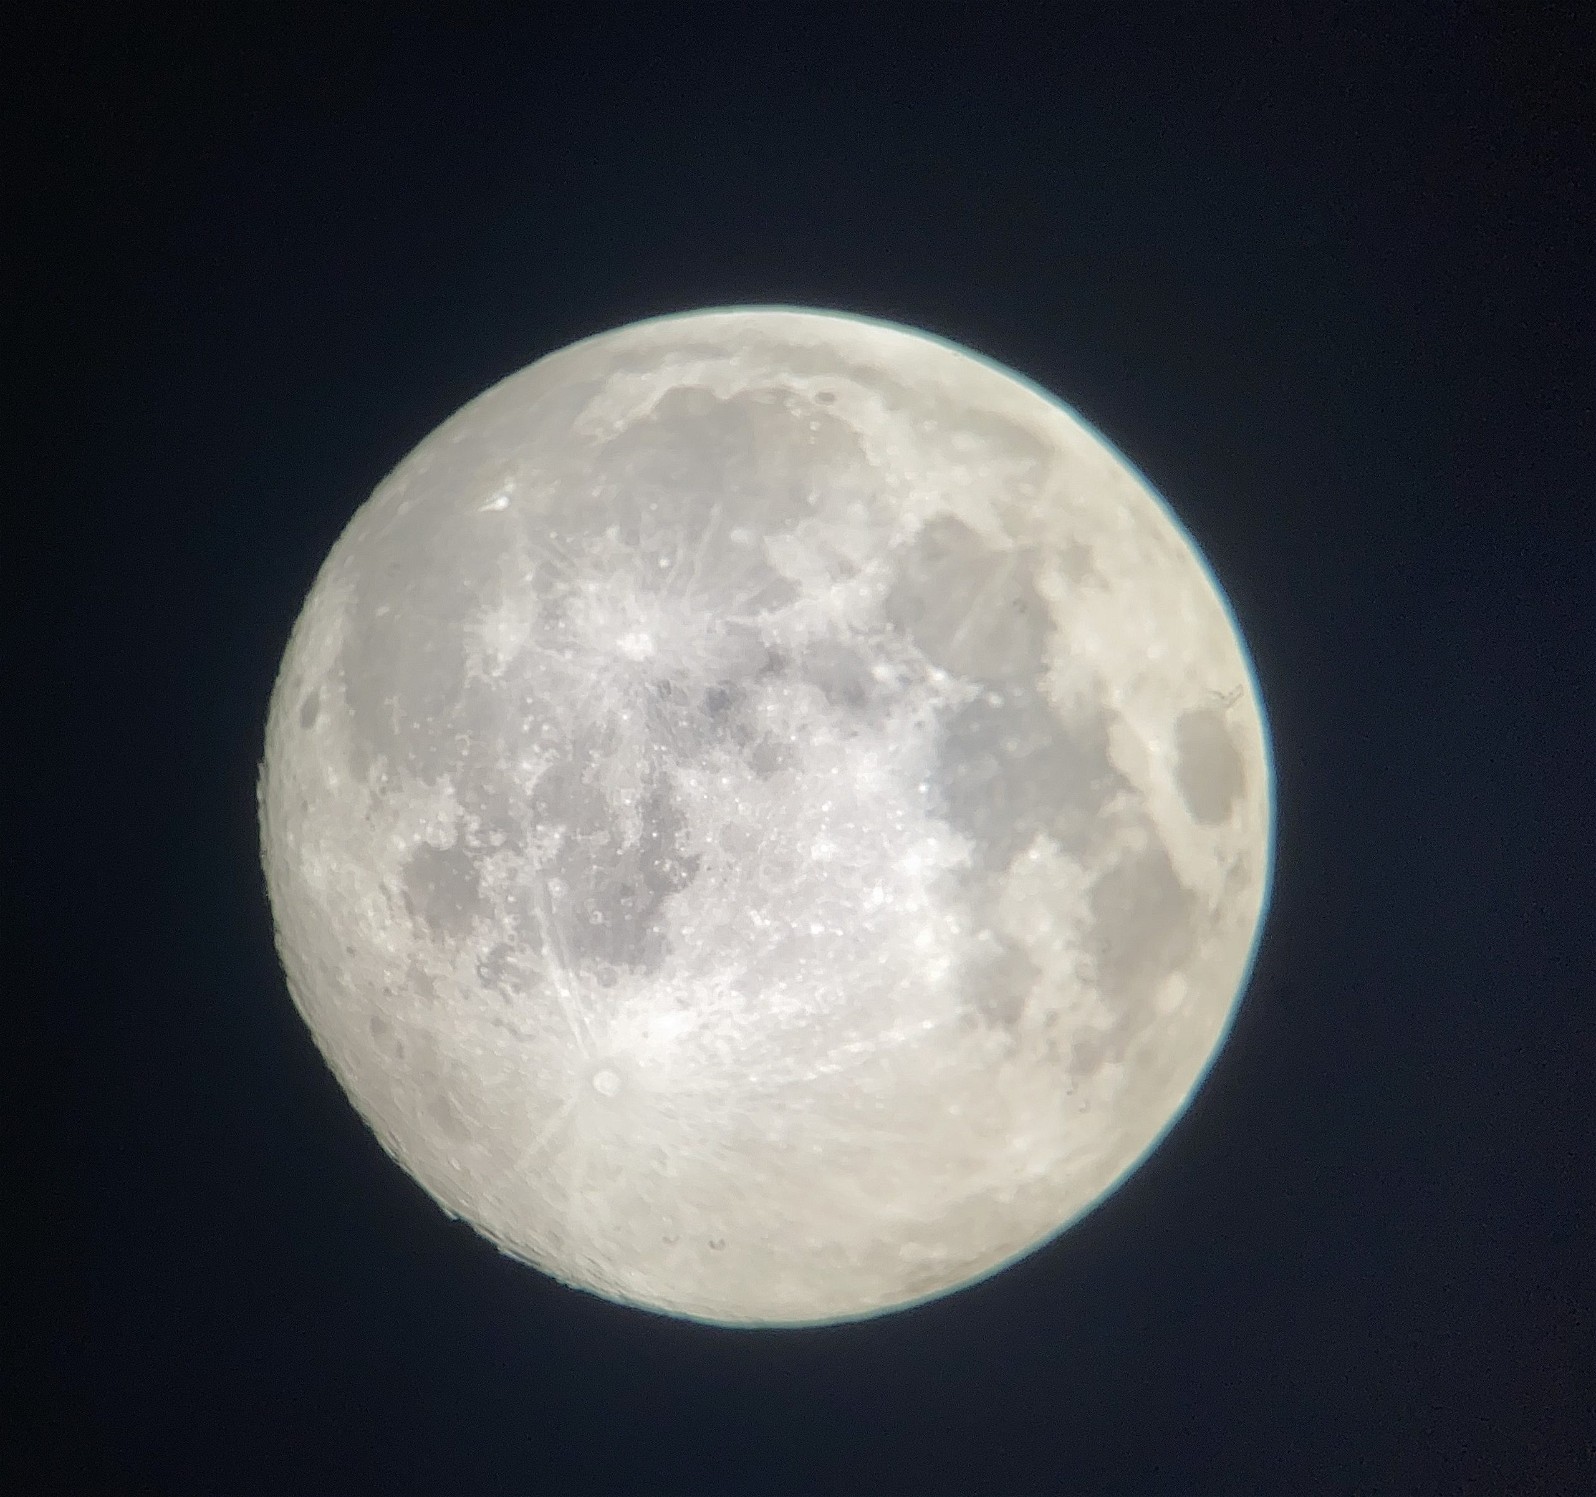
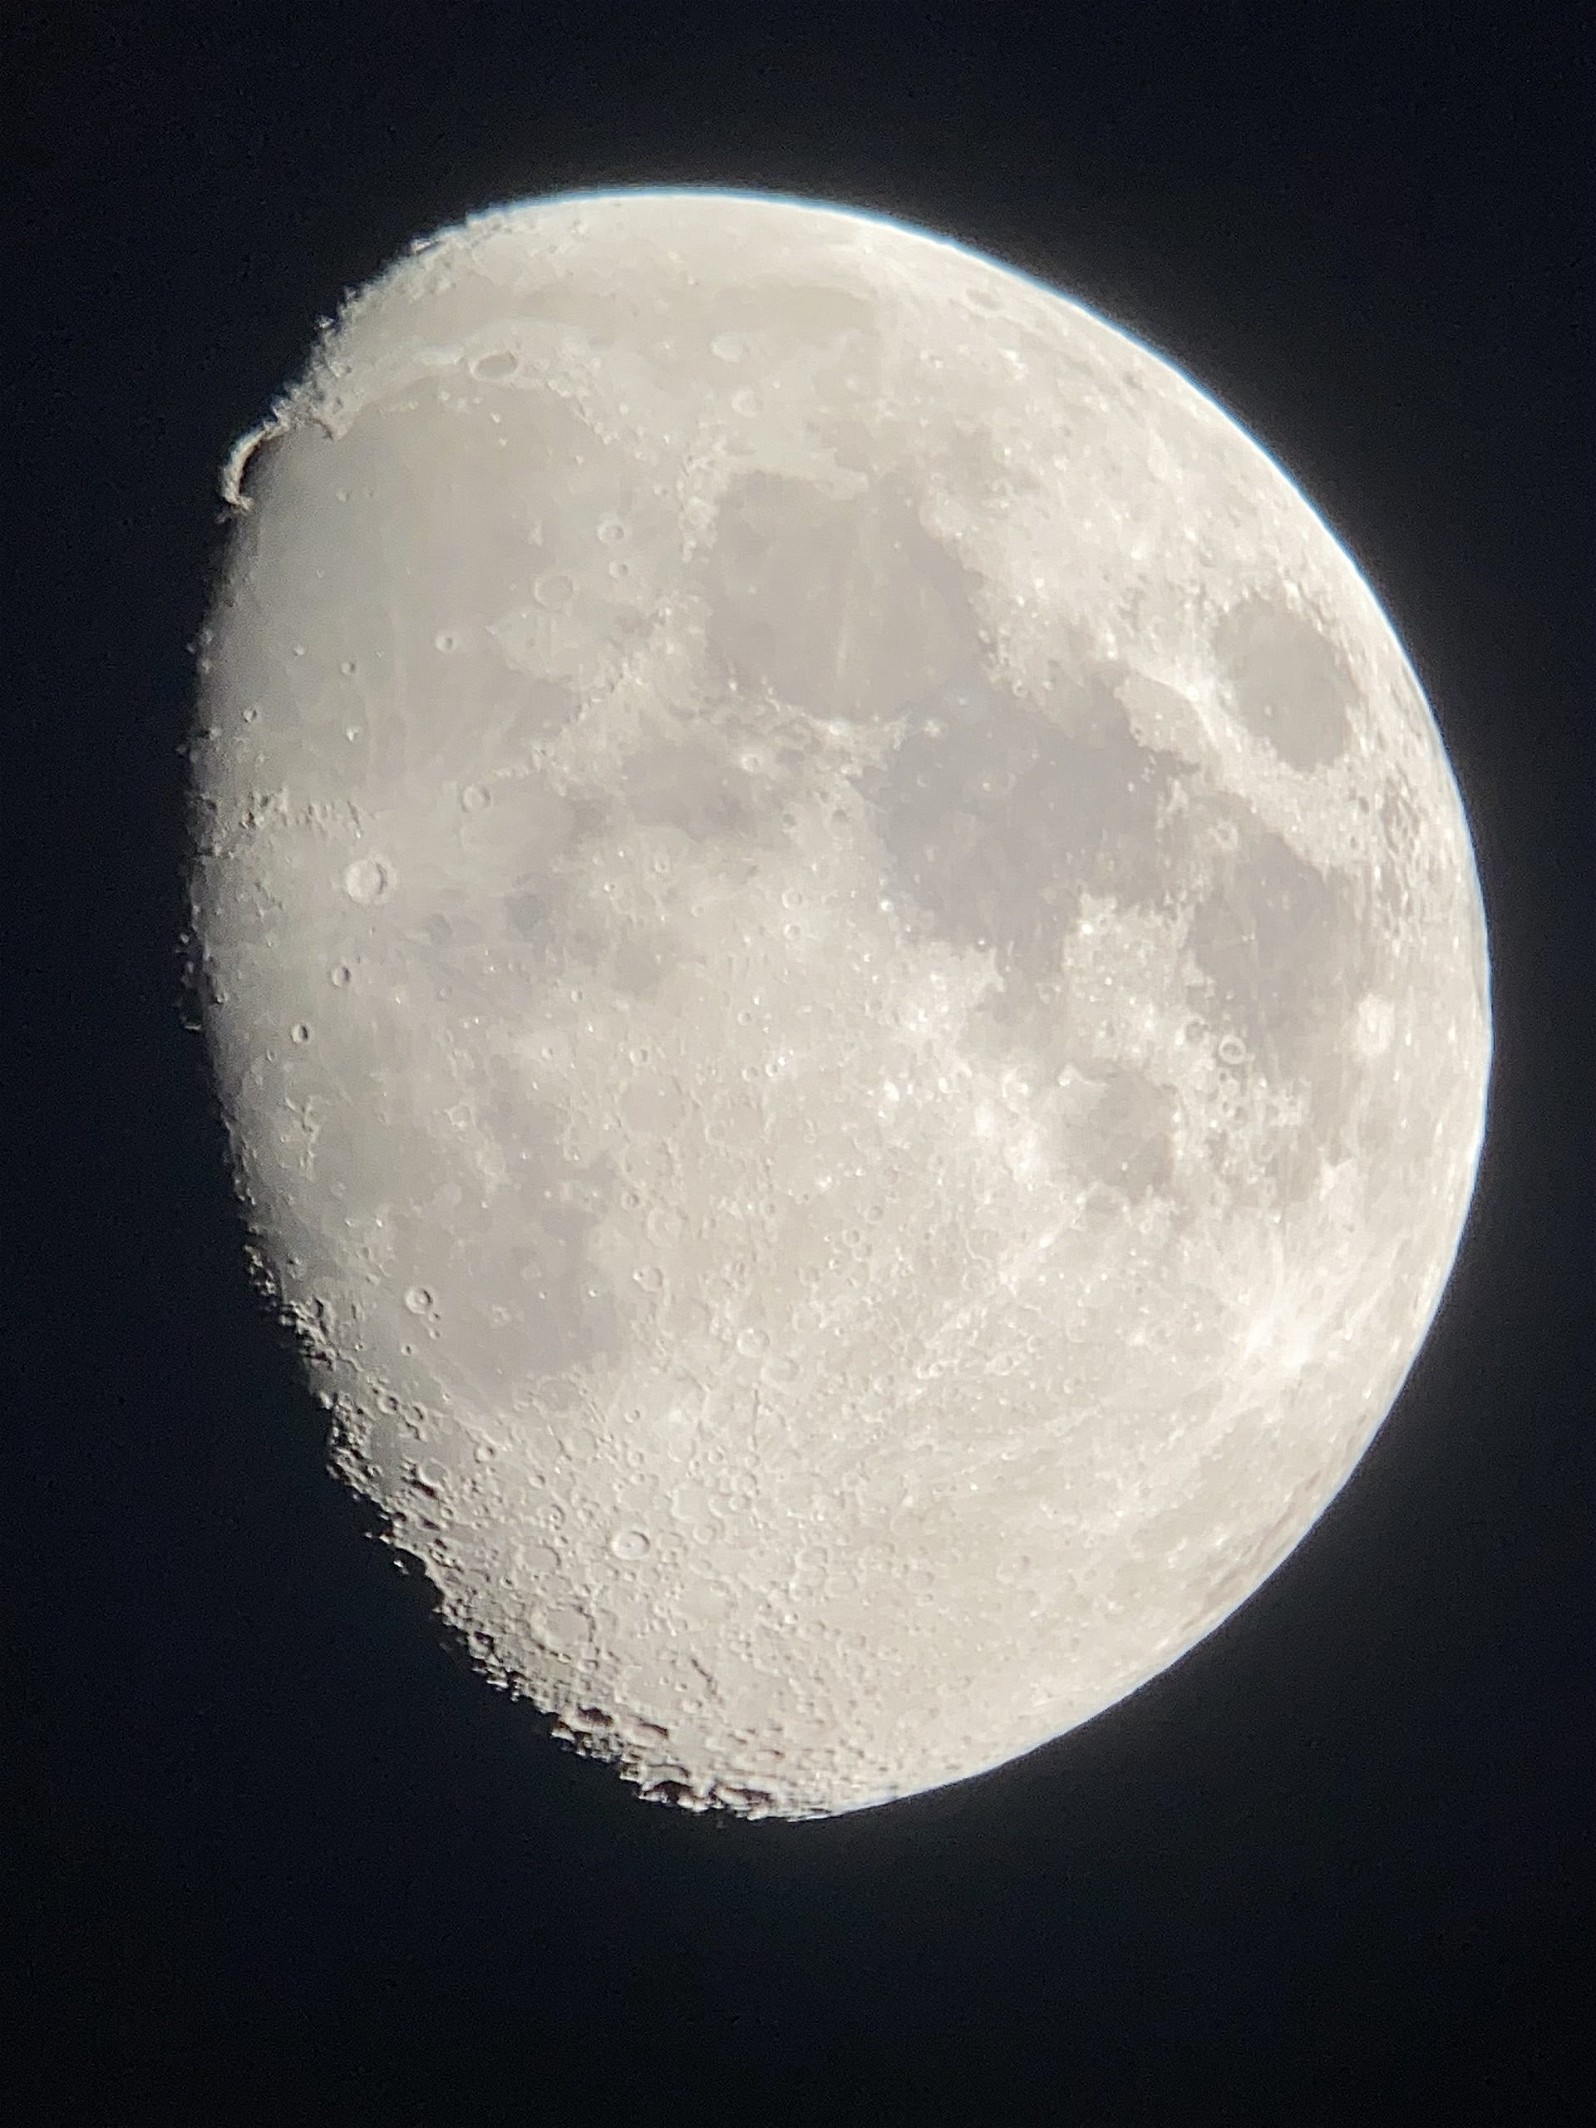
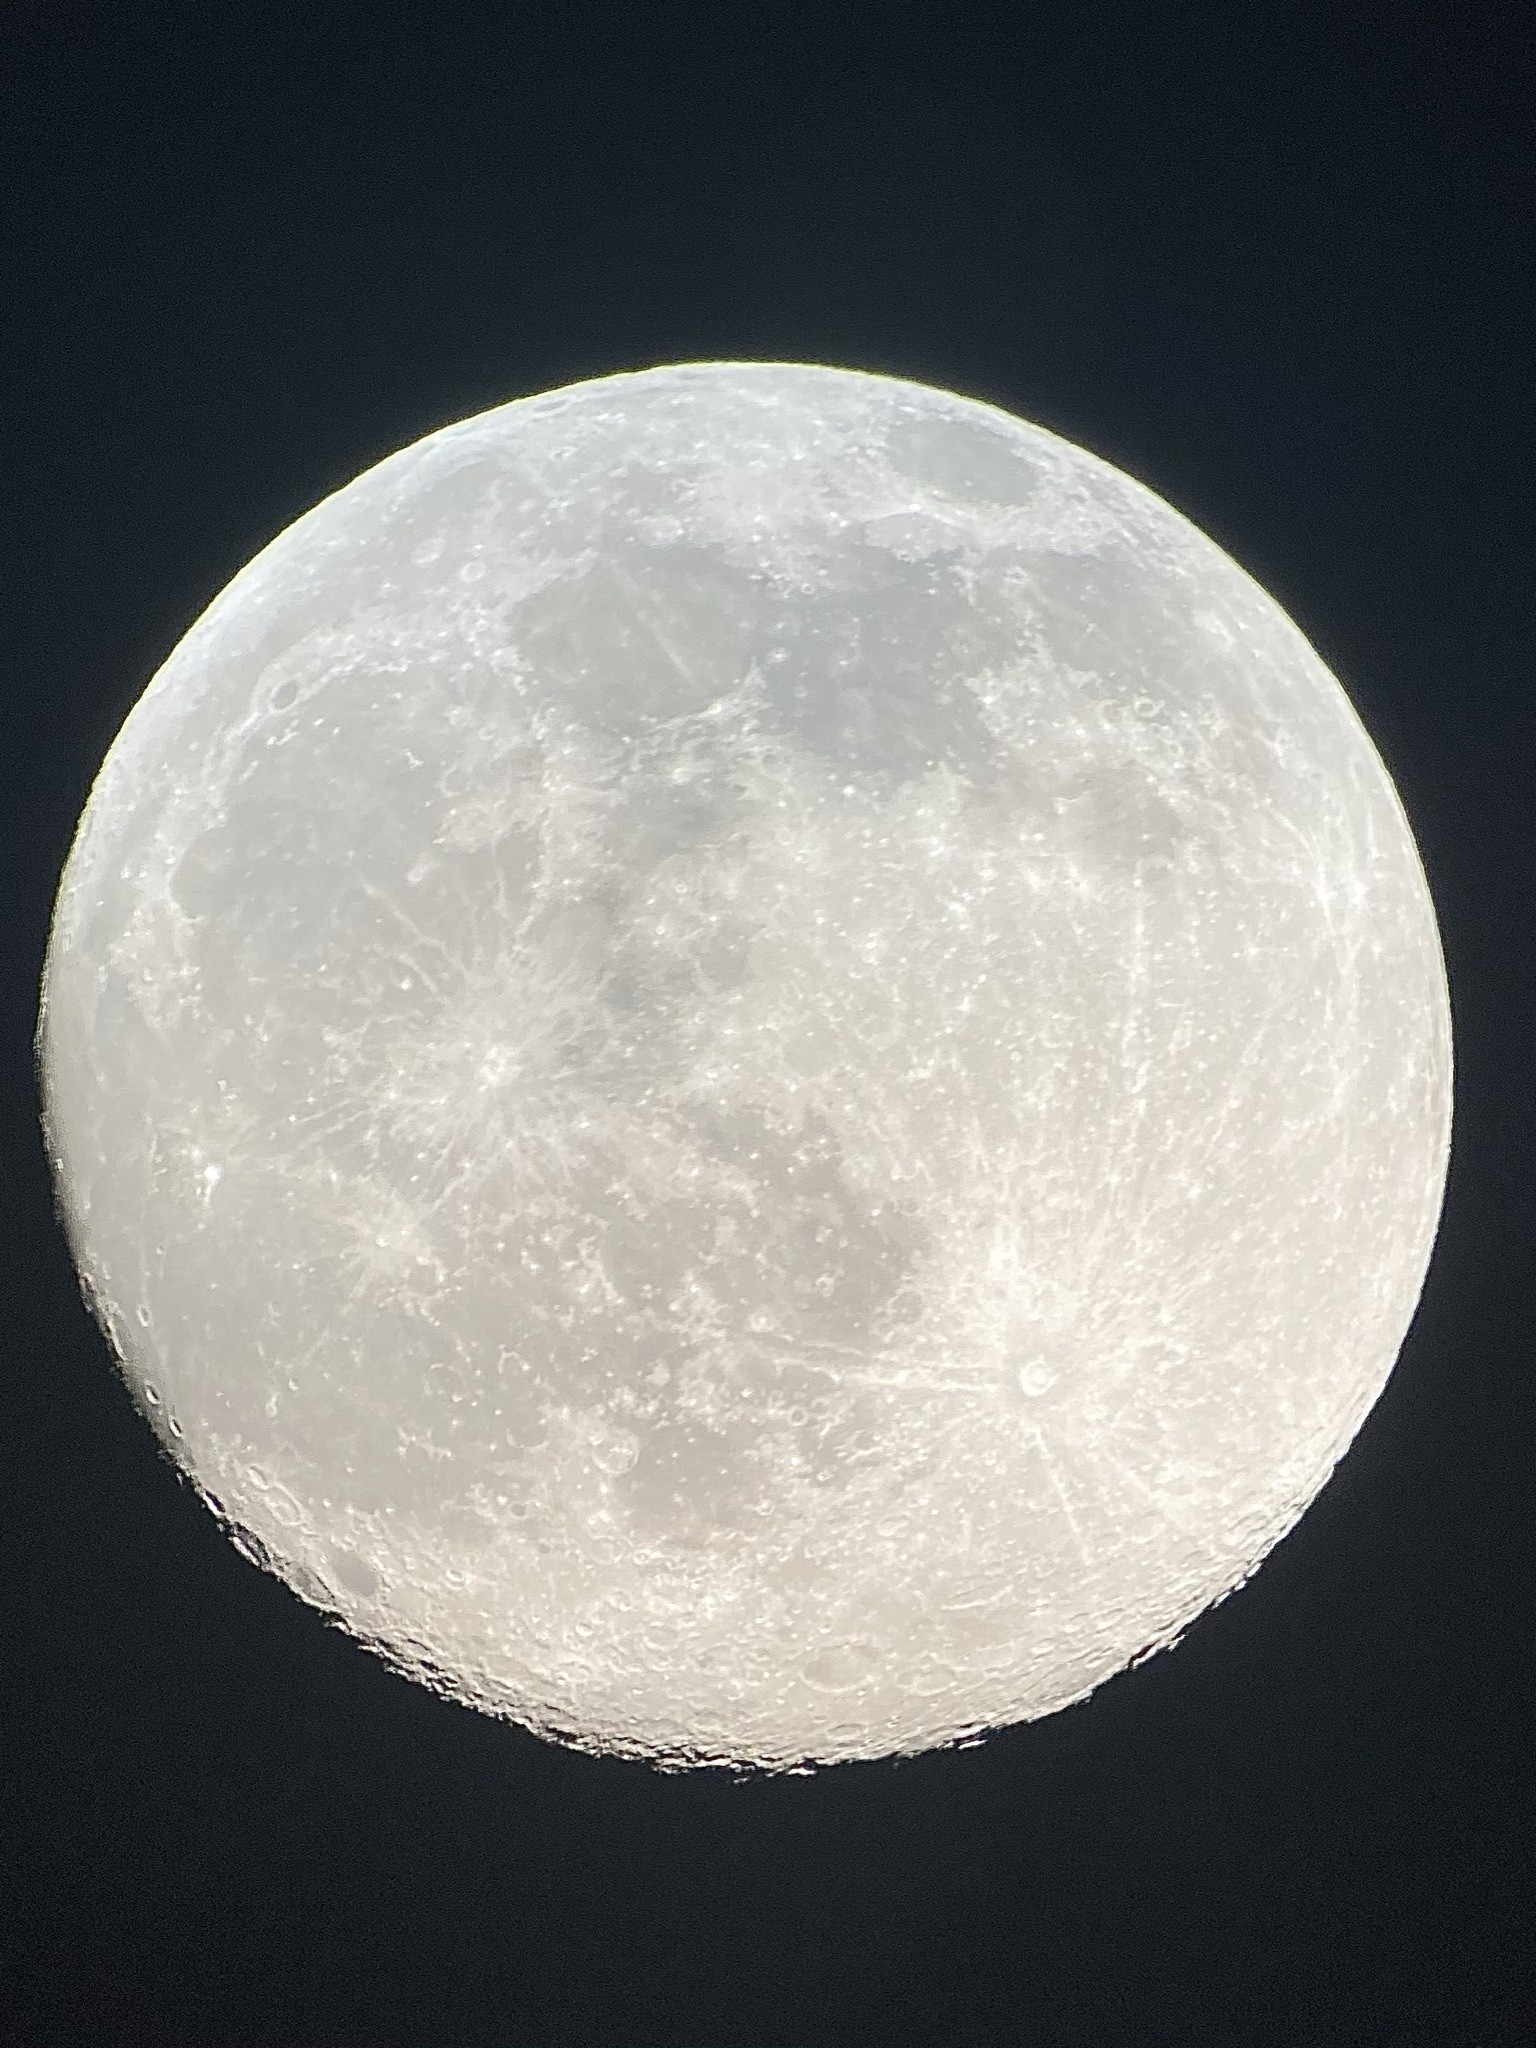
Smartphone lunar photography is undoubtedly the easiest method. I can get decent single shots with my phone held up to the eyepiece.
Getting an adapter like the Celestron NeXYZ adapter can help you get better pictures. It will let you carefully center your phone on an eyepiece for less aberrations and vignetting, and it will usually let you use a higher magnification than you could with a hand-held smartphone camera.
A remote shutter release further improves the situation.
In most cases, I’ve found that the best images are taken with an eyepiece providing an exit pupil of around 1-2mm, or 12–25x magnification per inch of telescope aperture. Smaller and I start getting vignetting; larger and I may get more of the Moon at once or have an easier time centering things, but I lose resolution.
It’s even possible to take video and stack it like we would with a planetary camera, though the decrease in resolution of video mode with some phone cameras may ruin any advantage in doing so.
Taking burst shots and then stacking them like video frames is sort of a middle ground I’ve found between single shots and video. It tends to be the best way to get sharp images with your smartphone if you are willing to put in the effort.
Besides the inconveniences of extracting the files from your phone (particularly if you are using an iPhone, where it is extremely difficult to transfer the images/video over a physical USB connection), the biggest issue of smartphone photography is that the number of optics involved needlessly degrades the image. Our eyepiece adds aberrations of its own, as does the lens of our phone camera. This, combined with the limited frame rate and resolution compared to a dedicated planetary camera, means that smartphone photography is not nearly as capable as a true planetary camera. However, we can still get great results with remarkably little equipment, time, or effort.
- Imaging with DSLR/Mirrorless Camera
DSLR and mirrorless cameras used to outclass smartphones for lunar and planetary imaging, especially since it allow us to put the camera directly in prime focus. This is a relatively simple affair—though most cameras require us to use a Barlow lens to get the image to focus, which also improves the image scale anyway.
However, the large pixels of these cameras limit our resolution, and shooting video may result in even worse under-sampling to the point that a smartphone/eyepiece might produce sharper photos.

- Imaging with CMOS camera
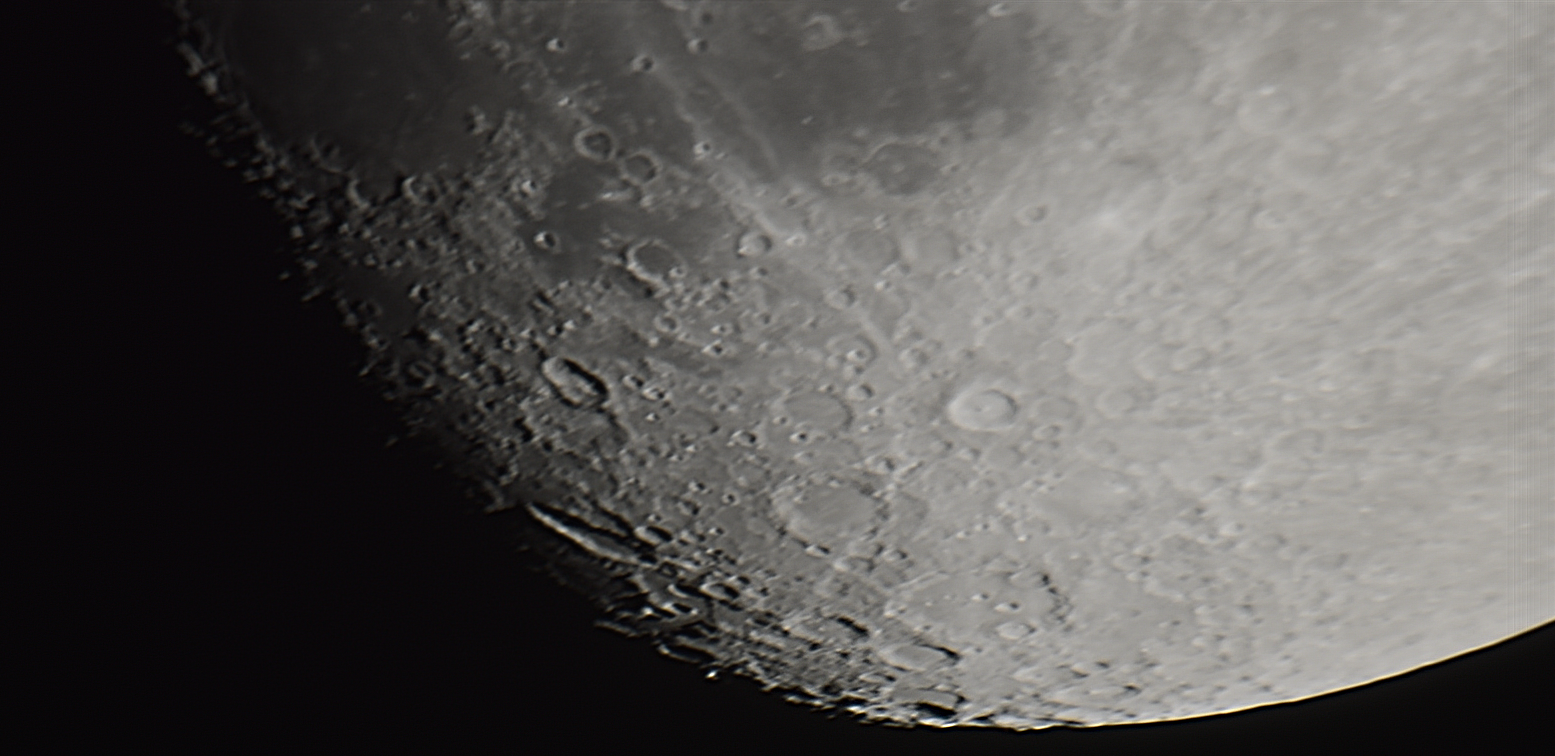
Lastly, the third—and by far the most capable—option I’ve used for lunar imaging is a dedicated CMOS camera like the ZWO ASI series.
With it, I can shoot at over 60 frames per second to take high-resolution videos and then stack them in a program like RegiStax or AutoStakkert to compensate for atmospheric seeing and noise. Then I do post-processing in any program I wish.
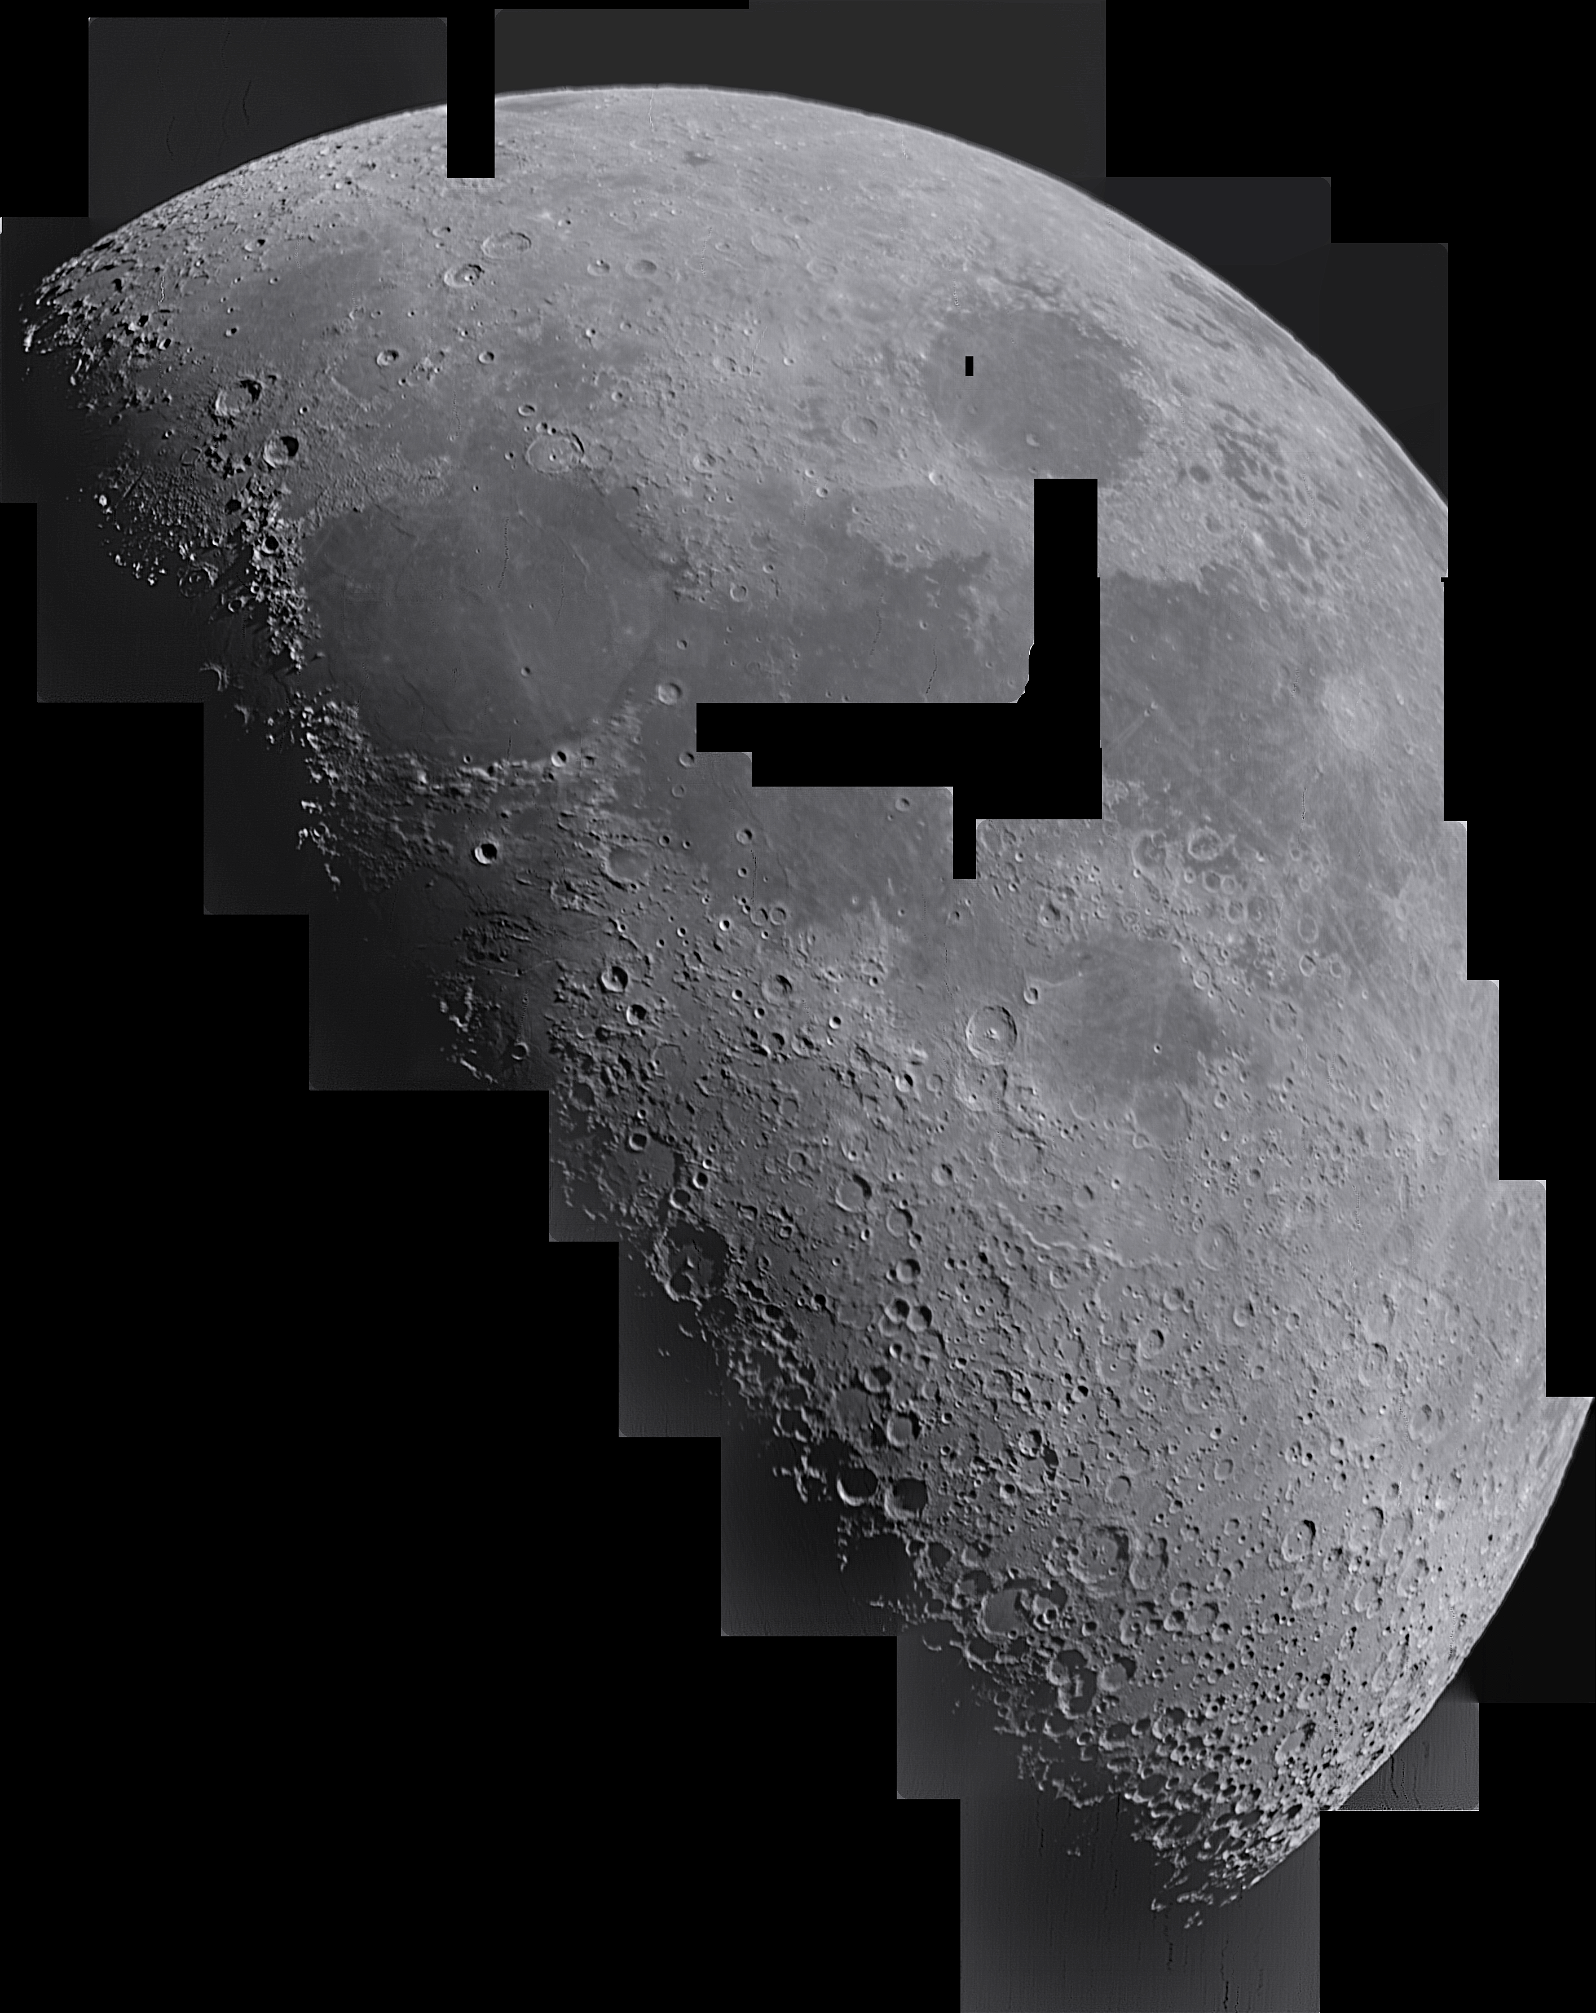
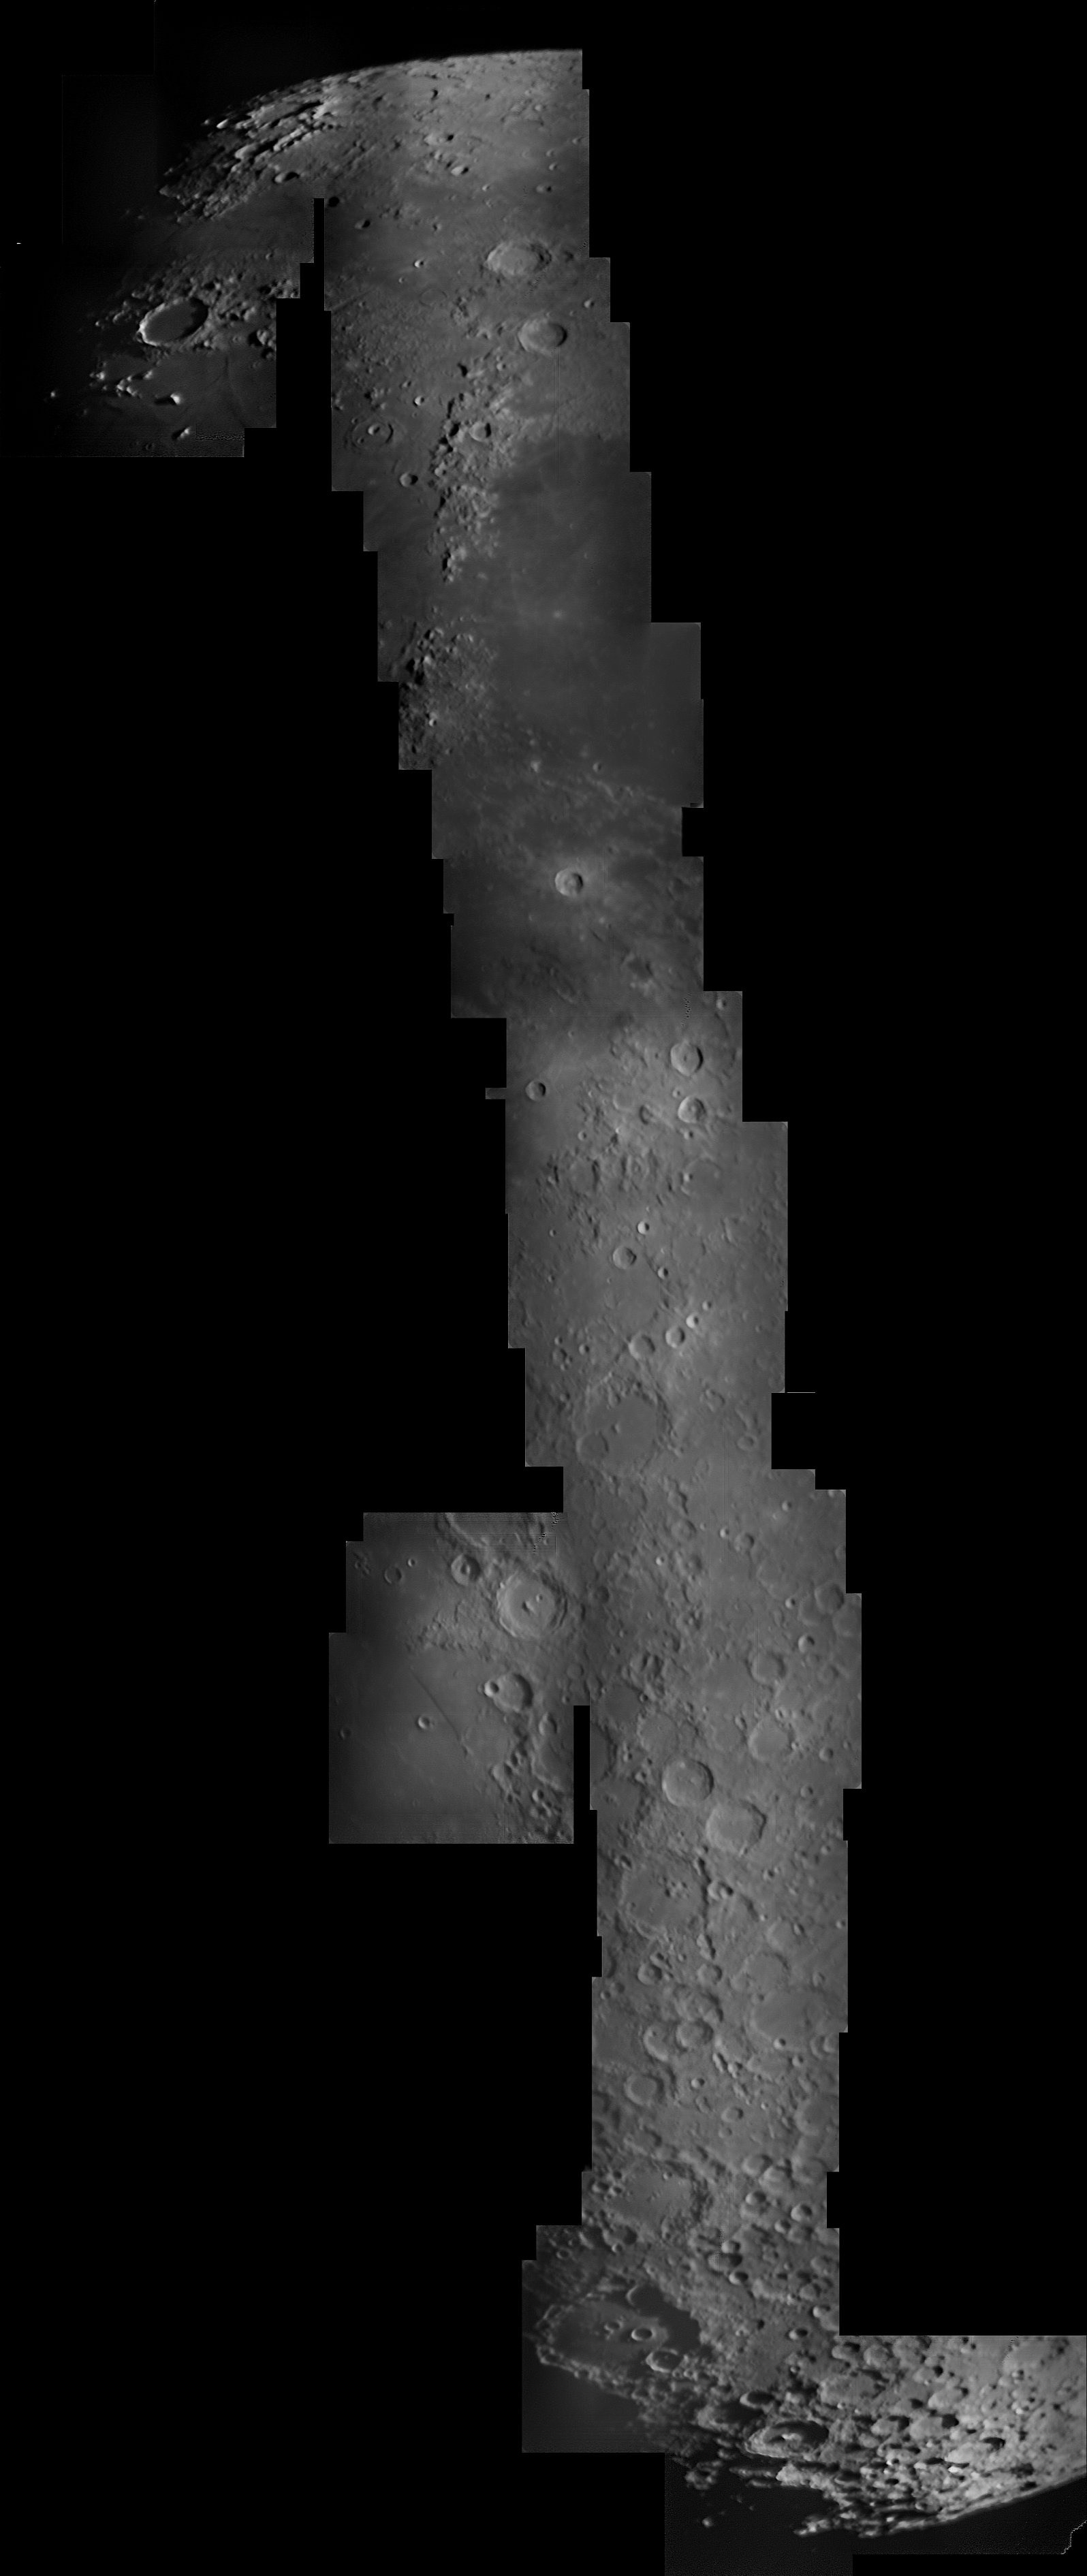
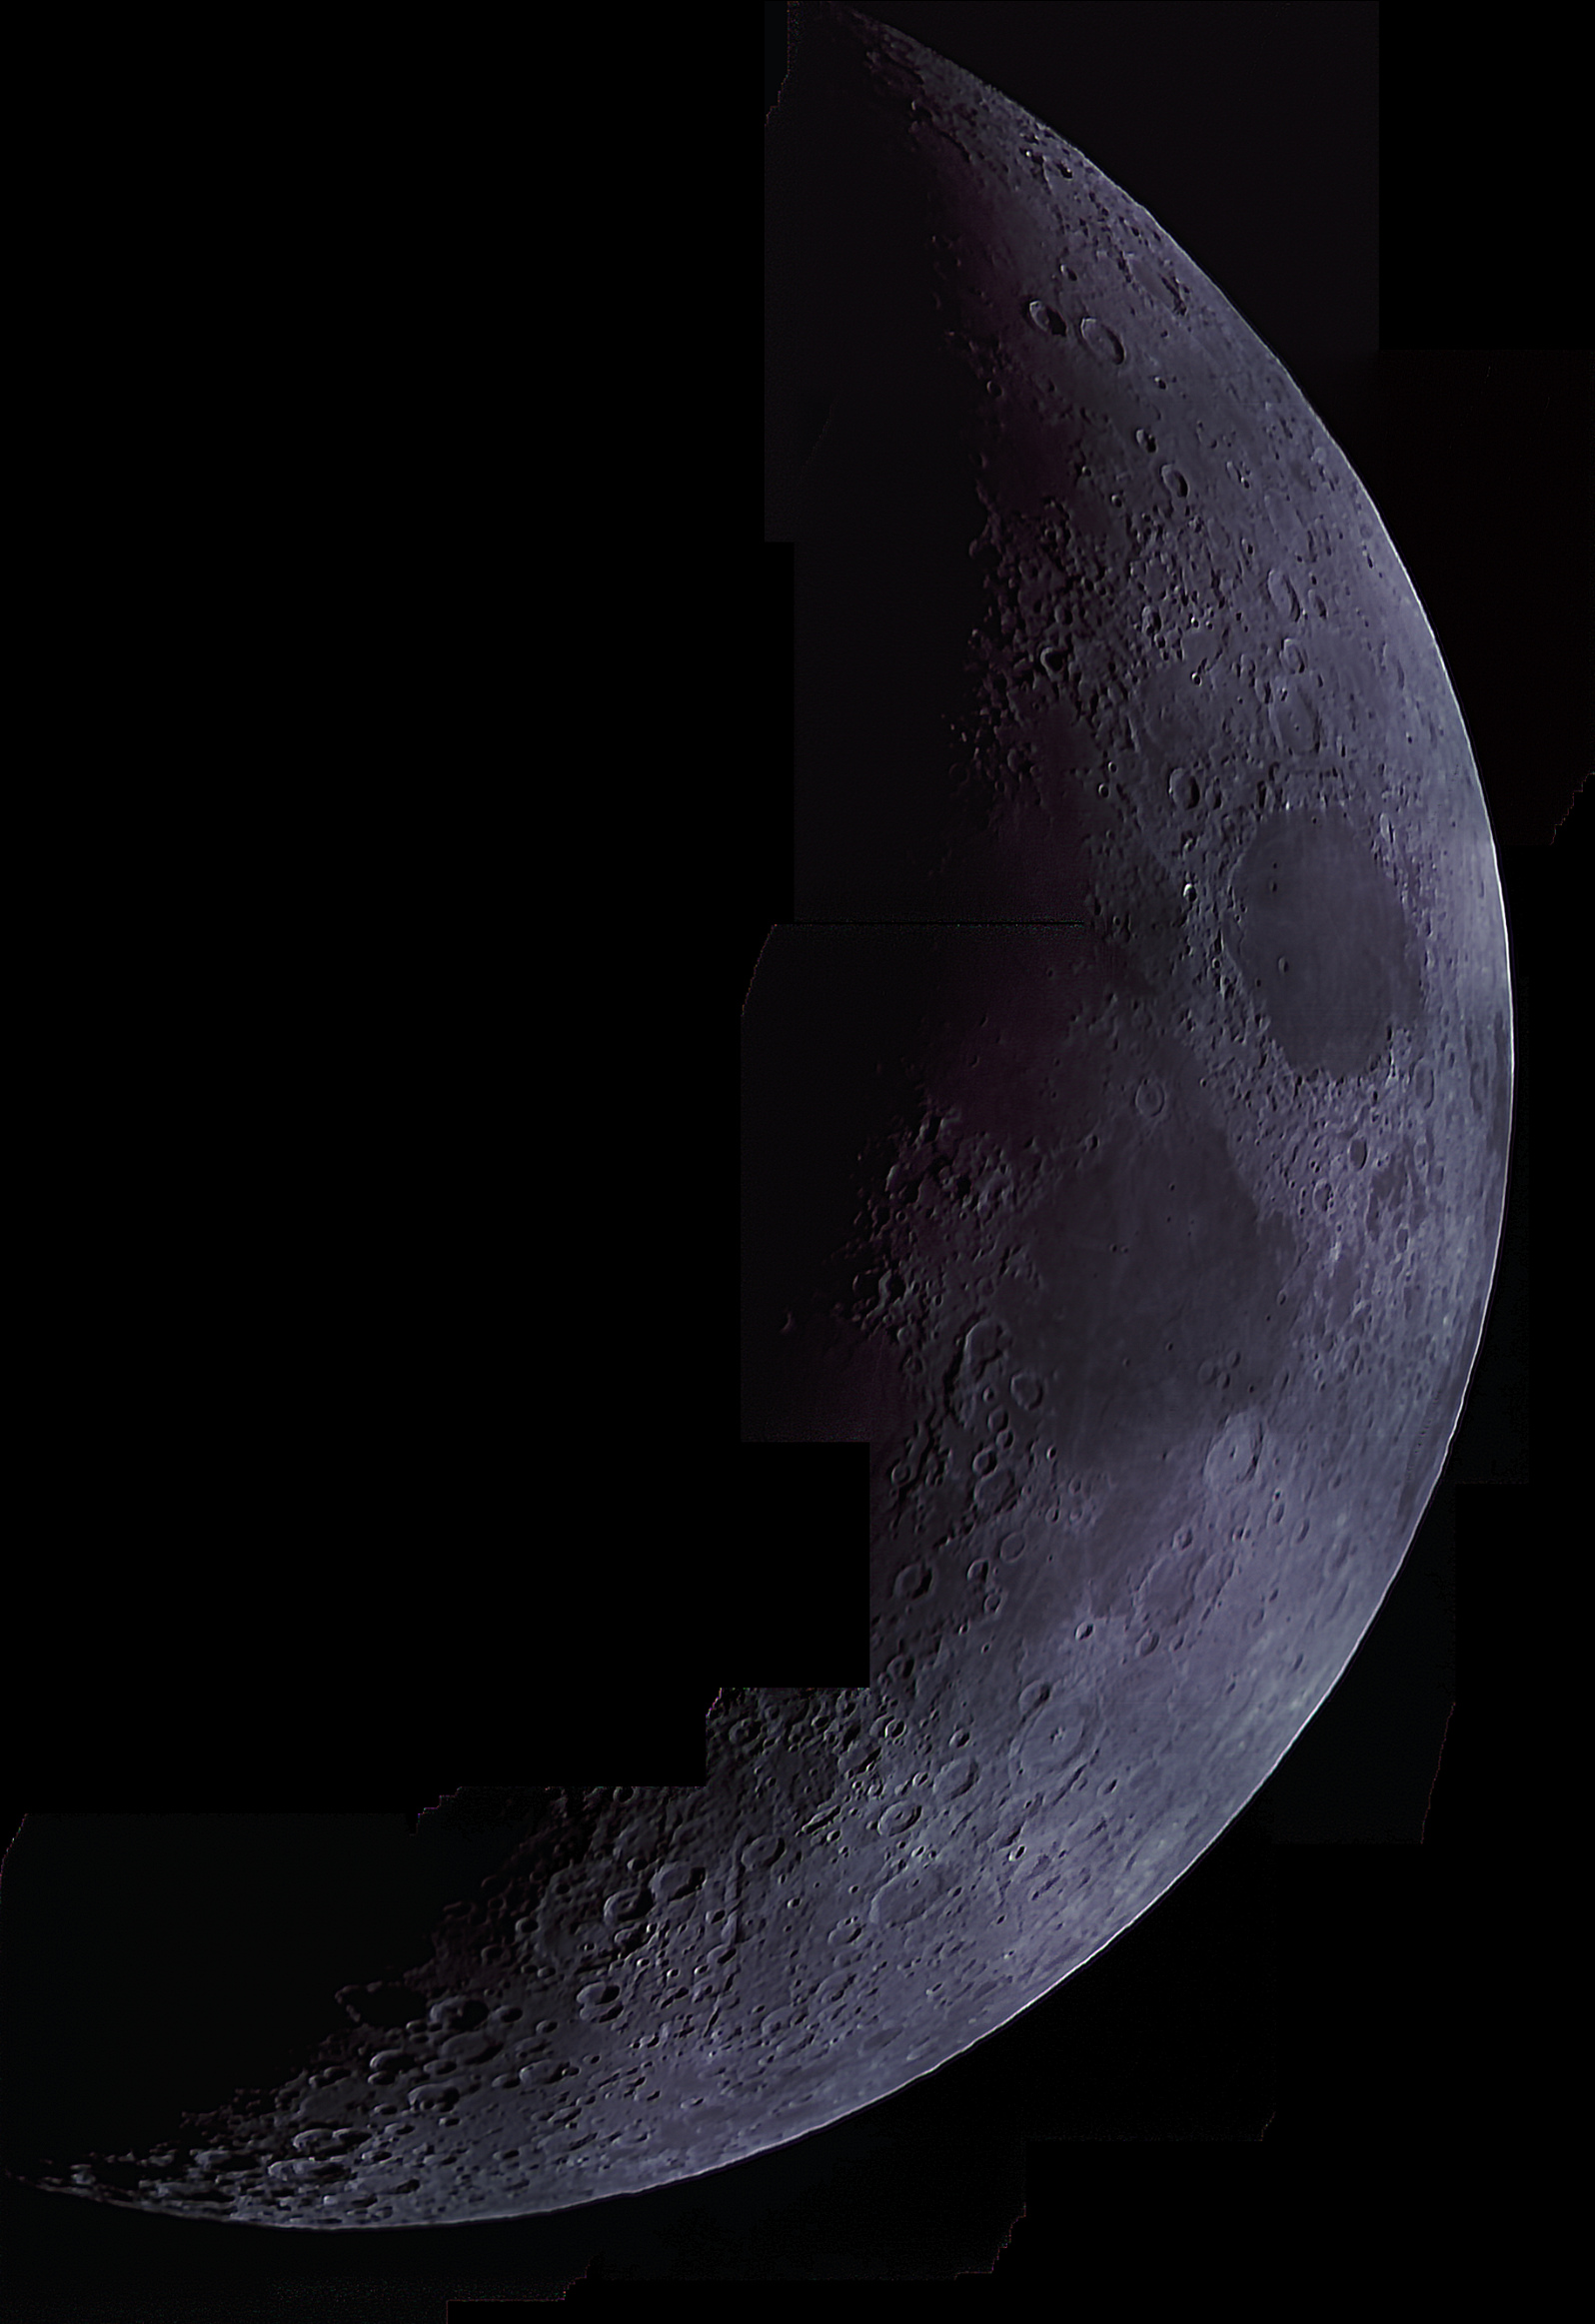
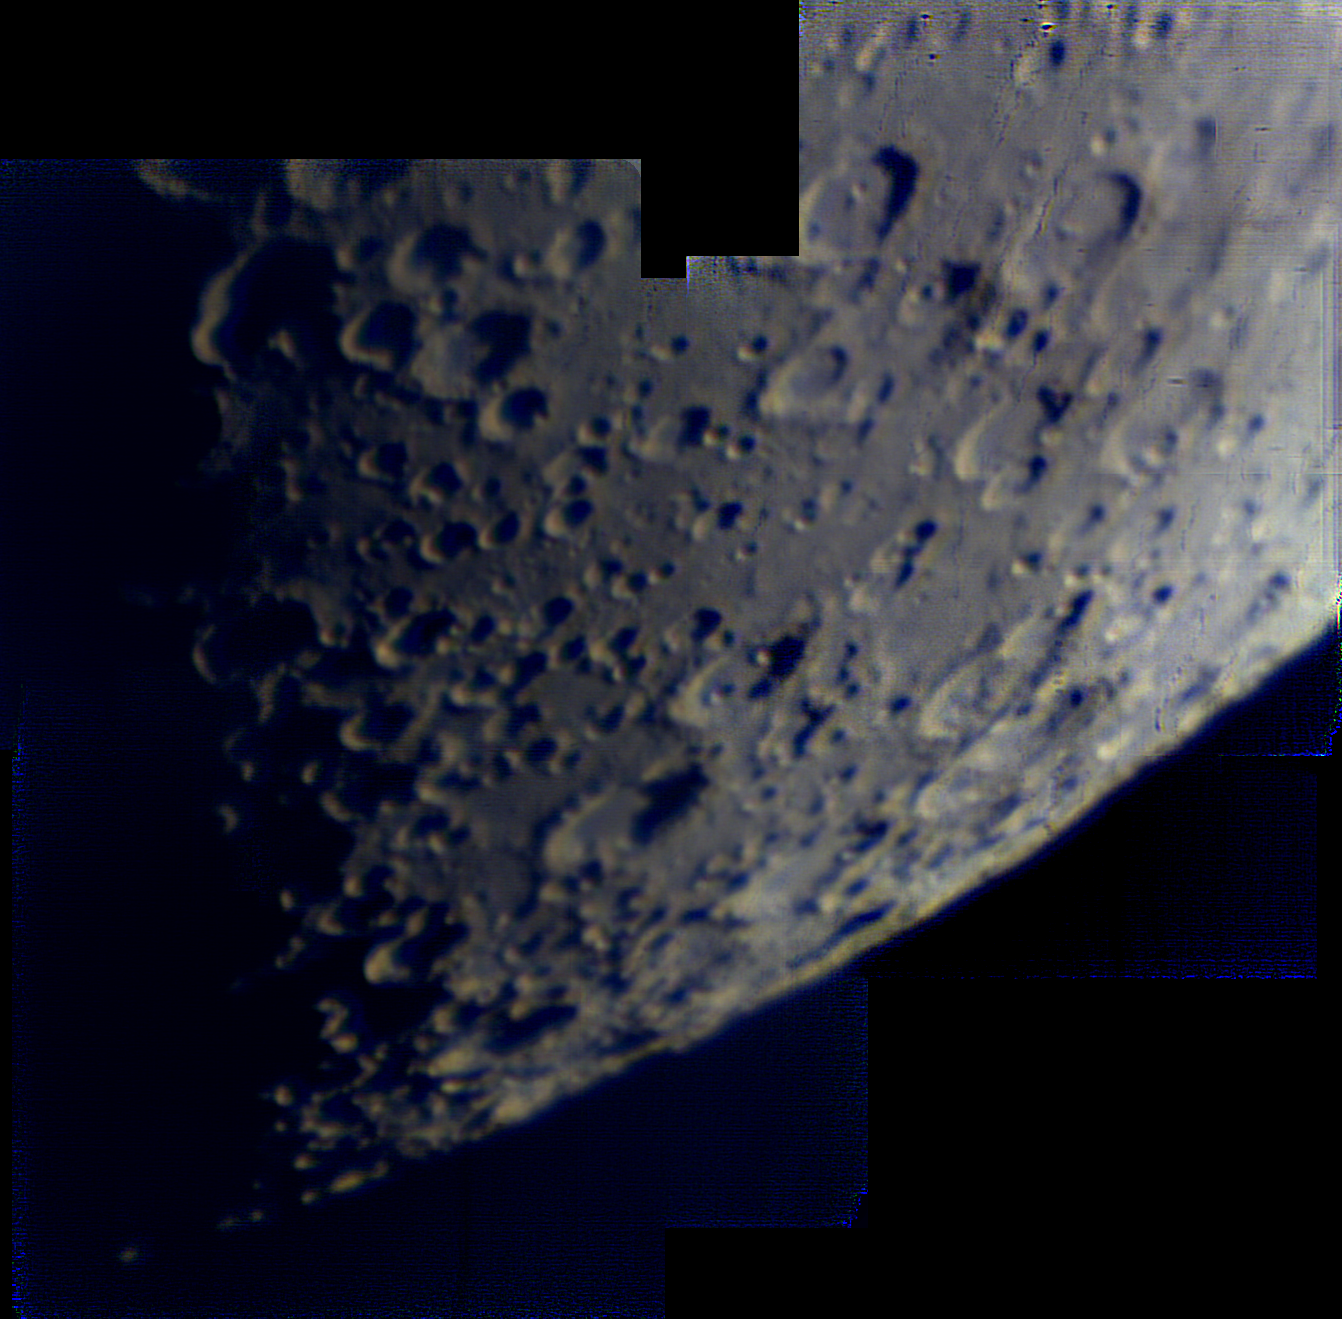
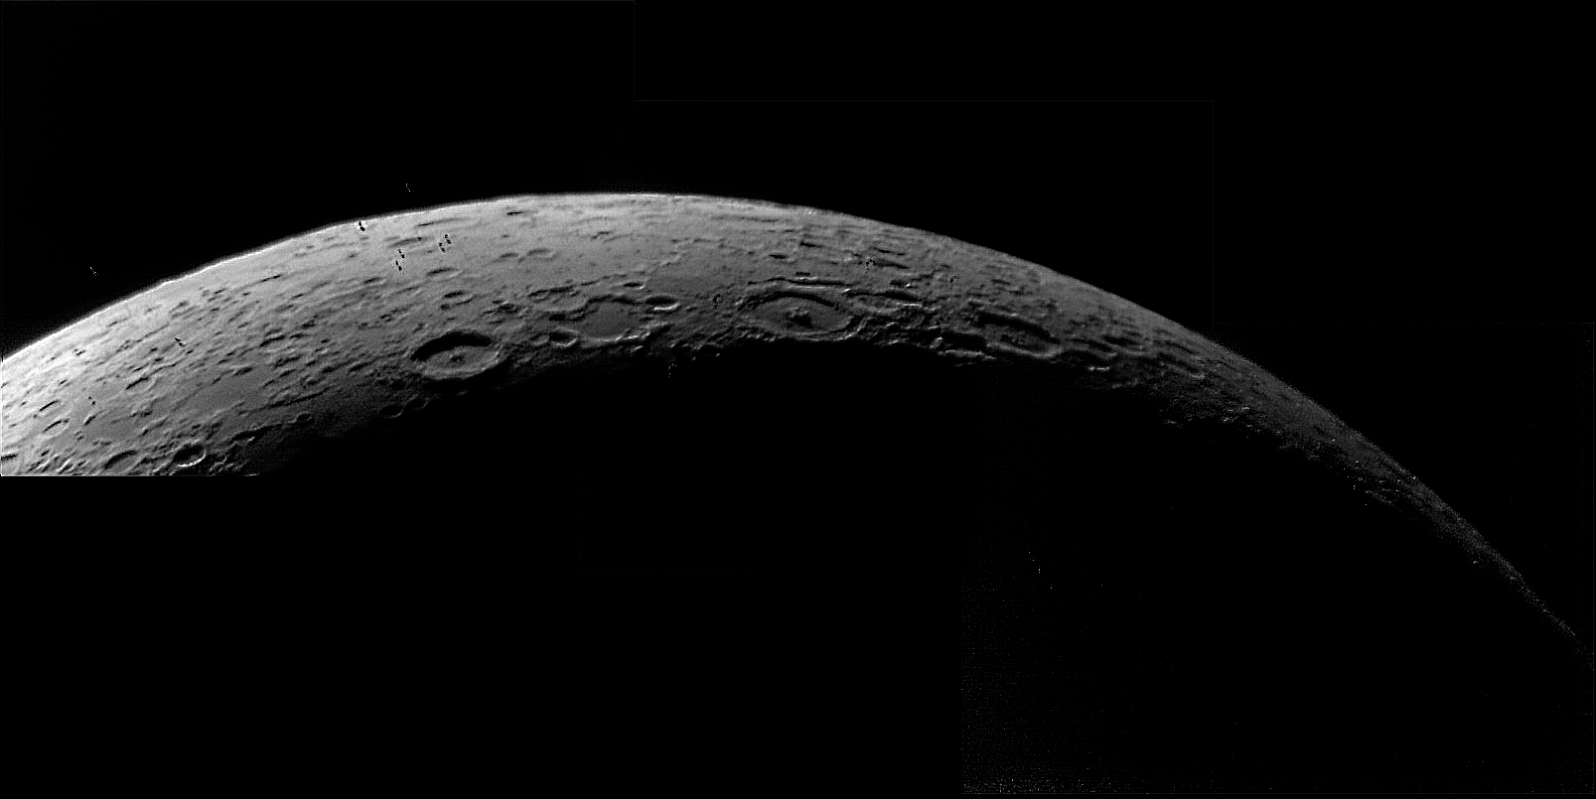
A Barlow lens can be used to increase the focal length and image scale up to the limits of our telescope’s resolving power, but it will require us to take several videos of different areas of the Moon and combine them into a mosaic if we want to image its whole disk at once.
Recommended Settings
I highly recommend taking videos with at least 2,000-3,000 frames on your smartphone or with a planetary camera and then stacking them with AutoStakkert for the best possible images.
AutoStakkert will allow for the best possible alignment between frames, and if you’re shooting only a small area of the Moon, it can create a “mosaic” of all of the area you capture in all of the frames if your telescope slightly drifts around during the length of the capture. Registax will just crop it.
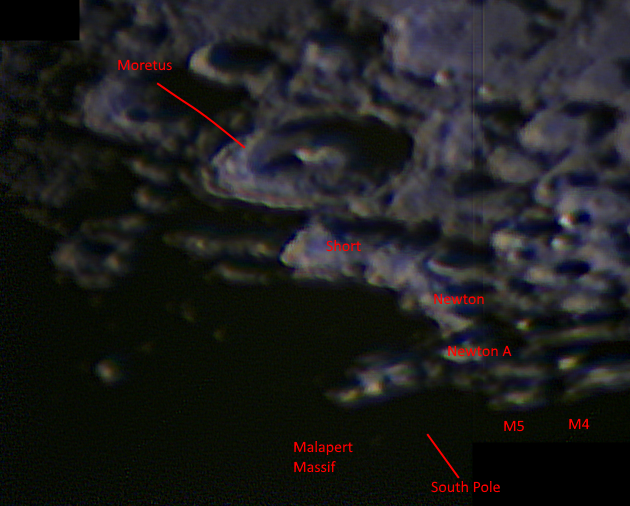
It’s important when processing your photos of the moon to make sure to remove any residual color (or simply shoot in black and white) and remember to set the black point correctly.
There are no gray shadows on the moon. Dark craters and shadows behind mountains should be jet-black, period. Likewise, you should make sure that lighter features—like the Moon’s limb or crater rays—are not blown out when shooting and processing.
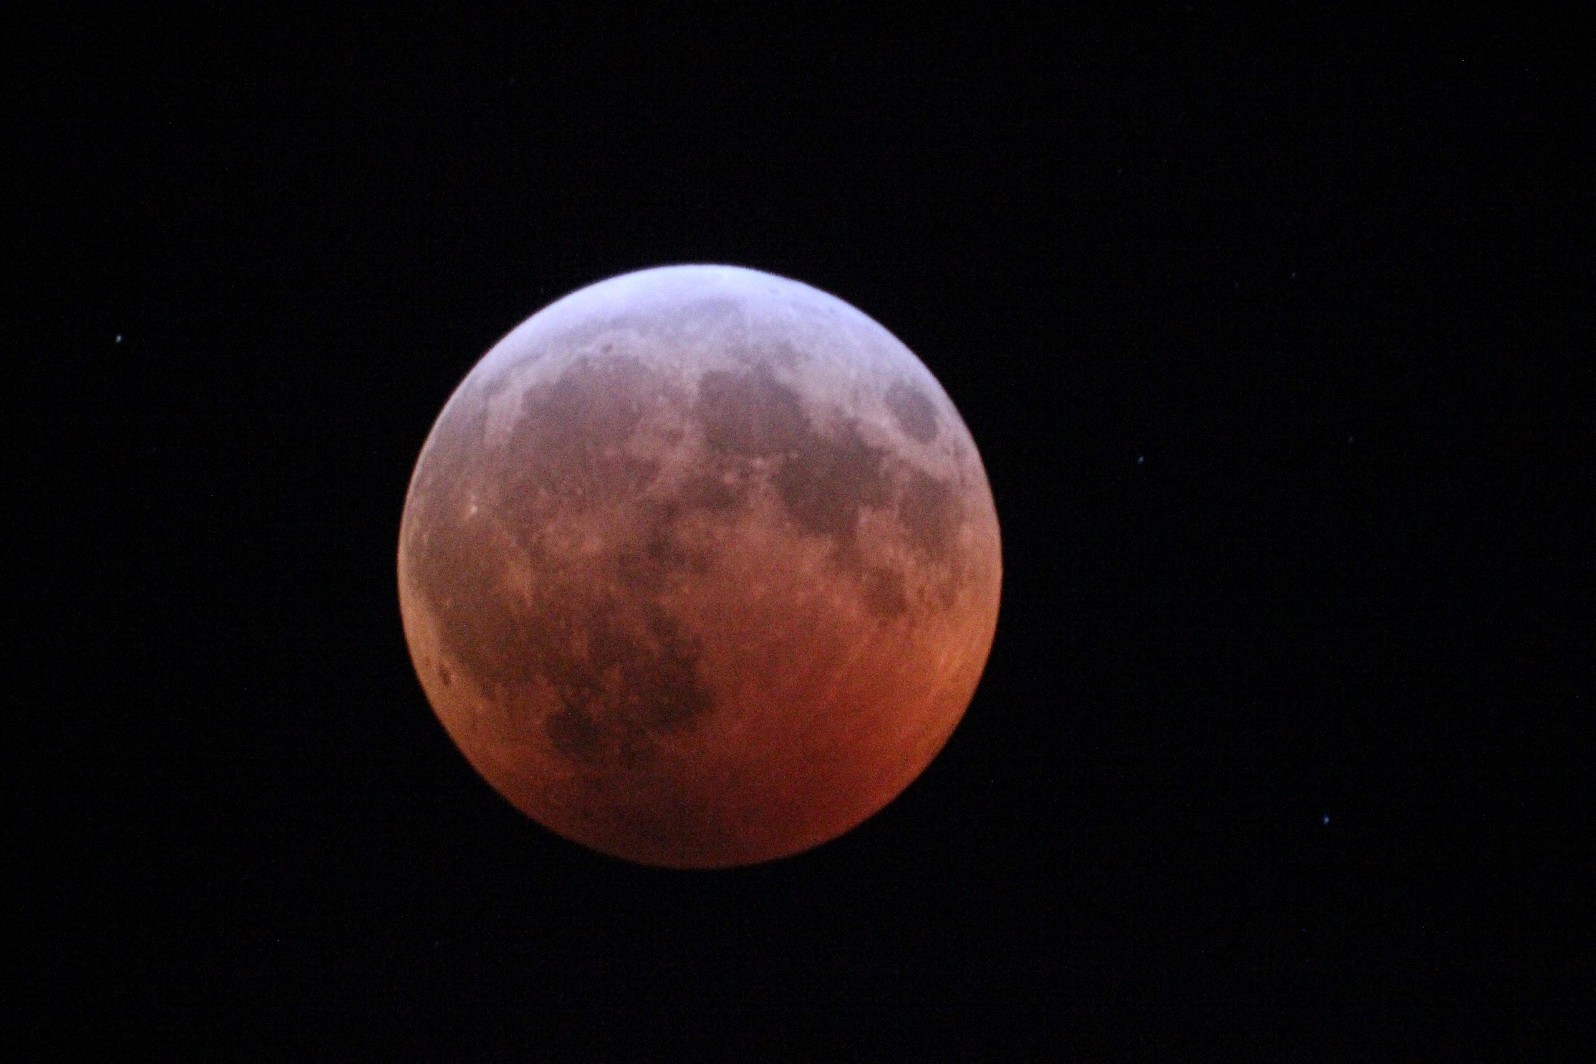
Imaging Lunar Eclipses
Total solar eclipses are covered in our separate article and require additional precautions and gear to image or observe. However, lunar eclipses can be photographed with the same gear as the Moon can normally, but with key differences in settings as well as general limitations.
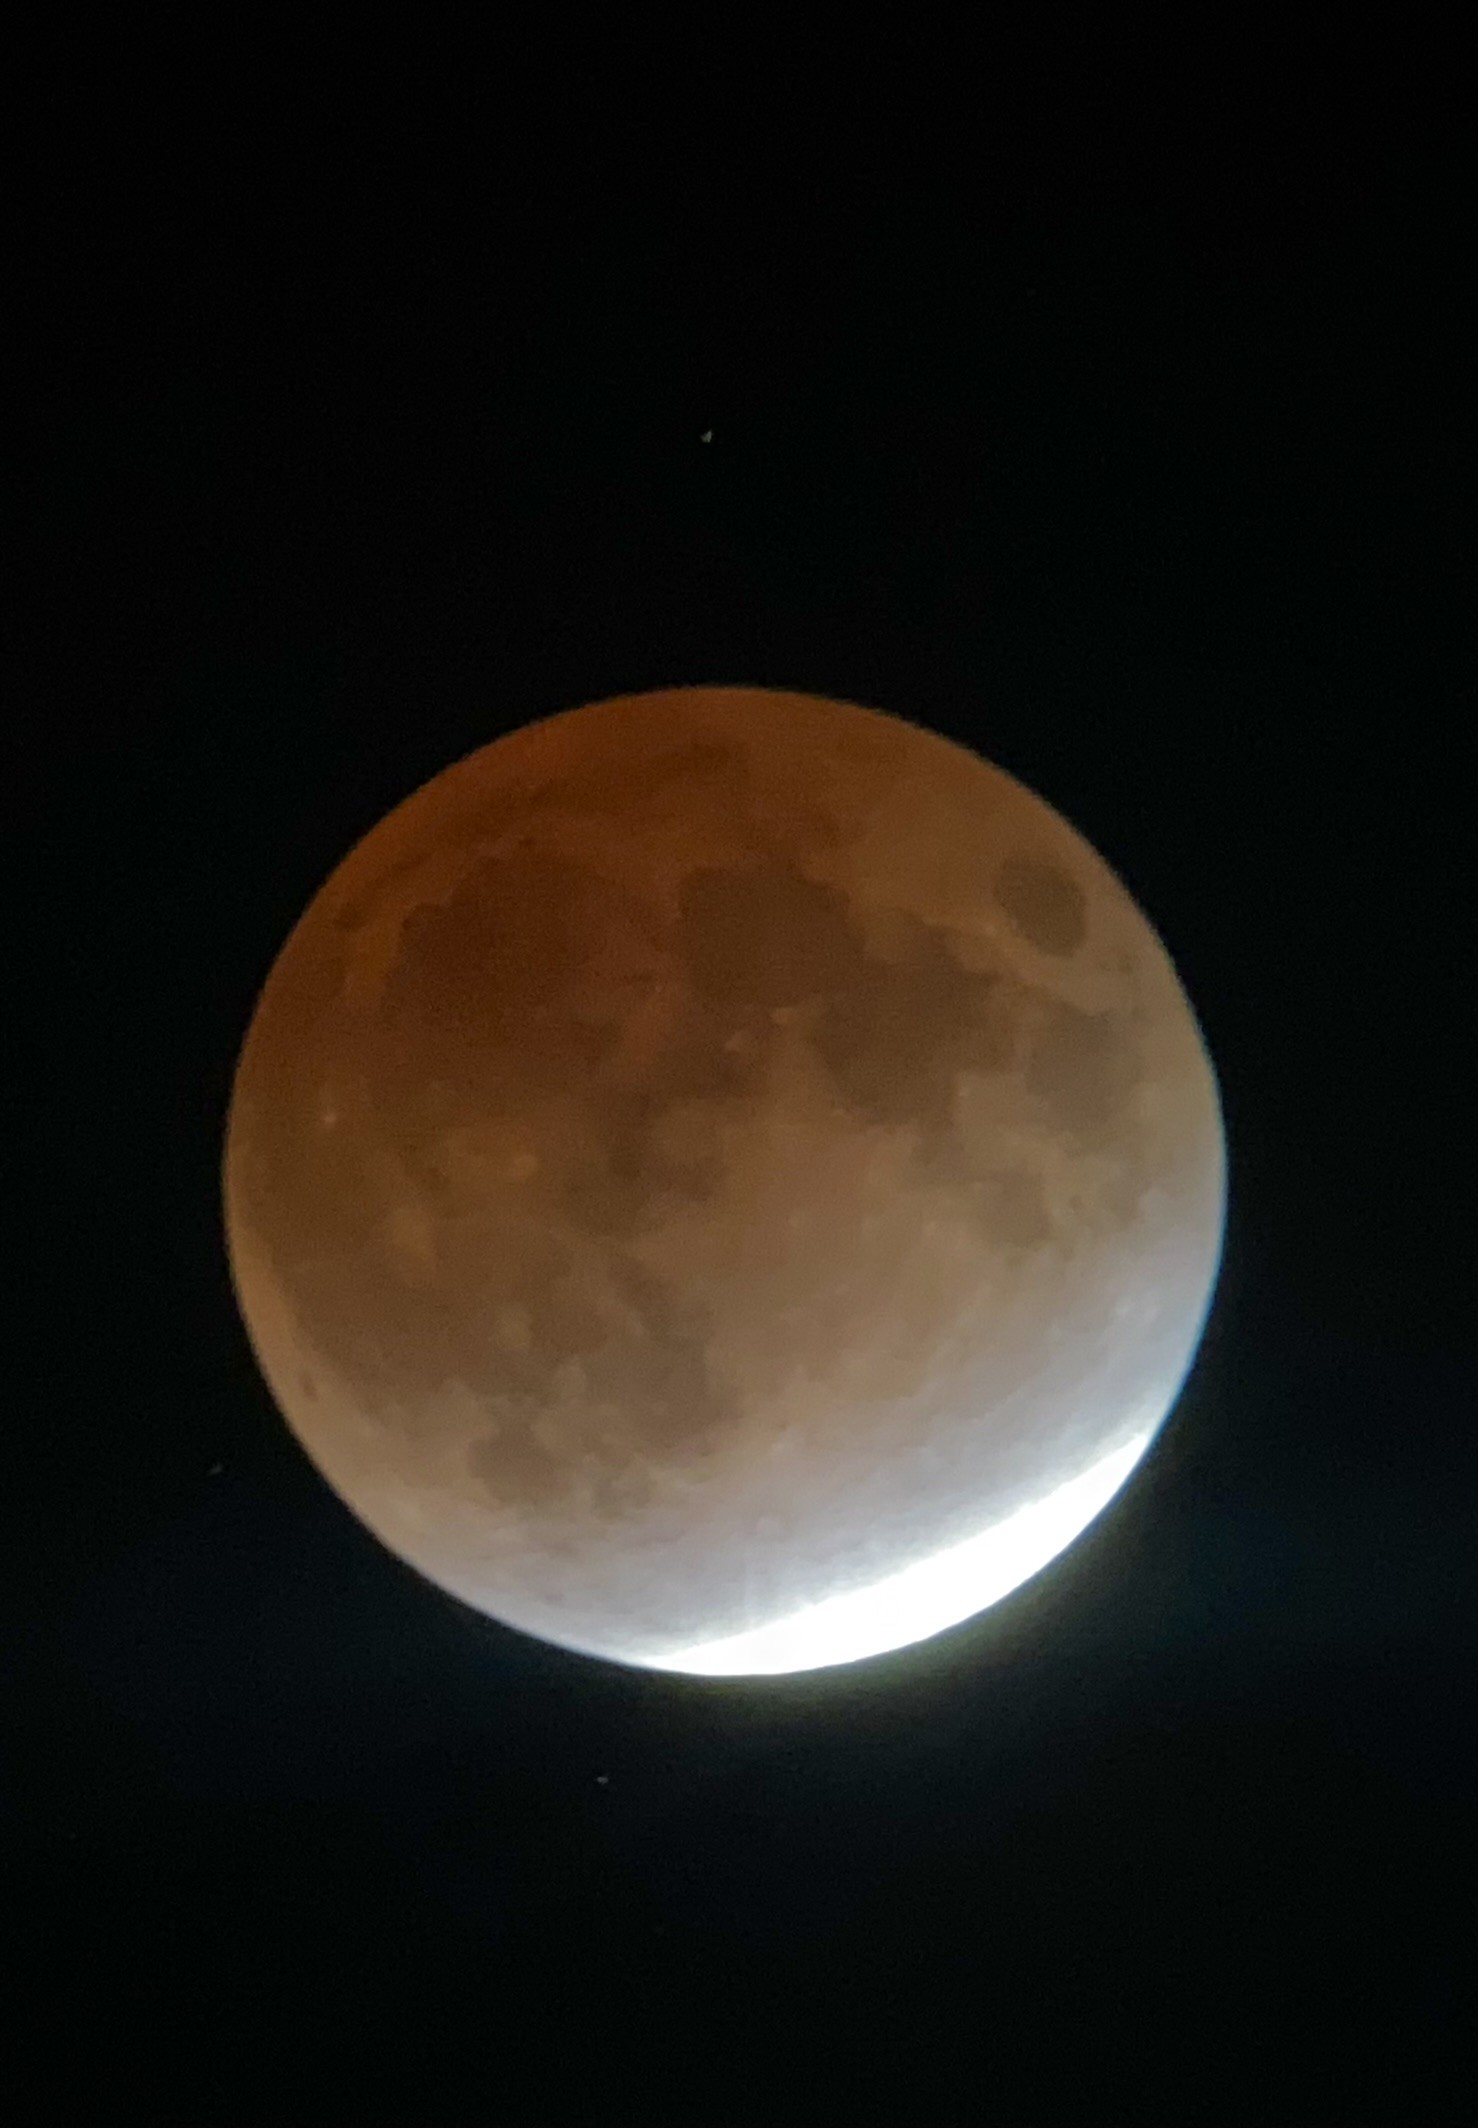
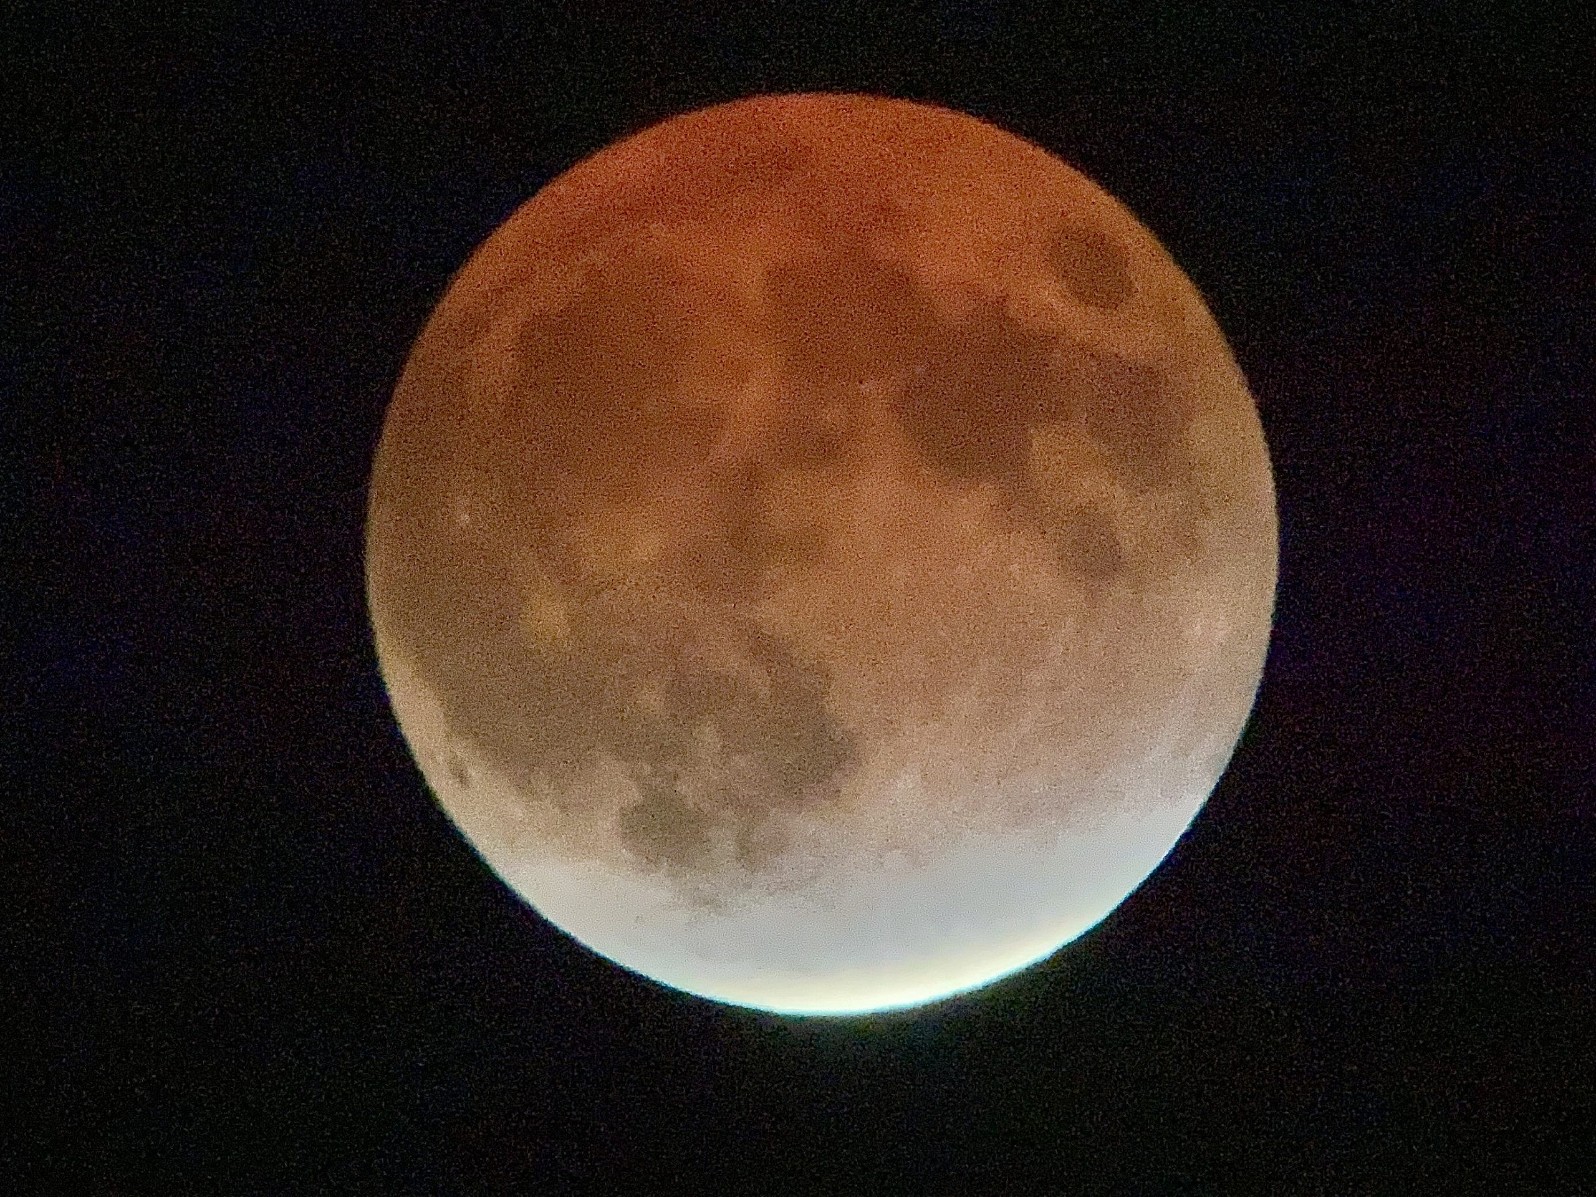
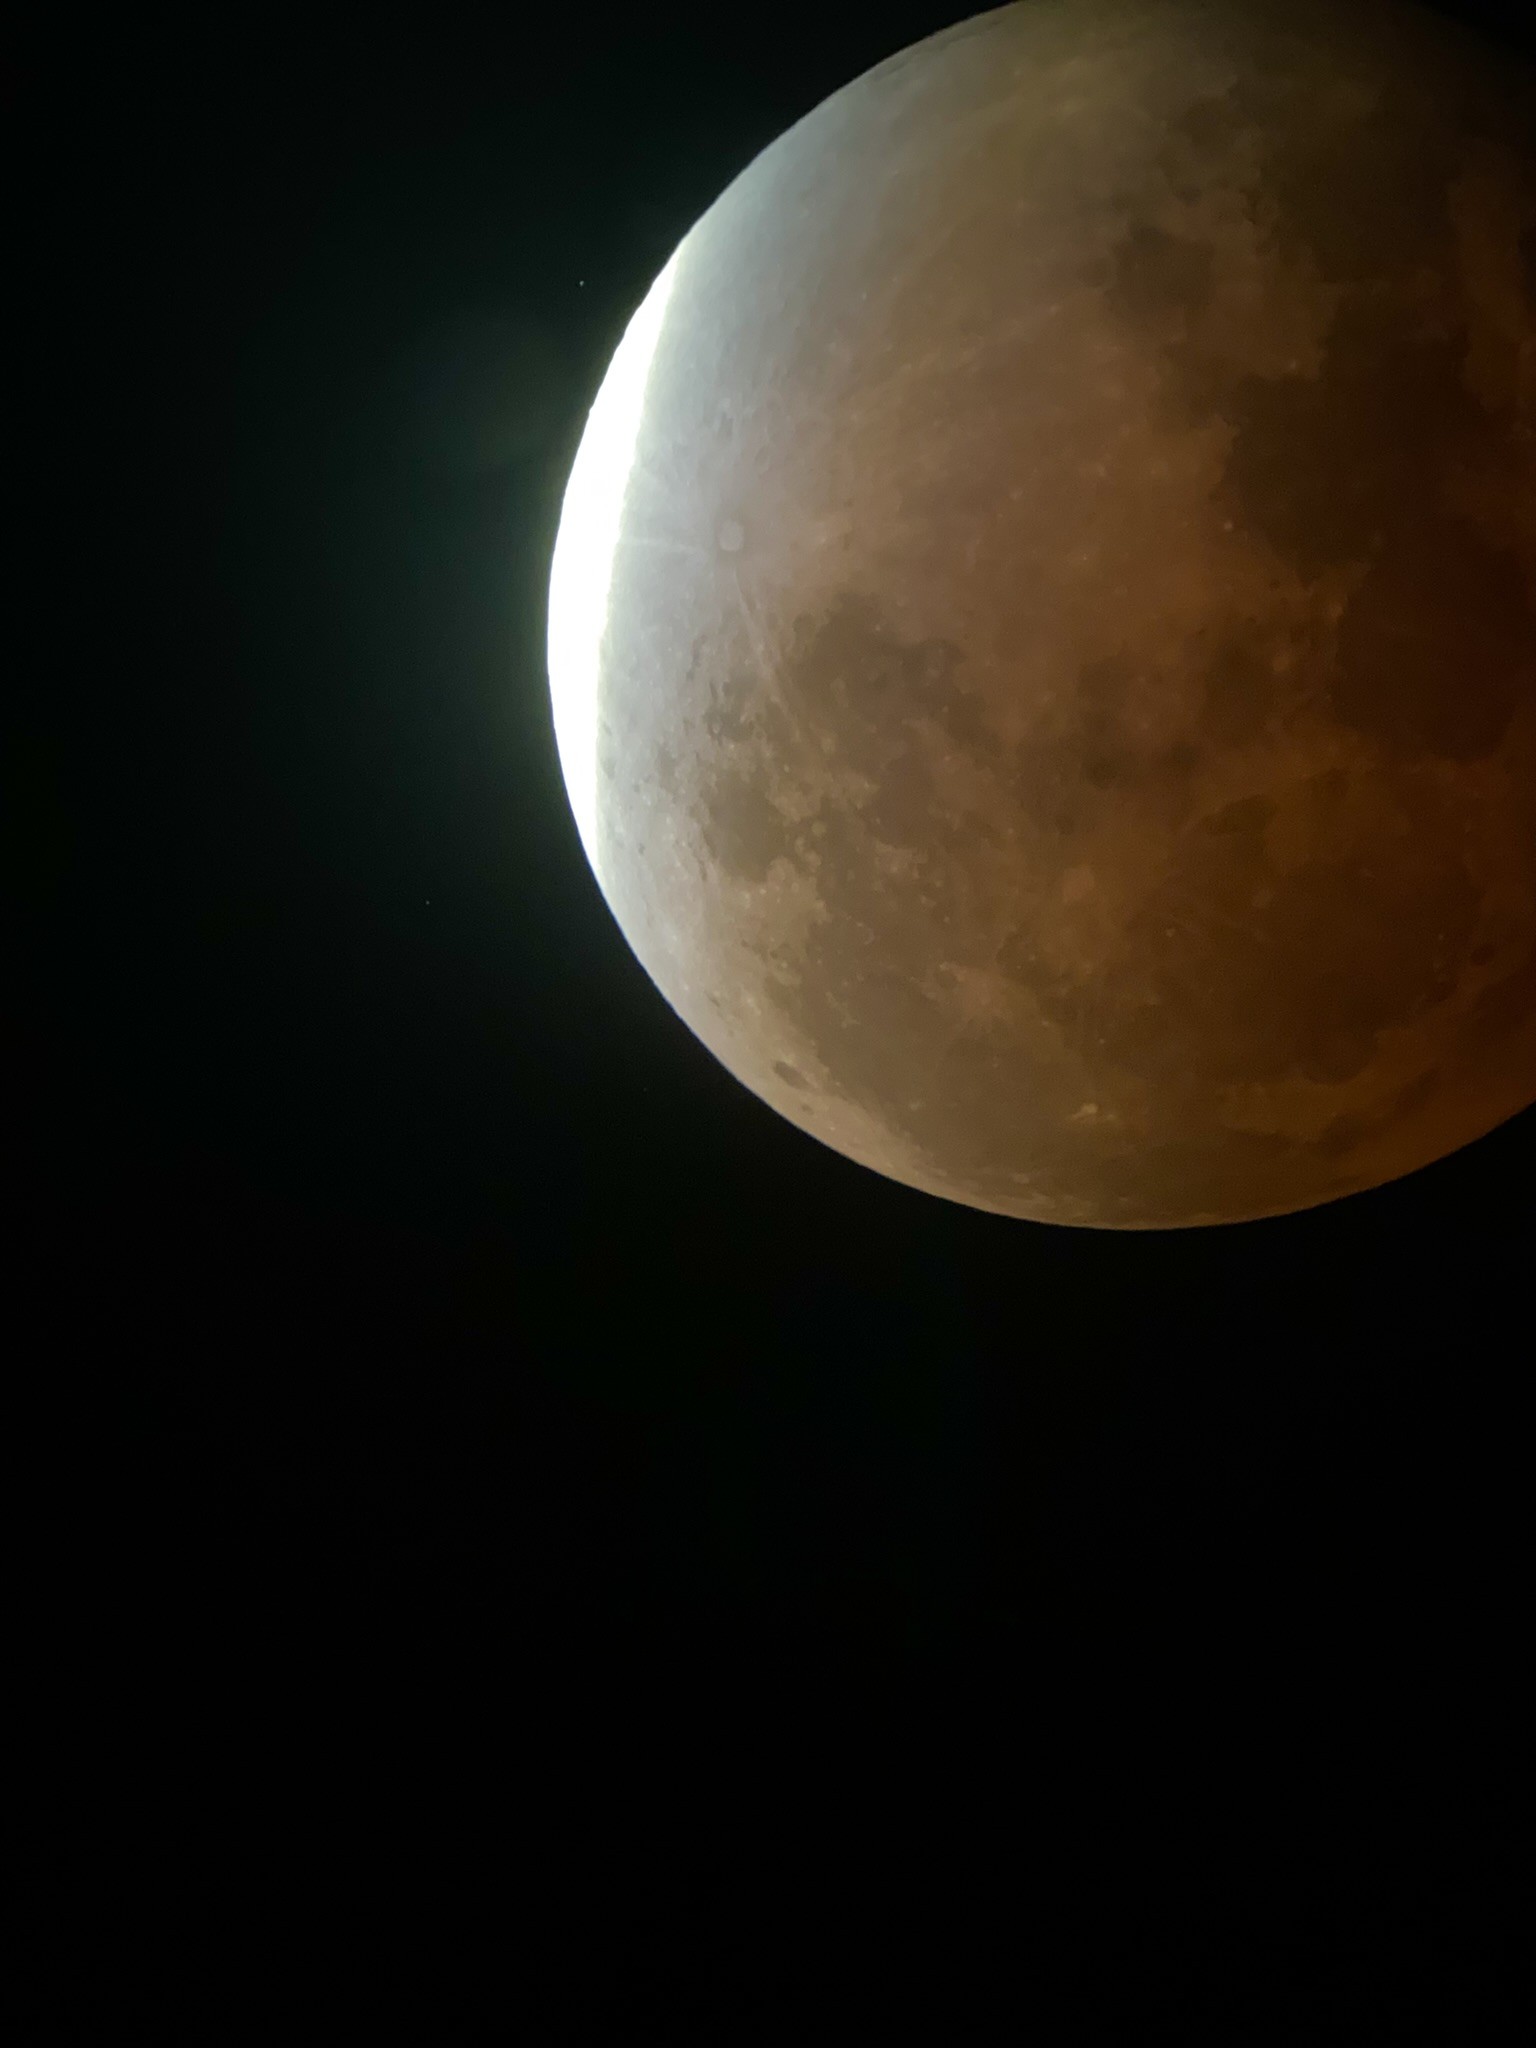
Lunar eclipses during the partial phase create the problem of an extreme brightness difference—the eclipsed part of the Moon is thousands of times dimmer than the remaining sunlit area. Even during the total phase, in some instances, the brighter areas completely blow out the sensor if I optimize the exposure/gain for the eclipsed part. Thus, I need to take multiple shots of the Moon at different exposure/gain settings and combine them for a high dynamic range, or “HDR” composite shot.
It should also be noted that the dimness of the Moon may create a lot of noise if I to image it with a smartphone, and I may have to use a DSLR to get a shot of the full disk despite its normally sub-optimal resolution characteristics.
The best shots are often those of the eclipsed Moon with a DSLR/mirrorless camera and short focal length telescope or camera lens, showing the eclipsed Moon and normally-invisible stars around it in the background.