
While deep-sky objects, like nebulae or galaxies, sprawl across huge sections of the night sky, planets are comparatively small. The Andromeda Galaxy spans 3 degrees, or 6 times the angular diameter of the Moon in the sky; the comparatively small Orion Nebula still sprawls over a degree of area. In contrast, Venus and Jupiter, the largest of the planets in apparent angle, barely subtend an arc minute, or 1/30 of the angular diameter of the Moon. As a result, planetary cameras are designed with smaller sensors compared to their Deep-Sky-Objects (DSO) or DSLR astrophotography counterparts. Alongside the smaller sensor size, these cameras possess small pixels, which, when paired with a long focal length telescope, maximize resolution and bring out the finest planetary details.
Unlike traditional deep-sky astrophotography, which often involves capturing long-exposure singular images for hours of total exposure time, planetary astrophotography employs a different technique. By leveraging high-speed video capabilities, planetary cameras attached to telescopes capture thousands of frames within a short span—sometimes just a few minutes. This approach is not just about volume. It’s a strategy to beat atmospheric turbulence, a frequent adversary of clear planetary shots.
Once these thousands of frames are captured, they aren’t used individually. Instead, a process known as ‘stacking’ comes into play. By taking the best frames from the video—those moments of least atmospheric distortion—and layering them atop one another, you can produce a singular, sharp, and detailed image of the planet. This synthesized image boasts clarity and detail that would be impossible to achieve with a single exposure, especially given Earth’s turbulent atmosphere.
Choosing a Camera for Planetary Imaging
Monochrome or Color Sensor: Which is Better?
Monochrome (Mono) cameras have garnered attention in the astrophotography community for their potential to produce slightly sharper planetary images than their color counterparts. The logic is simple: monosensors capture data without the interference of a color filter array, enabling slightly more precise detail. That said, the difference, while present, is often subtle. It becomes more pronounced for advanced astrophotographers using high-end equipment and shooting under optimal viewing conditions.
However, diving into monochrome astrophotography brings its challenges. The absence of built-in color means you’ll need a set of external color filters. And, for efficiency in capturing, an electronic filter wheel becomes almost imperative to quickly switch between filters.
It’s worth noting that while cooling might be a buzzword in deep-sky camera marketing, especially with monochrome cameras, it’s not a prerequisite for planetary work or even all that relevant. The stacking of thousands of frames eliminates most noise from the final planetary image, while the short exposures of milliseconds for individual video frames mean there’s minimal time for heat-related sensor noise to build up in the first place.
Ensure Correct Pixel Size & Sampling
When selecting a camera for any kind of astrophotography, two major factors emerge as central considerations: pixel size and sensor size. Typical planetary cameras come equipped with pixels that are generally no more than 3 microns in size. This is in contrast to the recommended pixel size of 4-5 microns for deep-sky photography. The reason for this difference is intricately linked with the specific requirements of planetary imaging, where capturing high-resolution images of relatively small objects, like planets, is the primary goal.
The concept of image scale plays a pivotal role in making sense of these camera-telescope dynamics. It essentially refers to how large a pixel on the camera sensor appears when compared to a section of the sky. Calculated in arcseconds per pixel, it’s a crucial metric in astrophotography.
(Pixel Size / Telescope Focal Length) x 206.265 = Image Scale (arcsec/pixel)
Specifically for planetary astrophotography, achieving a resolution or image scale of around 0.1 arcsec/pixel with your telescope and camera is often the desired goal. This resolution strikes a balance, allowing for a detailed representation of planets without over-sampling, which can lead to unnecessary file sizes without added detail.
Most telescopes do not actually achieve the required image scale for planetary imaging on their own with typical planetary cameras. The goal for many planetary imagers, depending on the camera and telescope employed, is to achieve an effective focal ratio between f/25 and f/35 to provide the correct approximate image scale with their cameras. But how do you get there?
To achieve the necessary image scale, a Barlow lens can be attached, which acts as a multiplier for your telescope’s native focal length. Depending on the Barlow’s magnification factor (2x, 2.5x, 3x, 4x, 5x, etc.), it can significantly extend your telescope’s effective focal length. The choice of Barlow magnification primarily depends on your telescope’s original f/ratio.
A common choice for many astrophotographers, an f/10 Schmidt-Cassegrain telescope (SCT) typically benefits from a 2.5x or 3x Barlow lens. This amplification pushes the SCT into the optimal f/25 to f/30 range for planetary imaging. In comparison, an f/5 Newtonian will need a 5x Barlow. As such, faster scopes need more amplification and might even require stacking barlows to achieve the desired focal length in some cases.
For those wielding telescopes with an aperture greater than 12 inches, there’s a diminishing return on pushing the focal ratio due to atmospheric turbulence’s effects, which sets a bit of a resolution limit. This is part of why it is rare to go much under 0.1 arcsec/pixel, regardless of aperture. For such instruments, an effective focal ratio of f/15 to f/20, or a camera with larger pixels, is often more appropriate for achieving this approximate figure.
Consider the Use-case of Planetary Cameras as AutoGuiders
While planetary cameras are primarily designed for capturing the intricate details of celestial bodies within our Solar System, their applications in the realm of astrophotography don’t stop there. A fairly common dual role is in utilizing their potential as autoguiding cameras for deep-sky astrophotography. An autoguider consists of a camera and a small telescope or off-axis prism designed to keep your main imaging camera’s target perfectly aligned over long exposures by providing real-time corrections to the mount’s tracking. This is crucial for deep-sky astrophotography, where the slightest of movements can cause blurry images.
Planetary cameras’ small pixel size, rapid frame rate, and sensitivity make them effective for tracking a guide star, and since many astrophotographers already have them in their arsenal, this is all the more of a bonus. This means they end up being used as the guide camera in many deep-sky astrophotography setups.
Historically, autoguiding required an ST4 port on both the camera and the mount. The ST4 port facilitated communication for corrections. However, in the contemporary world of astrophotography, the ST4 port is becoming increasingly obsolete. The evolution of software-driven guiding solutions means that many modern setups can guide directly via a computer connection to the mount, bypassing the need for a dedicated ST4 cable. While having the ST4 port doesn’t harm, it’s no longer the essential feature it once was, so you don’t need to worry much as to whether a planetary camera has one.
While planetary cameras might dabble as autoguiders, they are generally unsuitable as primary cameras for deep-sky astrophotography. While smaller pixels are beneficial for capturing planetary details, they can become a liability for extended and faint nebulae or galaxies, leading to over-sampling and less-than-ideal image resolution. The small field of view further hinders planetary cameras’ ability to provide deep-sky images, as does the problem of noise.
One of the main challenges in long-exposure astrophotography is sensor noise. Dedicated DSO cameras usually come equipped with cooling systems to mitigate this. Most planetary cameras, however, lack this feature, making them more susceptible to noise during long exposures.
Our Picks as Best Planetary Cameras for Telescopes
1. Best Under $150: ZWO ASI120MC
- Cheap
- 3.75 μm pixels
- Fisheye lens and guiding capabilities allow for other uses if superseded.
The ZWO ASI120MC is an extremely popular budget planetary/guide camera. This camera boasts 1.2 megapixels (1280×960) of resolution and 3.75-micron pixels. An additional bonus thrown in with all of ZWO’s non-cooled cameras is their wide-angle 150-degree lens, which can transform the ASI120MC-S into an all-sky camera. This function is particularly useful for those interested in capturing phenomena such as meteors.
2. First Choice in $150-$200: ZWO ASI224MC
- 3.75 μm pixels
- Improved frame rate and chip performance over ASI120MC
- Good combination of performance, FOV, pixel size, and price
It is a favorite among many due to its reliable performance and balance between cost and features. Powered by the IMX224 sensor, this camera boasts an image array of 1305 x 977, complemented by a pixel size of 3.75 microns and a significantly higher max frame rate than the ASI120MC.
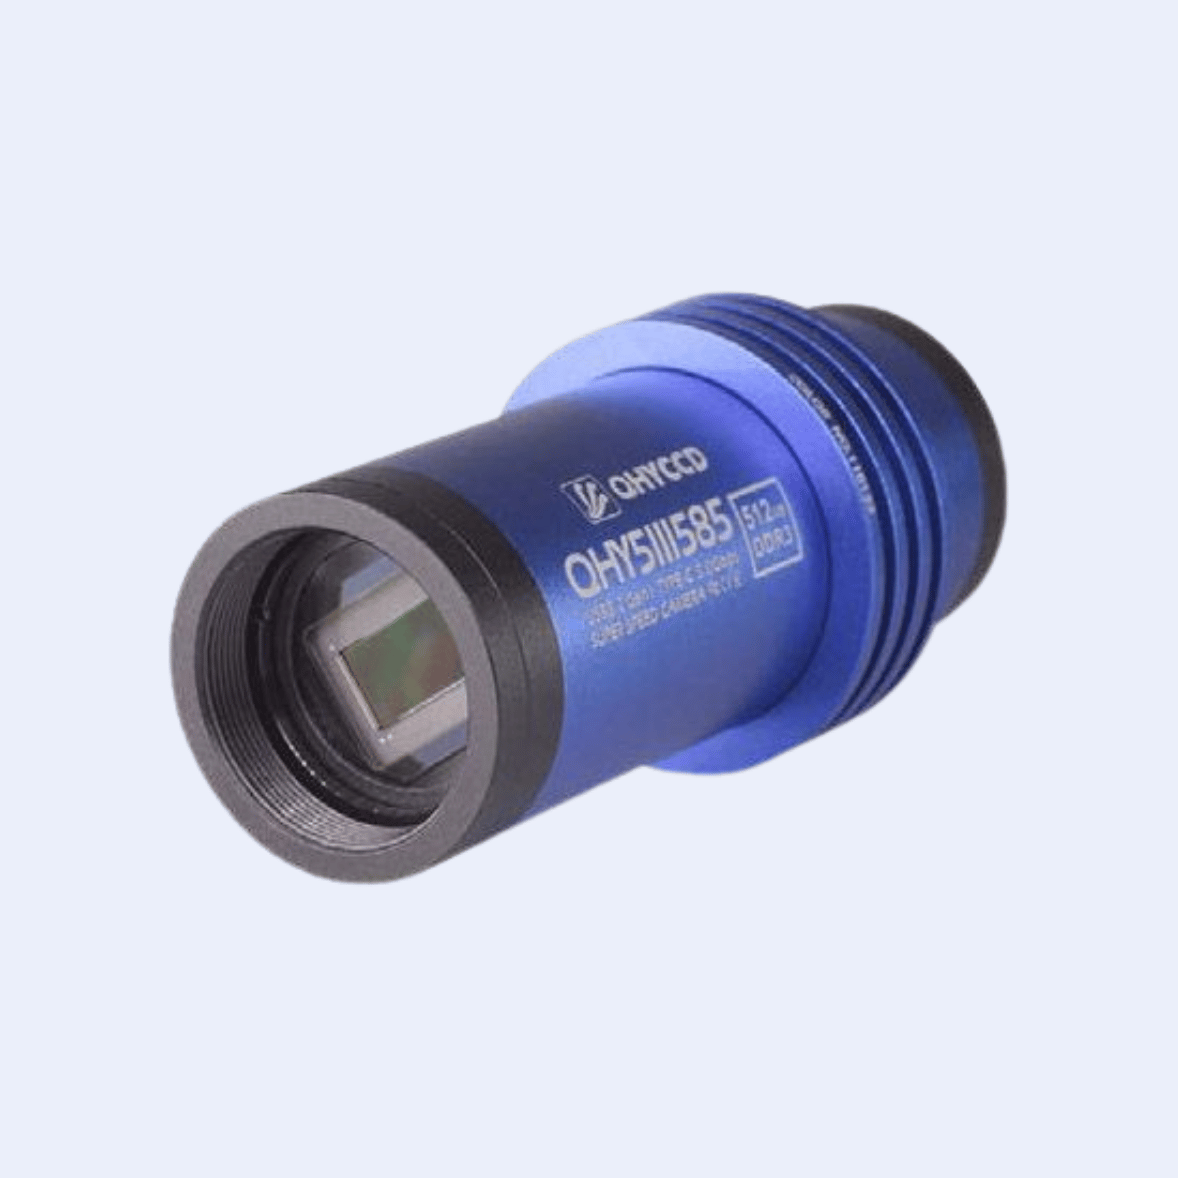
3. Second Choice in $150-$200: QHY QHY5III715C
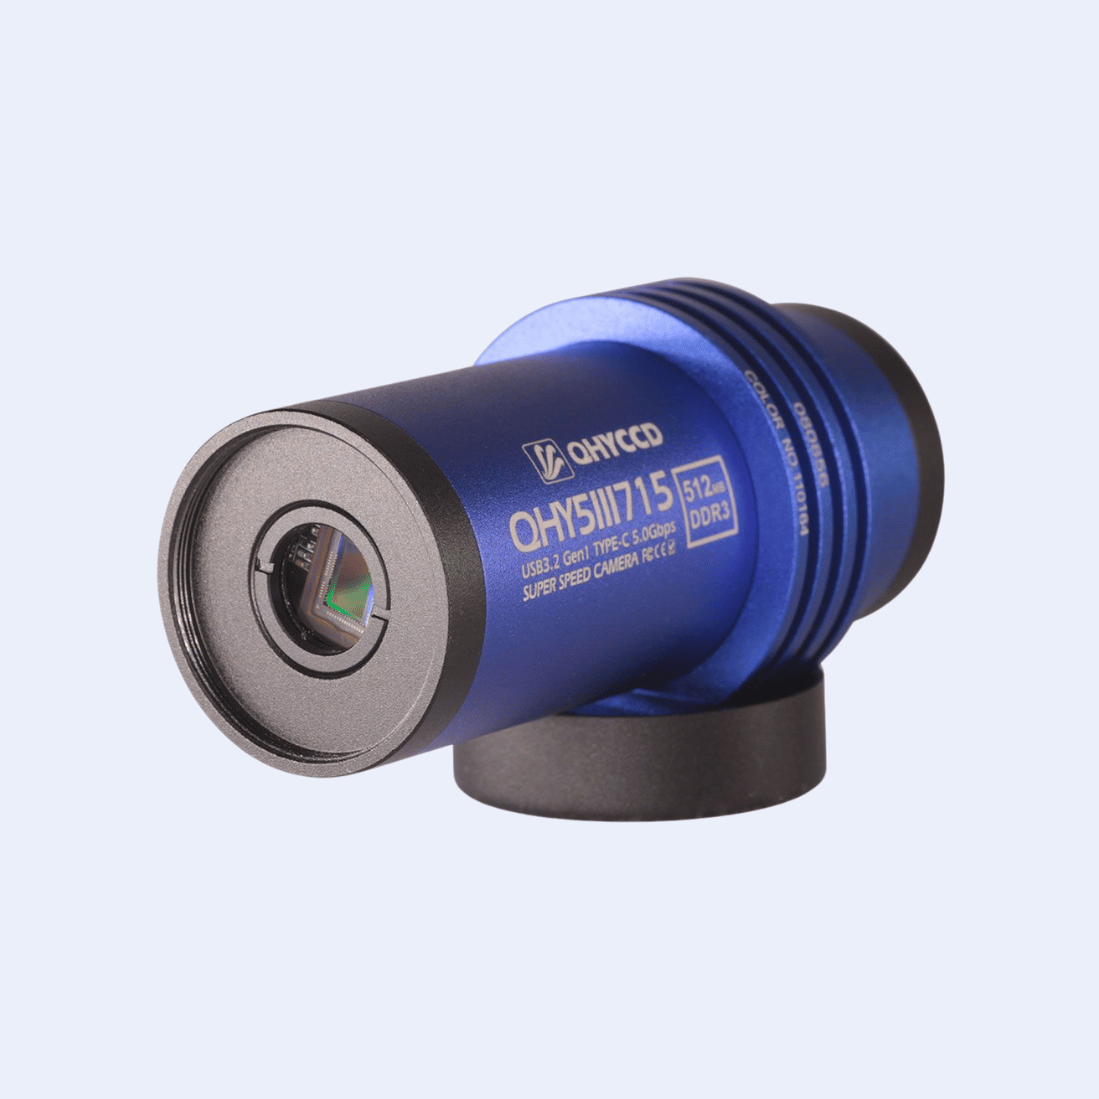
- 1.45 μm pixels(!)
- Some useful long-exposure imaging capabilities with very fast telescopes
The QHY QHY5III715C is equipped with the Sony IMX715C CMOS sensor. The sensor delivers an extensive pixel area of 3840 x 2192 with an incredibly fine pixel size of 1.45 microns. This promises to be especially beneficial for slower telescopes. The 715C’s sensor offers a field of view comparable to the ZWO ASI224MC, but its petite pixels make it ideal for scopes with slower f/ratios. It also has a lower max frame rate than the ASI224MC. For those new to astrophotography, the ASI224MC is a more beginner-friendly alternative.
4. First Choice in $200-$300: QHY QHY5III678C
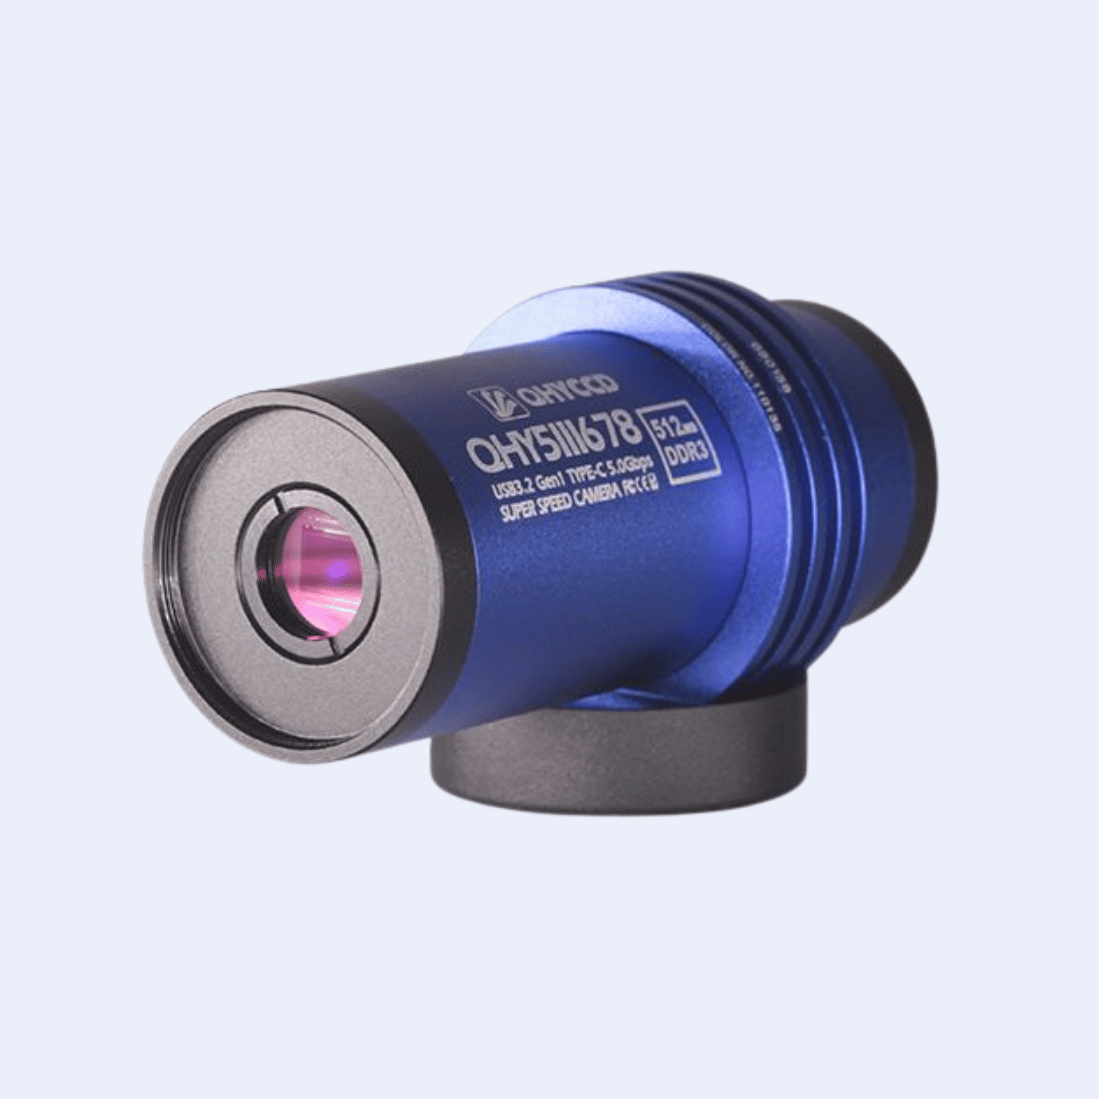
- 2 μm pixels
- High near-infrared sensitivity
The QHY5III678C is a new product and a successor to the QHY5III178 and its ZWO equivalent, the ASI178MC. This camera houses the Sony IMX678 sensor, spanning a pixel area of 3856 x 2180 with a pixel size of 2 microns. A noteworthy modern touch to the 678, as with other QHY cameras, is the transition to a USB-C port, favoring a more contemporary and robust connection over the traditional USB-B used in ZWO and older QHY cameras.
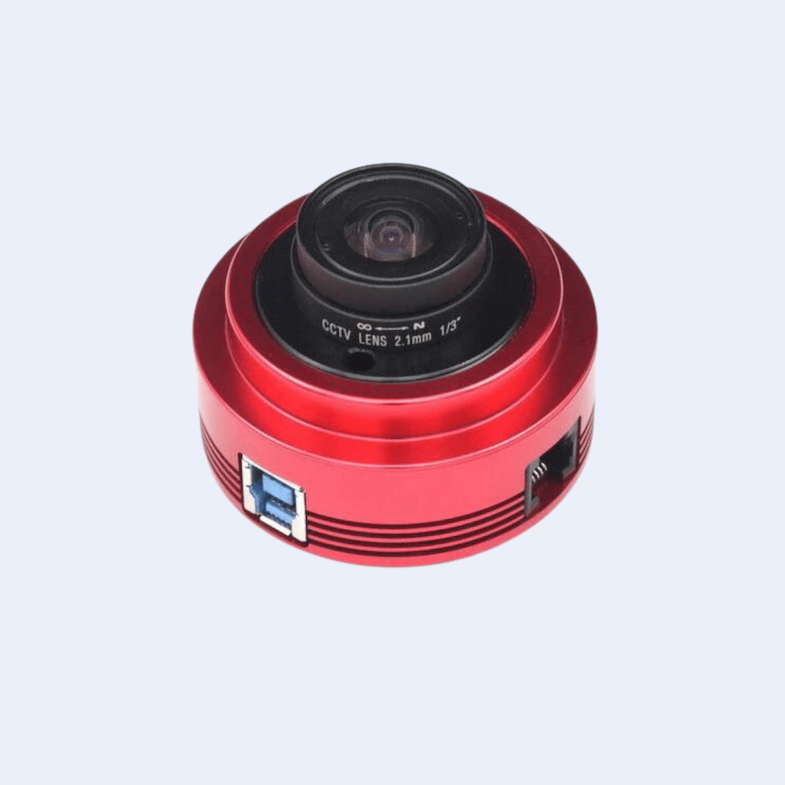
5. Second Choice in $200-$300: ZWO ASI678MC
- 2 μm pixels
- High near-infrared sensitivity
- Fisheye lens included
Mirroring the QHY 678C in terms of sensor specifications, the ZWO ASI678MC employs the same Sony IMX678 sensor but, of course, includes ZWO’s trademark red-anodized body, fisheye lens, and a USB-B port.
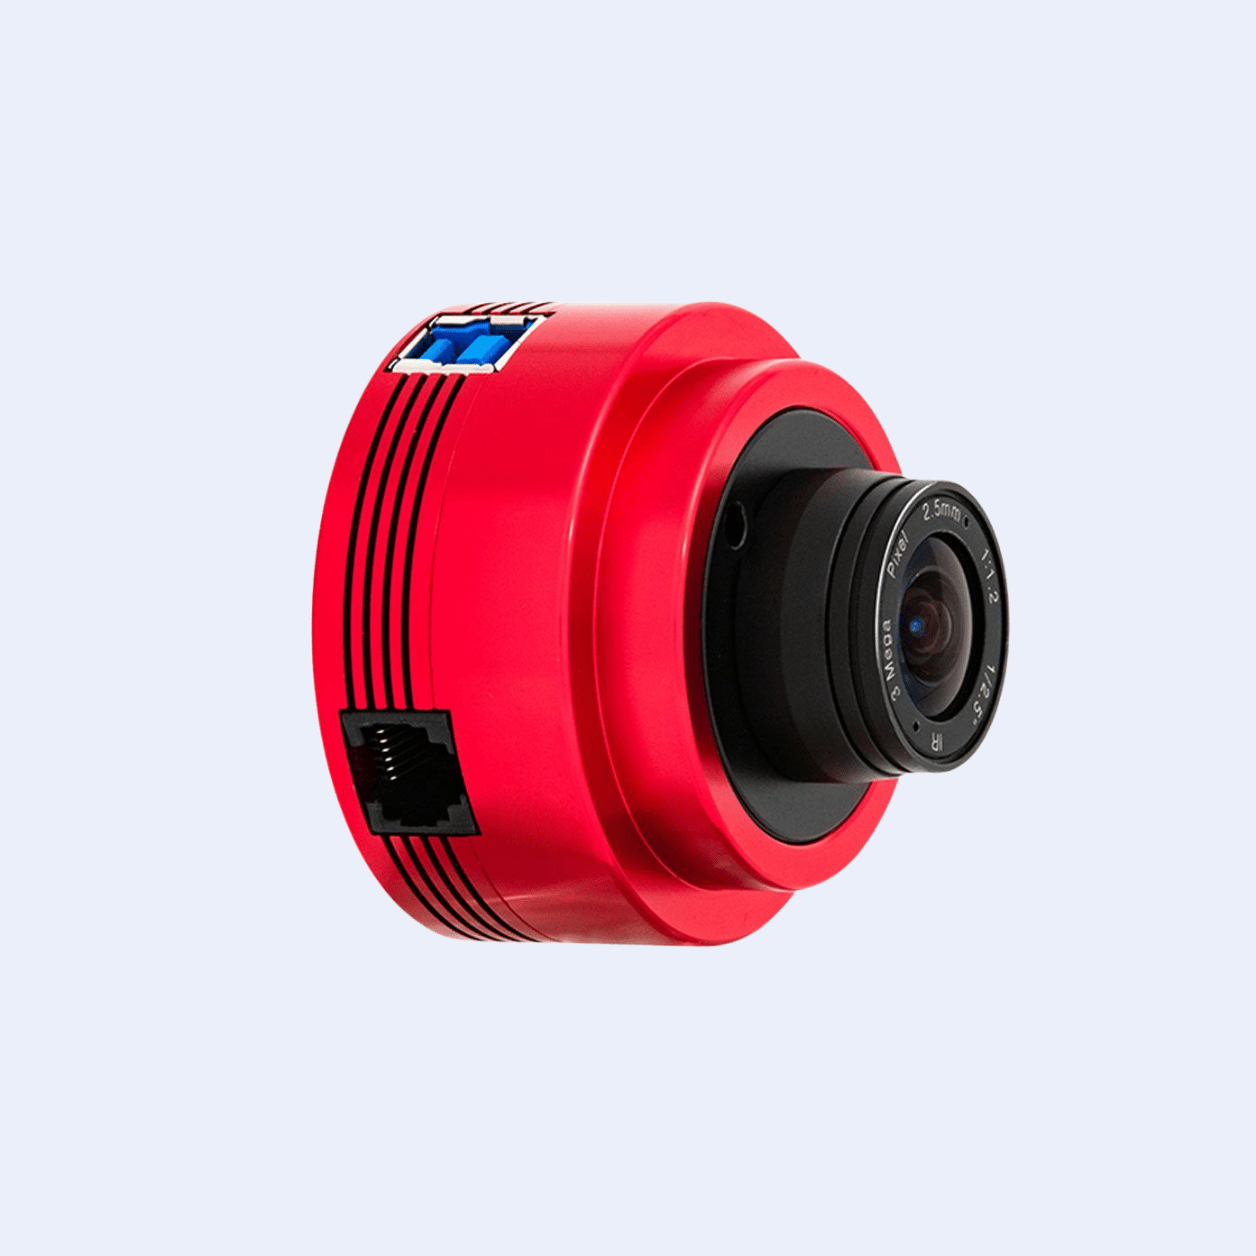
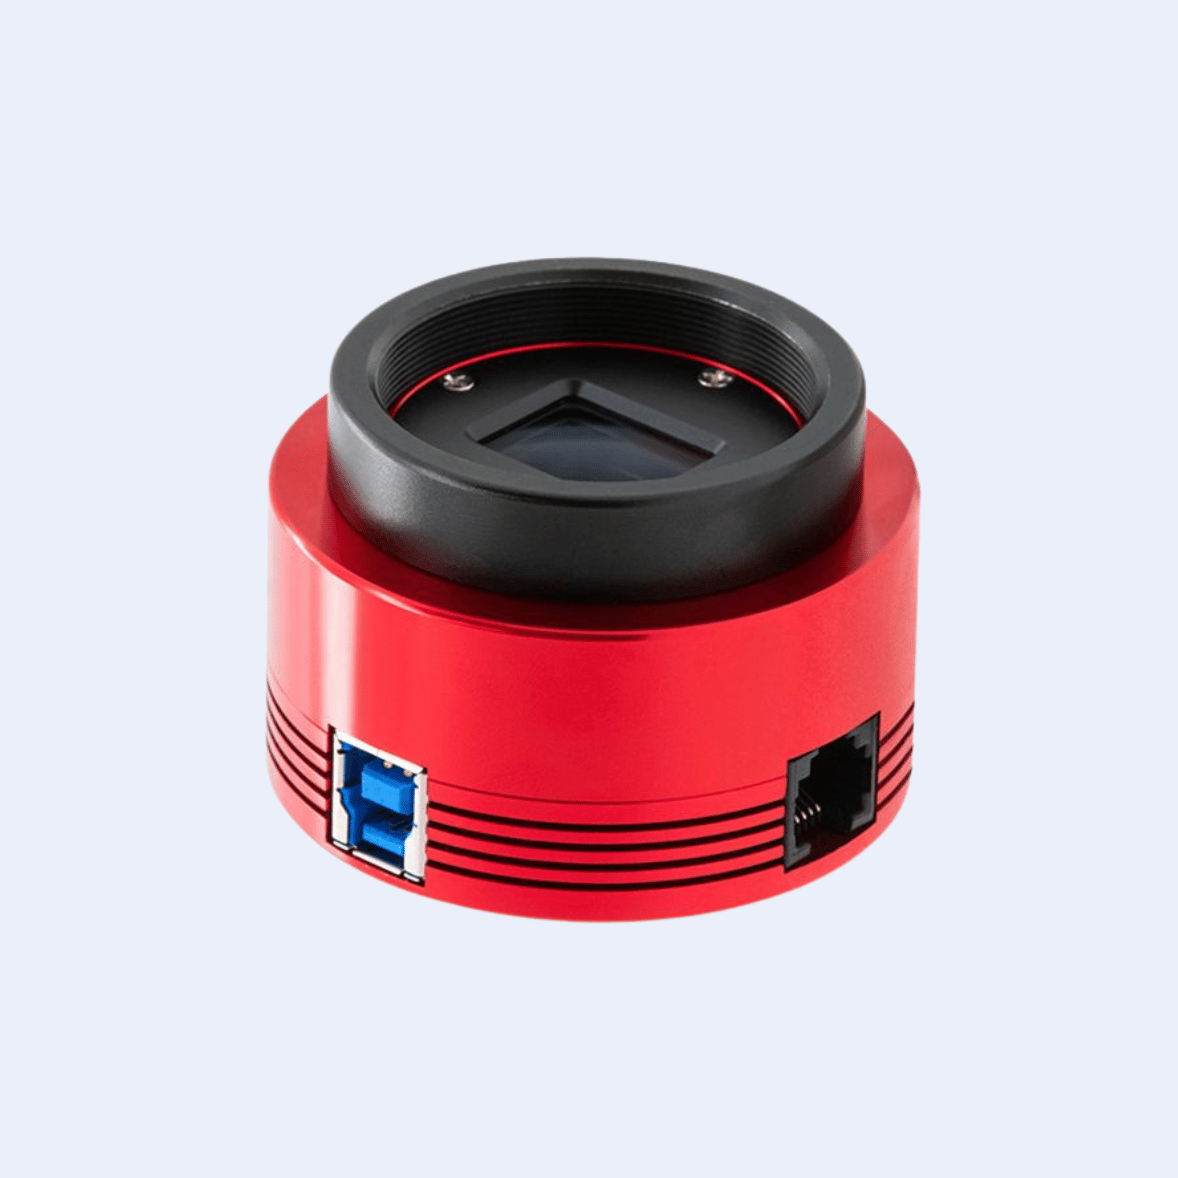
6. First Choice in $300-$400: QHY 5III 585C
- Smaller pixels and larger sensor make for a higher-resolution and more user-friendly experience
- 2.9 μm pixels
- Lower noise than cheaper models
QHY 5III 585C is another formidable contender in the realm of planetary cameras, leveraging the capabilities of the Sony IMX585 sensor. While the IMX585 has larger 2.9-micron pixels, the IMX585 has a significantly wider field of view than many other sensors, and the larger pixels are ideal for telescopes that already have a fairly long focal length.
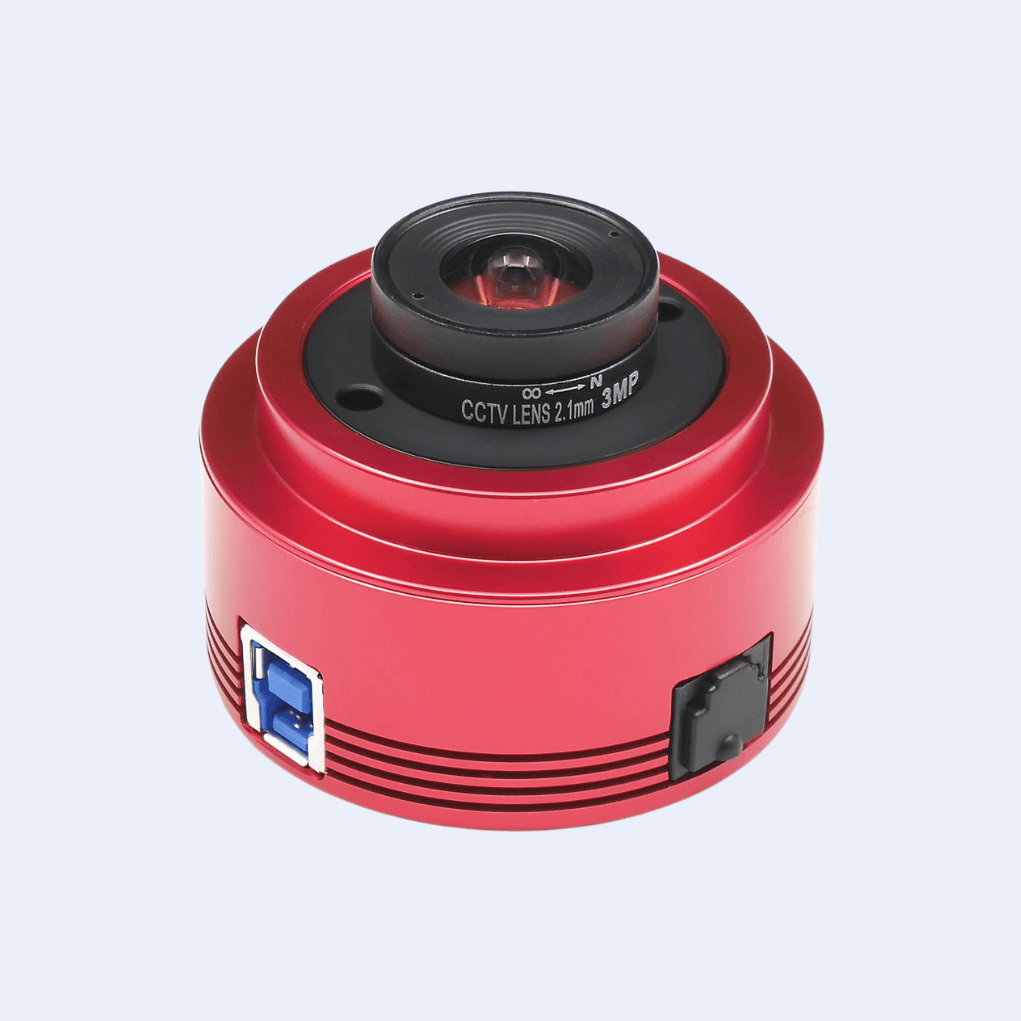
7. Second Choice in $300-$400: ZWO ASI585MC
- Same sensor as QHY5III585C
- All-sky cam and ASIAIR compatibility, unlike QHY model
- 2.9 μm pixels
The ZWO ASI585MC features the same IMX585 sensor and thus identical performance to the QHY5III585C. However, it’s bulkier, uses a USB-B cable, and of course includes ZWO’s signature all-sky fisheye lens. If for some reason the form factor and fisheye lens of the ZWO really appeal to you, there’s functionally little difference between the two cameras, though we prefer the QHY.
Planetary Camera Accessories
Atmospheric Dispersion Correctors, commonly referred to as ADCs, are near-essential tools for serious planetary imagers. Our atmosphere acts like a prism, spreading light into its constituent colors. This effect becomes more pronounced when planets are lower on the horizon, leading to a rainbow-like smear. ADCs counteract this dispersion by using a pair of prisms that can be adjusted to realign the separated colors, resulting in a sharper and more color-accurate image. We highly recommend the ZWO ADC for this purpose.
Many color cameras benefit from the use of an IR cut filter, which can be screwed onto the 1.25” filter threads of most camera nosepieces. This filter blocks infrared light, which can blur and soften planetary images or even add a pink tint.
While manual focusing has its place, the introduction of a motorized focuser can be a game-changer for planetary imaging. The critical focus zone with the extreme image scale of planetary imaging setups is extremely narrow, and even slight deviations can lead to a less-than-optimal image. A motorized focuser allows for precision adjustments, often without inducing vibrations or other disturbances. Additionally, some advanced setups incorporate autofocus routines, continually adjusting focus throughout the imaging session to counteract changes in temperature that cause expansion or contraction of the telescope tube and optics, causing shifts in focus throughout the evening.
Planetary Imaging Computer Requirements
In the digital age of astrophotography, having the right equipment isn’t limited to just telescopes and cameras. The heart of your digital workflow, usually a laptop computer running Windows or Linux, plays an equally vital role in capturing celestial wonders. For those delving into planetary imaging, ensuring your laptop is optimized for the task is paramount for a number of reasons. Here’s what to consider:
- File Storage: Planetary imaging generates vast amounts of data in a short span. It’s not uncommon to fill tens to hundreds of gigabytes in a single imaging session of just a few minutes, thanks to the uncompressed nature of planetary video captures. A large hard drive, preferably 1TB or more, is crucial to store this influx of data without constantly juggling files or risking the loss of precious data. An external drive that plugs into your laptop can be a more convenient solution, particularly if you don’t plan on doing processing on your laptop. Regardless of whether internal or external, the drive you use for imaging should be a solid-state drive (SSD) for maximum speed.
- USB 3.0 Ports: The speed at which data transfers from your camera to your laptop is pivotal. USB 3.0, or its newer iterations like USB 3.1, offer data transfer rates much faster than their predecessors. This ensures smooth, uninterrupted recording of high-resolution video, reducing the chances of bottlenecks or the loss of data to compression/corruption. Most modern planetary cameras are designed to work best with these ports, so ensuring your laptop is equipped with one or more of them is crucial.
- Performance Considerations: Beyond storage and ports, a decent processor and an adequate amount of RAM further optimize the imaging process. These ensure the smooth running of capture software and will give you the performance to stack, process, and edit the final images on your laptop should you lack a desktop PC with the requisite processing power.
For those who lack a PC entirely or find their current laptop not up to the demanding standards of planetary imaging, alternatives like the ZWO ASIAIR might seem tempting. Devices such as the ASIAIR are purpose-built to manage the capture process, offering a seemingly straightforward solution for those not willing or able to invest in a high-spec laptop.
However, while the ASIAIR and similar devices are an easy way to control a dedicated astrophotography environment, they come with their own limitations. Laptops provide you with a more extensive range of software choices, allowing for more control of the imaging process as well as post-processing. Devices like the ASIAIR, though efficient in their niche, usually limit users to brand-specific hardware/software ecosystems, and you still require a computer for post-capture processing most of the time.
If you’re already using a dedicated mini PC to control an automated telescope for deep-sky imaging, it’s usually possible to adapt such a system to run a planetary astrophotography setup. However, you will be occasionally limited by the speed of your Wi-Fi connection to a remotely operated rig, and such a setup will still need large amounts of external file storage for your video captures.
Targets to Image with Planetary Cameras
While planetary telescope cameras are, as the name suggests, primarily designed for capturing planets, their capabilities extend far beyond our seven neighbors orbiting the Sun. Both the Moon and the Sun, our closest celestial neighbors, can be effectively imaged using these specialized planetary imaging cameras. All of the planets are at least somewhat interesting to image with even a small 4-6” telescope, and it’s a bit of a different experience from visual observation with the same telescope.
Imaging Target: Planets
It’s important to keep in mind that the outcome of any final image is dependent on variables such as each planet’s placement in the sky and relative to Earth, atmospheric seeing conditions, equipment quality/maintenance, and the astrophotographer’s skill in capturing and processing the images. Nevertheless, each attempt brings its own reward, unveiling a closer look at our neighboring worlds.
- Mercury
As the closest planet to the Sun, Mercury offers challenges due to its small angular size and proximity to the Sun’s glare. However, with a larger (10” and up) telescope and good conditions, one can discern the planet’s subtle surface markings, which are next to impossible to observe visually.
- Venus
Venus, shrouded in thick clouds, does not showcase surface features in visible light. However, its ever-changing cloud patterns and phases (similar to the moon’s) can be captured. It’s even possible to discern some high-level cloud patterns and structures, particularly with the right filter setups or capture settings. Even a standard color camera should bring out subtle hints of these structures, though the infrared and visible wavelengths just past the visible spectrum are ideal for capturing most of the detail. Venus’ night side can be thermally imaged, too, using special cameras and filters (which are expensive and really outside the scope of this article).
- Mars
Mars isn’t always spectacular at the eyepiece, particularly when the Red Planet lies more distant from us. But it usually yields at least some detail to planetary astrophotographers. Depending on its distance from Earth and its current season, one might be able to spot the planet’s polar ice caps, vast plains, volcanoes like Olympus Mons, and extensive canyon systems like Valles Marineris. The planet’s numerous dark albedo features, caused by the planet’s rocky surface and dust storms, change in appearance as the planet rotates and, over time, as the wind reshapes its surface.
- Jupiter
Jupiter, the largest planet in our solar system, is a dynamic, ever-changing world of storm systems and bands. Jupiter’s thick atmosphere is colored with bands of browns, yellows, reds, and whites. The planet’s Great Red Spot, a storm larger than Earth, is a popular planetary imaging target, as are its smaller but equally intriguing storm systems. The planet’s rapid rotation can be observed in time-lapse sequences, and its four largest moons—Io, Europa, Ganymede, and Callisto—can often be captured as they cast shadows upon the Jovian cloud tops or transit across its face. A larger telescope with sufficient image scale reveals geological features on all four of the moons, though they usually only subtend a few pixels across.
- Saturn
Saturn’s iconic ring system steals the show in photographs just as it does visually. With a good setup, one can distinguish the Cassini Division, a gap between the A and B rings. The planet’s cloud tops showcase subtle bands, and on rare occasions, transient white storm systems can be imaged. Saturn’s largest moon, Titan, is an obvious gold disk in most images, and transits of the moon across Saturn similar to those of the Jovian satellites can be imaged throughout most of 2025. Smaller moons can be revealed with longer exposures or by cranking up the gain.
- Uranus
Uranus, with its subdued blue-green hue, is a tiny target that spans just a few arcseconds, barely bigger than the four moons of Jupiter. On rare occasions and with optimal seeing conditions, one might discern slight cloud banding in images. With the right settings, it is also possible to image Uranus’ moons.
- Neptune
Neptune is perhaps the hardest planet to image since it is dim (requiring higher exposure/gain settings that decrease the signal-to-noise ratio) and tiny, spanning less than 2 arcseconds—comparable to Jupiter’s moons Ganymede and Callisto in apparent size from Earth. It is extremely difficult, but possible, to reveal storms in Neptune’s atmosphere with larger amateur telescopes. Documenting such features as an amateur is, surprisingly, scientifically useful since Neptune is seldom targeted by professional astronomers’ telescopes on a regular basis and has hardly been explored at all by spacecraft. Neptune’s moon, Triton, can also be imaged as a faint point of light nearby.
- Moons of Planets
While the primary moons of Jupiter and Saturn might be the usual suspects in planetary imaging, the gas giants are home to numerous fainter moons, though those of Jupiter are usually out of reach for amateurs. By tweaking settings like exposure and gain, one can bring the more elusive satellites of Saturn into view, as well as the five major moons of Uranus and Neptune’s moon Triton. When Mars is close enough to Earth, you can use the same technique to bring out its tiny asteroid moons, Phobos and Deimos.
Using the right processing techniques, it’s possible to blend a stacked image or even a time-lapse of the faint moons of these planets into a single HDR photo showing both the giants’ features and their orbiting moons. An ambitious project is to create a time-lapse showing both the orbital motion of the satellites as well as the rotation of their parent planet; this is easy with Jupiter’s big and bright moons but takes quite a bit of work with the fainter satellites of other planets.
Imaging Target: Moon
One challenge with the Moon’s expansive size is fitting the entire lunar disk into the small sensor of a planetary camera. Enter mosaicking, a technique where multiple images, each capturing a portion of the Moon, are stitched together to create a comprehensive and detailed lunar image. Specialized software tools can aid in this process, aligning and blending the individual frames seamlessly.
Imaging Target: Sun
It’s worth noting that while solar filters make the Sun safe to observe and image, the protocols for safety should always be followed. Before diving deep into solar imaging, it’s highly recommended to acquaint yourself with comprehensive guides on safely observing the Sun. Knowledge, in this case, not only enhances the quality of your imaging but also ensures the well-being of both the observer and the equipment.
Given the Sun’s considerable apparent size, especially when using telescopes with a long focal length, mosaic images are ideal for a high-resolution view of the Sun’s entire disk. Hydrogen-alpha solar imaging is often hard to do with a color camera; a monochrome camera and adding false color in post-processing are usually the way to go.
Unlike nighttime observing, the daytime atmosphere is often turbulent due to rising heat currents. This can adversely affect image clarity. As a result, many solar imagers find that there’s a limited advantage to using telescopes with apertures exceeding 4-6 inches for solar observation. Larger apertures can capture more details, but they are also more sensitive to atmospheric disturbances.
Imaging Target: Minor Solar System Bodies
Despite deep-sky astrophotography setups being optimized for capturing dim objects, they often struggle with dim asteroids and dwarf planets. One of the primary reasons is the very slow apparent movement of these distant bodies against the starry background, as well as their proximity to often significantly brighter stars. A large image scale is required to distinguish these objects and their slow movement across the sky. As such, a planetary camera can be utilized for the job instead.
The leftovers of our Solar System’s formation, the asteroids, present a unique challenge for astrophotographers. These moving points of light can be captured using short-exposure images, often lasting just a few seconds. Alternatively, brighter asteroids such as Ceres and Vesta can be shot with the conventional video/stacking method, albeit with higher gain settings than what you would use on Jupiter or Saturn, for instance. Larger telescopes will allow you to resolve the oval shape of Vesta with the right camera settings and conditions.
As asteroids move across the sky, they can occasionally pass in front of a distant star, momentarily blocking its light in an event known as an occultation. Capturing such events with a planetary camera can contribute to valuable scientific data, helping refine asteroid sizes, shapes, and orbits. The Moon’s frequent passes in front of bright stars can be used to study both the Moon and the parameters of the occulted star or stars.
The ability to capture high-frame-rate video is a hallmark of planetary cameras, and this proves especially invaluable during events like asteroid or lunar occultations. By recording at high speeds, astronomers can pinpoint the exact moment of the occultation and its duration, which is vital for scientific analysis.
The distant members of our Solar System’s Kuiper Belt, dwarf planets like Pluto, Makemake, and Haumea, can also be within the reach of planetary cameras, though long exposures are required to gather enough light to pick up these objects.
Imaging Target: Double Stars and Planetary Nebulae
Given their brightness and compact nature, double stars are ideal subjects for planetary cameras. Using high frame rates can ensure crisp separation of the components, showcasing the color contrasts and relative positions of these stellar pairs.
While you might consider larger planetary nebulae to be within the realm of deep-sky cameras, many planetary nebulae, like the Cat’s Eye, with their compact, colorful, and often well-defined structures, can be imaged using planetary cams. Short exposures coupled with increased gain can tease out the delicate details of these dying stars far better than any conventional setup.
Hi Zane, thanks for your guide. Owning an 8” dob and having spent a few hundred hours on websites, ai engines, and YouTube regarding planetary and dso ap but without starting any yet, I would appreciate your advice in getting a planetary camera for my C8 on the Nexstar mount which I bought second hand at a very attractive price. As I’ve realised the instability of the fidgety mount I could upgrade to an eq mount like the heq5 or spend a bit more for an eq6r pro for future proofing, or I could alternatively swap it for a Nexstar 6se for a super grab and go scope with minimal cool down time that I’d use even with a larger SCT I’ll likely get as a progress in this hobby. The 6se would also allow me to travel by air more efficiently than the 8se which could also be useful for imaging the solar eclipse next year and would also give me a great start on planetary imaging plus allowing me to maximise the potential of a small C6. But before I do so I would like to begin some basic planetary imaging on the 8se, and my only missing compulsory piece of equipment is a planetary camera. As with all my other equipment, I would like to buy a camera second hand. I often find ZWO ASI224MC’s on eBay and UKABS for prices under £100 which seem great, though I recently spotted an ASI585MC for £250. Do you have a recommendation to choose one over the other? Additionally, what are your thoughts on swapping the 8se for a 6se which I would do so second hand?
Thanks a lot and I hope for a reply