
You bought your first telescope; now what?
If you really want to experience the best, you should get some telescope equipment that will work with your telescope. Even if you’re looking to gift something related to astronomy to your friend, any of these accessories could be the best fit. For the sake of simplicity, I’m breaking down the list of stargazing tools into the following categories:
- Furniture
- Books, Charts and related
- Observing report tools
- Computer/phone/tablet apps
- Optical enhancements
- Containers
- Miscellaneous
Furniture
- A good observing chair will really enhance your observing experience.
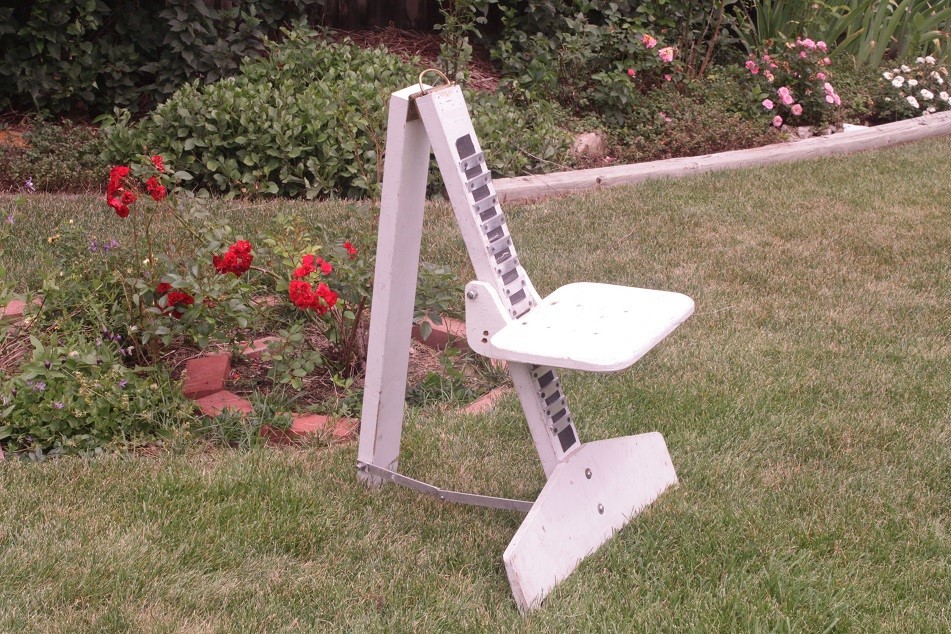
One with adjustable height would be best, as your scope will be tipped at various angles as you observe. There are many good choices of commercially available observing chairs. They typically run in the $100 to $300 range. Here are a few examples:
- A portable table to place beside your telescope can be very handy.
It doesn’t have to be large—just a place to put a notebook or to rest your star chart during an observing session is enough. You can use anything, but a fold-up camp table works well for portability. One that goes into a bag is excellent if you frequent remote sites or take things on vacation where packing space is at a premium.
- The last one is a stargazing flashlight for the table or other uses.
I clip this to the back of my car when I am unpacking at a dark site, directing one beam into the car and one on the ground. The interior white lights are off so that I don’t disturb other astronomers and that I don’t ruin my developing night vision. I need some light but a flashlight would tie up my hands. This clips to the hatch of my SUV. I also use it at my table as a work light to read my charts or light my notes.
And finally, when I am using the telescope inside a backyard observatory, this clips on to the frame of the dome or a table to light the floor and the table where my eyepieces, charts and other equipment reside.
One item I won’t recommend is a red headband light. A lot of people use them and I stay as far away from those folks as possible. They forget they have it on and love to blaze this bright red light into your eyes as they speak to you. It is very disturbing and looking directly into the beam will damage your dark adaptation, which is why I prefer to use a clip on that I can direct away from my face and everyone else’s.
Books, Charts, and Related
- Books on astronomy can range from beginner guides to deep dives into all sorts of subjects.
Most will contain some form of sky chart, but these are not focused star charts. I am going to suggest some great beginner books that will teach you about your telescope, observing and how to find things in the sky. There are so many; here are a few that are telescope-oriented for your consideration.
- The next step from the beginner books is star charts.
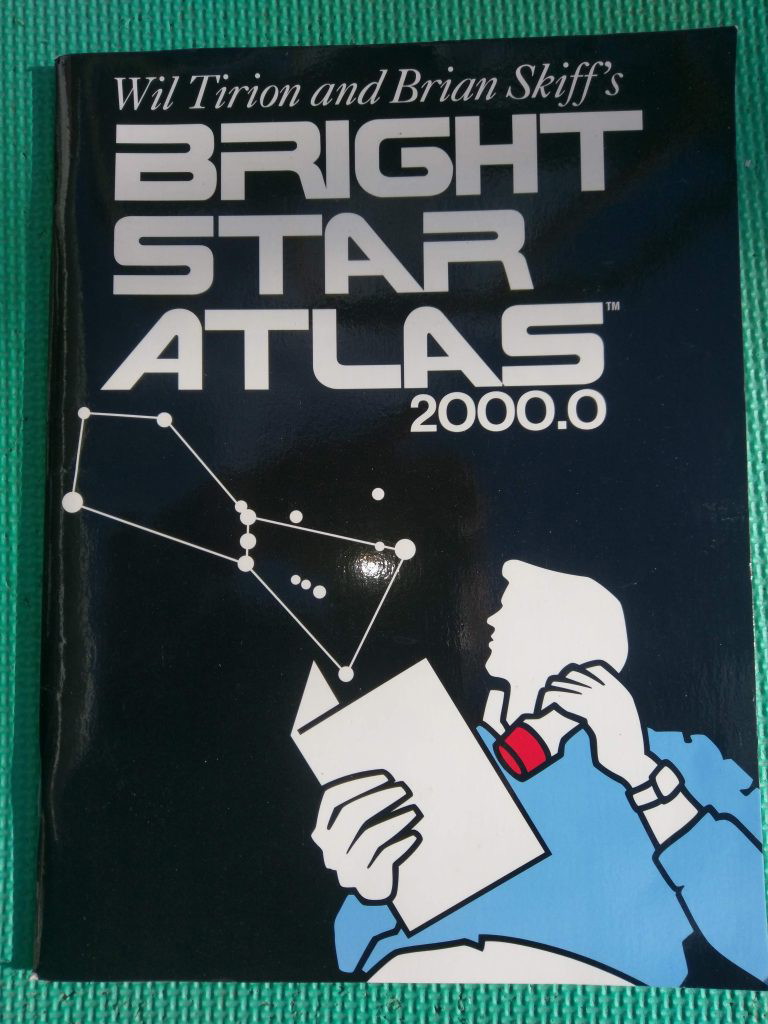
Some are simple and inexpensive and some are larger and more comprehensive. When you venture into the deep sky, beyond what is covered in the beginner books, this is where you go next.
- Now that you have your books and charts, you need a red light so you can read the charts at night without destroying your night vision.
White light will mess up your night vision. But red lights do not hurt your night vision nearly as much. Look for one that is made for astronomy so that the light is not too bright. Or one that has an adjustable level. You want to be able to read your star charts on the table next to you but if the light is too bright it will affect your eye’s dark adaptation.
Observing Report Tools
You might not think of this initially but taking notes at the telescope will enhance your observing experience and sharpen your observing skills. I highly recommend it.
The report can range from a few notes scratched on a pad that list the targets for the night. Or you can go as far as formal, detailed reports fit for an observatory. My observing reports are more of the former. I like to use a blank sketch pad, as I sometimes do a quick sketch of what I see. A circle with a few stripes might be Jupiter, with some dots or small circles to indicate where the moons were. I might note the great red spot too.
I might do a quick sketch of a star cluster. I am no artist and you may not be either, but I find that I pay more and deeper attention to what I am seeing and begin to truly observe the targets.
You can also record what telescope you used, what eyepieces you used, what filters you used, date, time, temperature and the general observing conditions. You can go back to these years later and actually relive the observing session. Or you can use them as a reference to see what you might wish to take out for this observing session.
The notebook can be a simple blank sketch pad, a lined notebook or a formal observing log.
If you don’t have a work light, a lighted pen may be all you need. You click on the pen and an internal light comes on to light the pad as you take notes, then click it off. You can also use it as a quick light to check which eyepiece you are going to select next. I find it very useful.
Computer, Tablet, and Phone Apps
If you like to use applications on your home computer, laptop, tablet or phone, there is an abundance available, and many are free or very low-cost. I am not going to go into a lot of detail on each one, as that would be an article all by itself. A quick search will find these and others.
The first ones are weather apps. These provide information about cloud cover, transparency and “seeing” which relates to the turbulence of the atmosphere. These are available on your computer and on your phone/tablet.
Next are electronic star charts or planetarium applications. Unlike paper charts, you can set these for date time and they will show you the sky and highlight things to see. Some will let you point your phone/tablet at the sky and tell you what is up there. Very cool!
Some are available for a particular operating system and some, like Stellarium, are available across multiple operating systems. These will get you started in your investigation. A quick search will find them.
- Stellarium
- SkEye
- Jupiter Simulator
The last group is tools to help you plan your observing session by telling you what is in the sky tonight. These can classify things by target type, brightness, and other parameters. Some include places to take notes so you can file and organize your observing reports and history electronically. Here I have provided links.
Optical Enhancements
Your scope likely came with one or two eyepieces, maybe a Barlow lens and possibly a filter. But you are going to want more, as the initial items won’t be enough for you to take full advantage of your telescope’s capabilities.
- Eyepieces
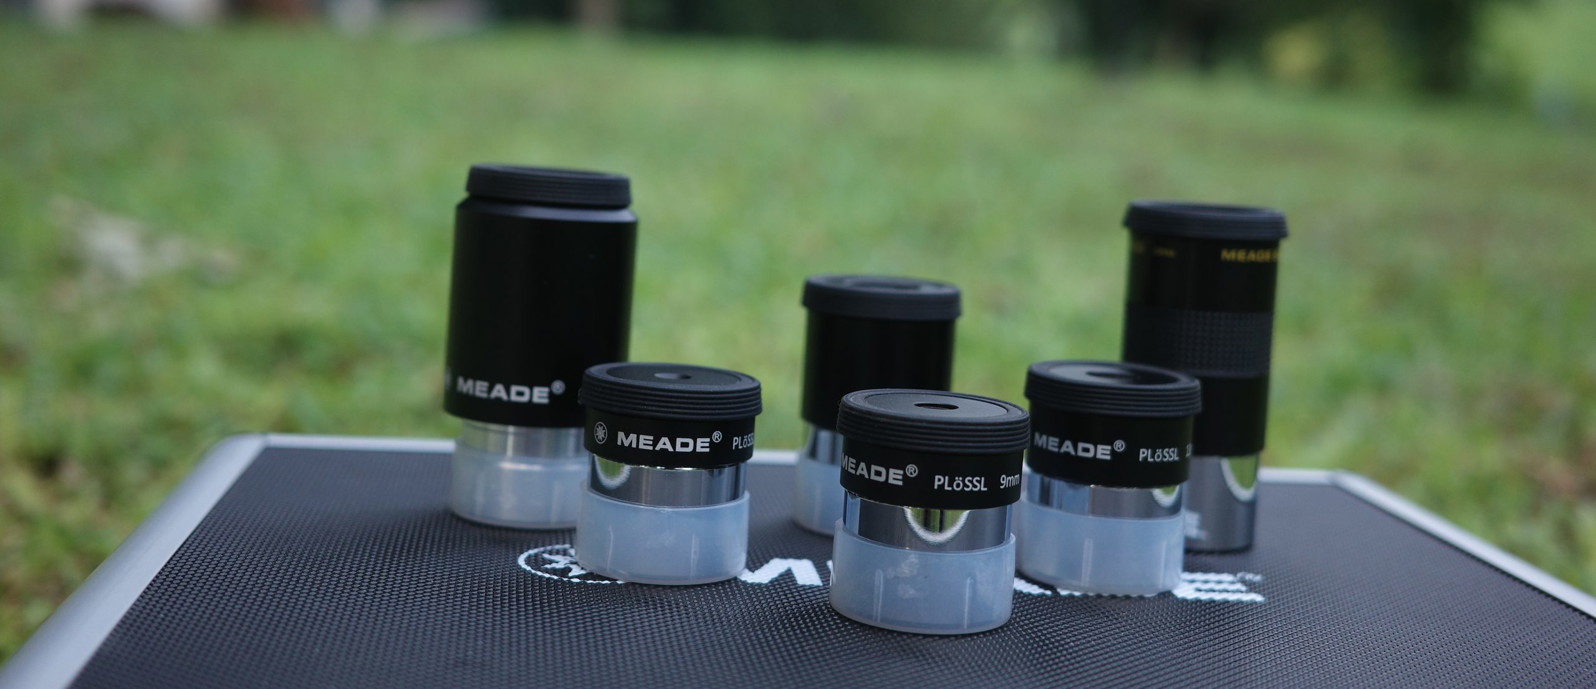
The telescope gathers light. The eyepieces provide the magnification. Some things look better at low magnification, some at medium, and some at high. Others, like planets, will take all the magnification you can get. The limit to magnification is the aperture of your scope and the atmospheric conditions.
You can’t control atmospheric conditions. Humidity, air pollution, dust, and turbulence in the air will scatter the light as it comes from space to reach your scope. As a result, some days you can apply more magnification and some days less. Having a selection of magnifications either by eyepieces and/or a Barlow lens to be used with your eyepieces will give you the option to choose the best magnification for that target on that day.
What is a reasonable maximum expectation for your telescope? The typical rule of thumb for maximum practical magnification for a particular telescope is 2x the aperture in mm. So if you have a 90 mm scope, it will max out around 180X under very good atmospheric conditions. On many days, you will not be able to go that high, but on some rare days, you will be able to go higher.
I’ve written a detailed article on eyepiece series I often recommend, covering a broad range of budgets. Make sure you select one that is the correct size, as they are available in 1.25” barrel, which will fit almost any scope, and 2” barrels, which will fit scopes that can take 2”. Check what your scope uses before you buy.
- Barlow Lens
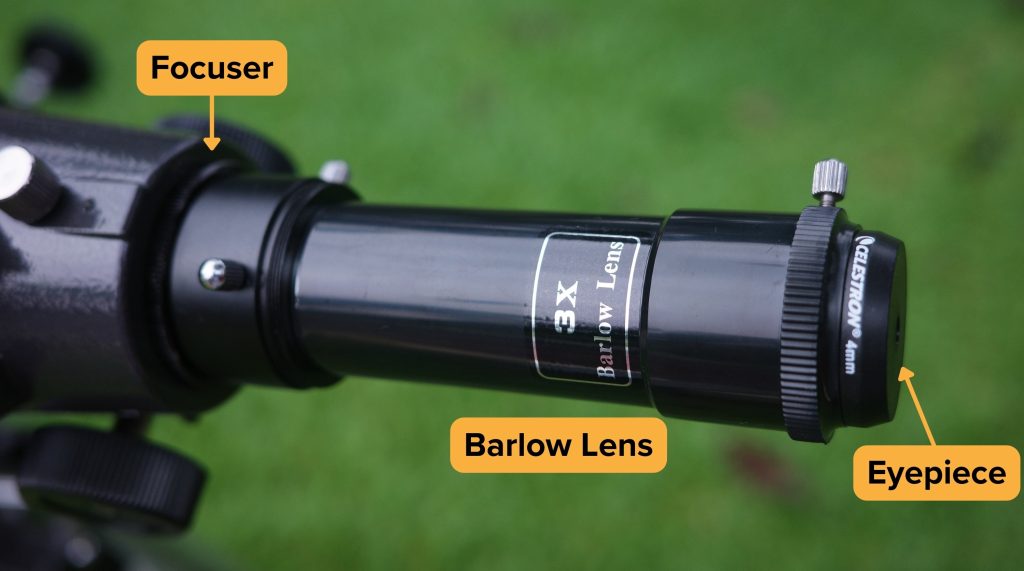
A Barlow Lens is a multiplier. You place it into the telescope where the eyepiece would normally go. Then you place the eyepiece into the Barlow. If you have 3 eyepieces that are properly spaced and have a Barlow lens, you can have 6 magnifications for less money than if you bought 3 more eyepieces.
- Filters
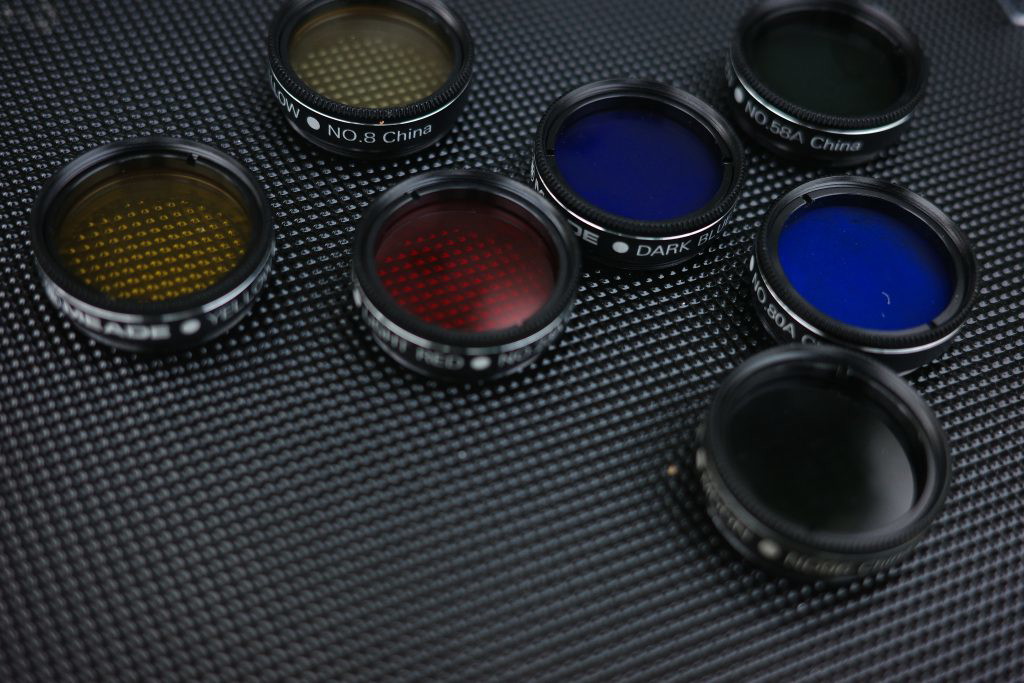
Filters are usually disks that are screwed onto the bottom of the eyepiece. A Moon filter is usually the first filter people buy. The Moon is very bright, especially when it is near full, and can be difficult to observe because it is so bright. A filter reduces the amount of light that is transmitted to the eye, like sunglasses. I recommend a 25% filter, which would pass 25% of the captured light. Moon filters are typically found as 13%, 25%, 40%, and variable transmission.
Moon filters can also be useful when viewing the very bright planet Venus. Venus is covered in clouds so it is highly reflective and will appear as a bright blur. But with a Moon filter to cut down on that glare, you will be able to see the changing phases of Venus, which are similar to the phases of the Moon
Colored filters are most useful on planets. How to select the right colors is a topic unto itself. But you may wish to pick up an inexpensive set of four to eight color filters, which can often be had for less than $50. They can be a starting point for you to learn how to use colors. Naturally, the better ones cost more.
Light Pollution filters are becoming less and less useful. These were designed back in the day when most communities used mercury vapor and sodium vapor streetlights. The filters were tuned to these wavelengths and provided some limited benefit. But many communities have moved to white LED street and parking lot lights. Light pollution filters provide no help in filtering out these sources of light pollution. Before buying a light pollution filter, find out what kind of lights you have in your area.
Nebula filters and Oxygen III (OIII filters) are used on Nebula. A nebula often transmits light at very specific wavelengths. These filters allow a very limited range of wavelengths to pass. This darkens the surrounding sky, which can bring out the nebula. I suggest you consider these last, as they can be expensive. Also, because they limit the amount of light, they work best with larger aperture scopes, say 120 mm and larger. But, if you have the money and the interest, don’t hesitate to try one on smaller scopes. Which nebula or OIII filter works best on which nebula is a discussion all its own and is often a matter of trial and error. Do a little research before you buy.
Any telescope can be used to observe the Sun by adding a full-aperture filter at the front of the scope. Make absolutely sure this is a solar filter for visual observing and not for astrophotography, as they are different. AP filters may not provide enough protection for your eyes. Remember, never point your telescope at the Sun without a proper filter on the front of the scope. And NEVER use a solar filter that attaches to the eyepiece. These are dangerous and are not generally available anymore, but occasionally they pop up on eBay. They are dangerous!
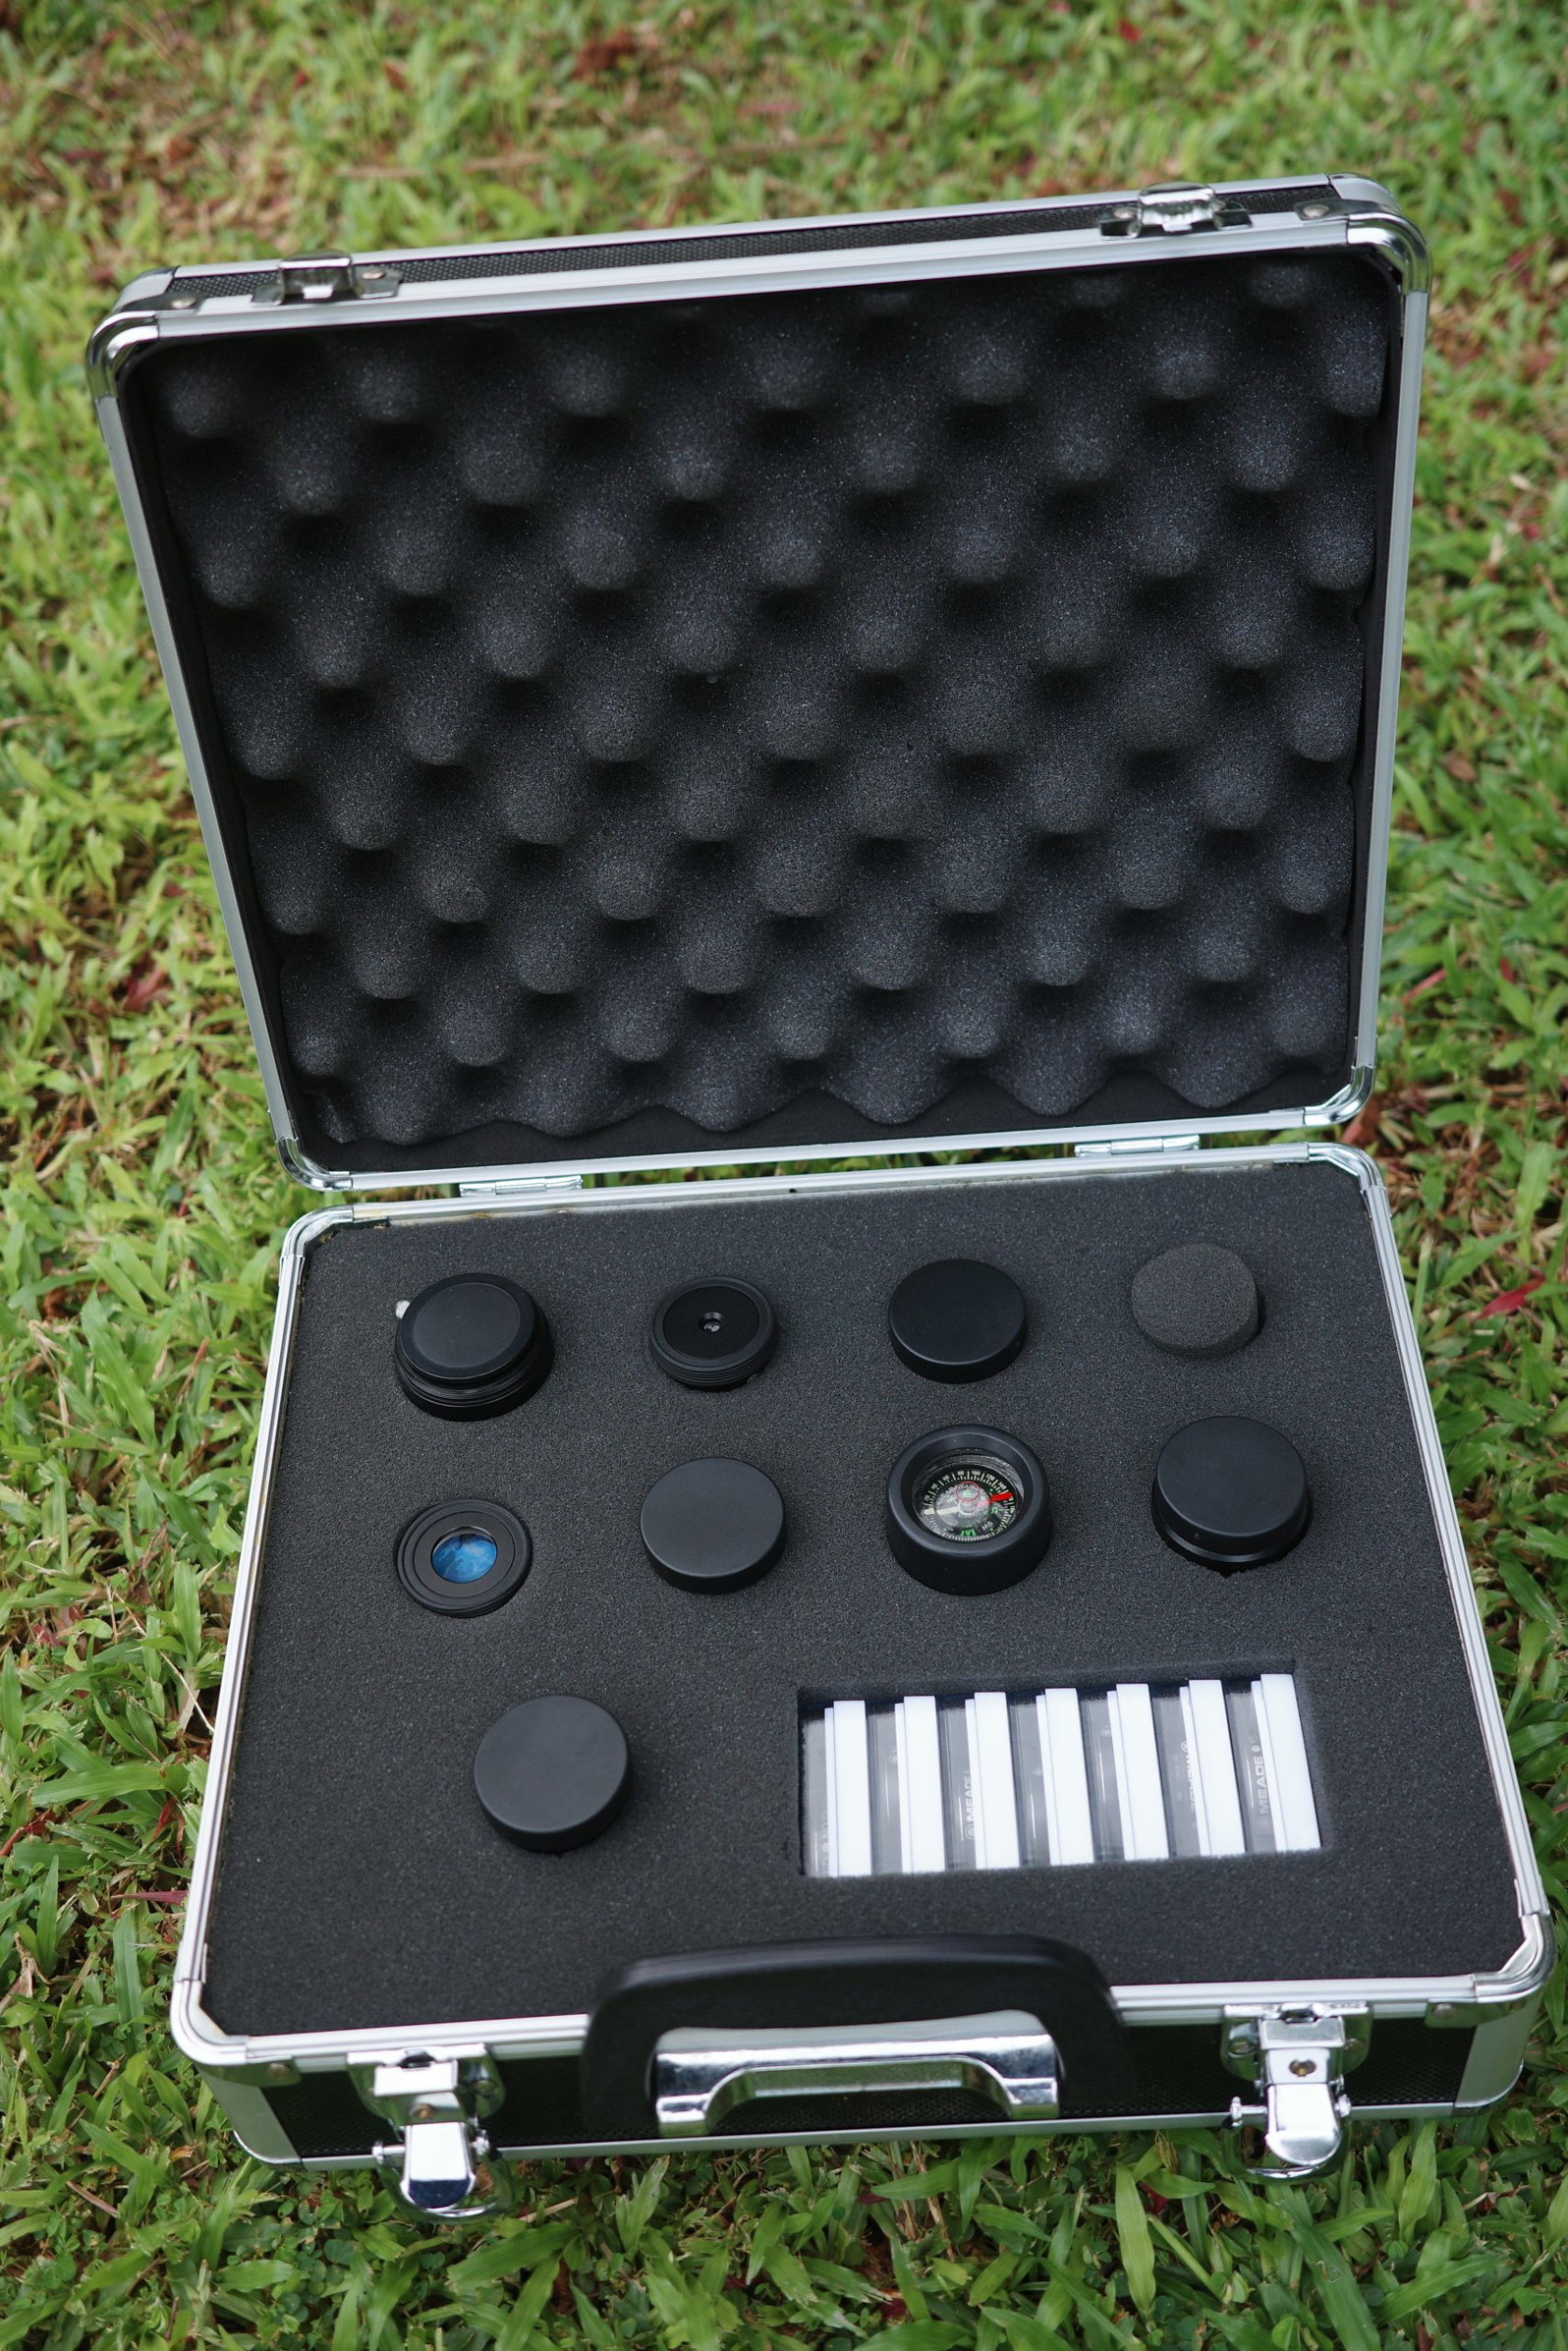
Containers
As you progress in the hobby, you are going to accumulate stuff that you will wish to store in an organized manner to protect it and keep it clean and dry. Here are a few more stargazing tool items for your shopping list.
Eyepiece cases are very popular. They are usually padded to protect these somewhat delicate and often expensive items. There are dedicated eyepiece cases but you can really use anything you like. Just consider how you will secure the eyepieces so they don’t bang around during transport. Foam is usually the method used to secure the eyepieces in place.
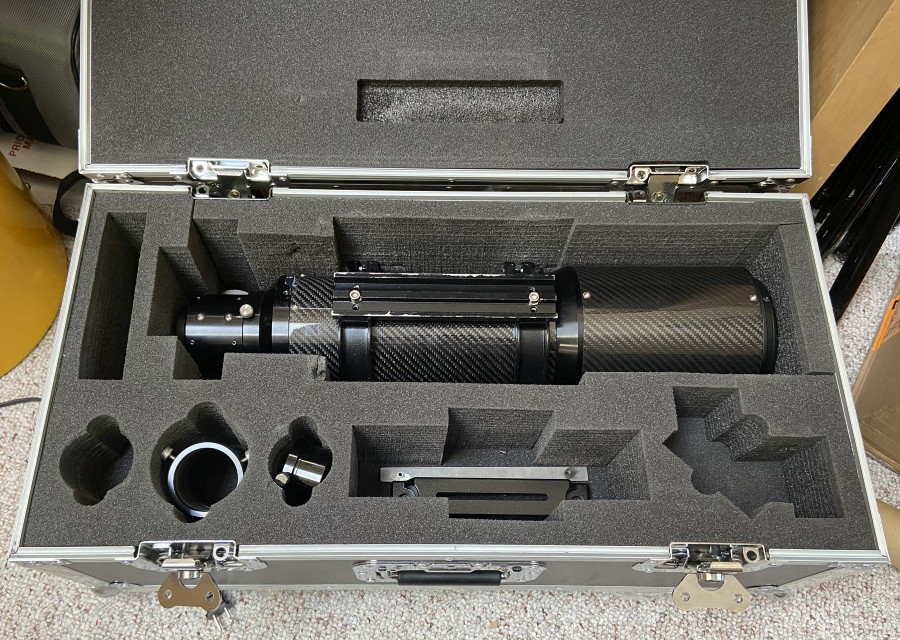
Depending on where you store your telescope, you may not need a case. However, if you travel with it a lot, you may wish to have a protective case. Many of the larger manufacturers make custom cases that are fitted to their individual telescope optical tubes. And there are those who provide more generic cases with foam where you do the fitting yourself.
The balance of your accessories that are not in need of padding can go in fishing tackle boxes, tool boxes, backpacks or bins. Whatever makes them easy to carry and store.
Miscellaneous
Basically, anything not listed above falls into this category.
- Extra batteries for your computerized mount
- Extra batteries for your finder scope
- Pencil, pen, and pad
- Tools: screwdriver, pliers, etc.
- Binoculars: A great adjunct to your telescope
- Hand warmers for when you observe in cold weather
- Water and snacks for those extended sessions away from home
- First aid kit
Finally, I find that astronomy is usually more enjoyable with friends. So seek out the local astronomy clubs. Visit some of their meetings. Most clubs welcome visitors. Many have observing nights where you can see all the scopes the members use. Perhaps someone has the same telescope you and can provide some tips on what eyepieces and accessories they have found most helpful.
You have embarked on a wonderful hobby. Over time, you will add accessories and tools to enhance your experience. I hope you have gained some useful ideas here.
Thank you, Ed for a terrific article. Could you expand a bit on the stargazing flashlight you mentioned or perhaps provide a link? I don’t seem to able to find one that “clips on” as your article indicates.
Search for “On-Stage Clip-On LED Light (Red)” and you should find it.
Got it. Thanks!