
When to Best See Jupiter
All the planets orbit the Sun; however, their orbit periods differ. Earth’s orbit is defined as 1 year. Jupiter’s orbit takes 11.88 Earth years. Jupiter orbits the Sun much slower than Earth due to its significant distance from the Sun, about 5 times the distance between the Sun and the Earth. On average, it spends about a year traversing each constellation of the Zodiac, moving to the next one approximately every 12 Earth months. This slow pace makes Jupiter’s motion through the sky predictable, enabling us astronomers to track its position easily.
Jupiter is best visible around the period of opposition, the next of which will be on January 10, 2026. During this time, Jupiter rises right around sunset and stays visible nearly all night, appearing at its biggest and brightest as seen from Earth. Jupiter will be visible for the next few months as it drops into the evening sky, disappearing low at sunset in late June, in time for superior conjunction on the other side of the Sun on July 29th. This cycle then repeats, with Jupiter reappearing low in the pre-dawn sky in August and gradually getting higher and higher before another opposition on February 11, 2027, followed by another superior conjunction on August 31, 2027.

Jupiter and the Earth travel in elliptical orbits, meaning they are not perfect circles. And since the Earth circles the Sun faster, the distance between Jupiter and the Earth is constantly changing. During opposition, when Jupiter is near aphelion (its farthest point from the sun), it is about 660 million kilometers (410 million miles) away from Earth, while during the best oppositions (around the perihelion), it is only 590 million kilometers (366 million miles) away. So, there are better and worse years to view Jupiter.
How Do We Find Jupiter?
To find out when Jupiter is visible, I just do a quick internet search or use a planetarium app like Stellarium. The picture shown here is a screen capture from Stellarium.

The view shown is facing directly south from approximately 40 degrees north latitude. The red line that goes from left to right in an arc is called the ecliptic. It is an imaginary line that goes from east to west along which the Sun, Moon, and planets appear to travel.
To locate the ecliptic, simply watch the path of the Sun as it goes from sunrise to sunset. If the Moon is visible at this time, it will travel along a similar path.
When Jupiter is in our night sky, it will follow a similar path. Just like the Moon, Jupiter will rise in the east, travel the ecliptic, and set in the west. So, when Jupiter is in the sky, it is easy to find.
Jupiter is very bright. If we look at the brightest objects in the sky, they are the Sun, Moon, Venus and then Jupiter. So, when Jupiter is in the sky, it is brighter than any star in the sky.
You might mistake Jupiter for a bright star, but when you notice it is on the ecliptic, you will also notice that it looks larger than a star. And if you look at Jupiter with binoculars, you can see that it is a disk, not a point of light.
Viewing Jupiter in the Daytime Sky
Under exceptional conditions, like Venus, it is possible to spot Jupiter in the daytime during periods when it is not particularly close to opposition or too near the Sun in the sky. It’s easiest to track the planet after sunrise if you’ve spotted it in the pre-dawn sky.
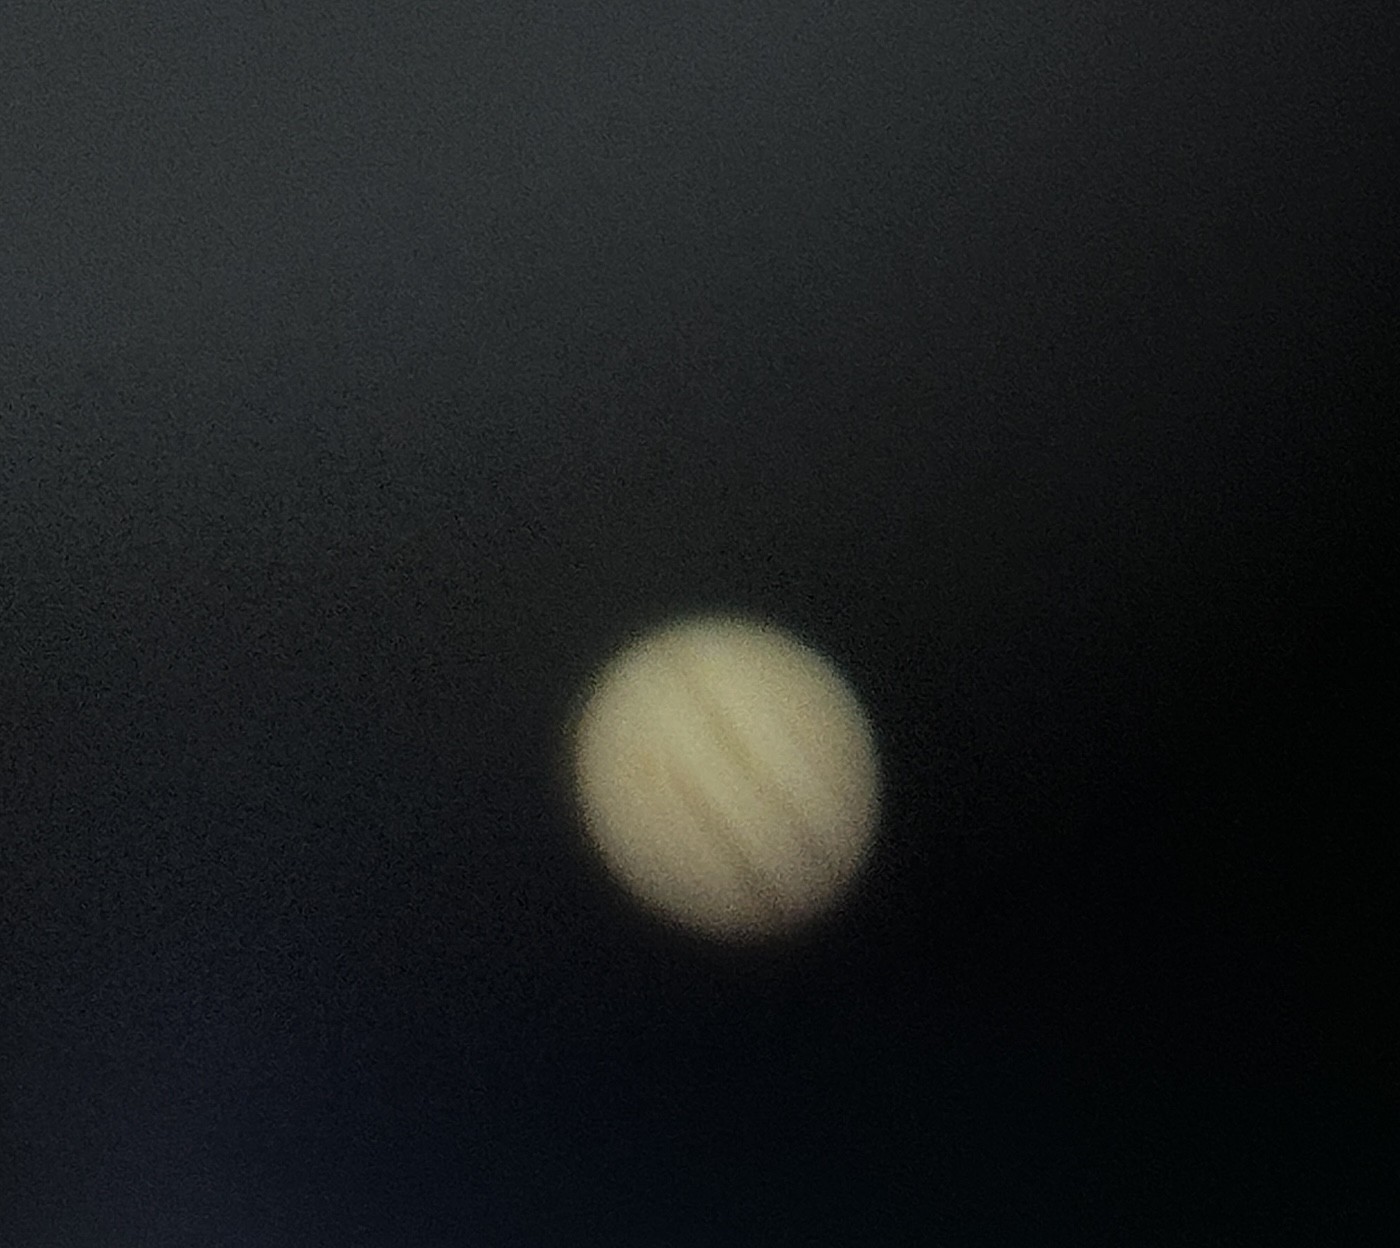
During evening apparitions, it’s possible to find the planet as a yellowish dot if you know exactly where to look. Binoculars or a finder scope will reveal it without much trouble. But exceptionally clear skies free of smoke, haze, smog, or dust are needed to spot the tawny orb with our unaided eye.
You should, of course, avoid looking directly at the Sun with your eyes or any optical instrument and set up in the shade if you are making this attempt.
Daytime can be surprisingly good for observing Jupiter. The blue sky acts as a natural filter, enhancing contrast in the planet’s cloud bands, though the Galilean moons are often washed out through smaller telescopes. If Jupiter is high in the sky, you might be treated to some surprisingly stable seeing conditions ideal for sharp views of the planet too.
Interesting Things to Look For
- 4 Galilean Moons
First, have a look at Jupiter with binoculars or through your finder scope, if you have any. Even modest 7×35 binoculars and 6×30 finderscopes are enough to see the four bright Galilean moons of Jupiter: Io, Europa, Ganymede, and Callisto.
When using binoculars, a magnifying finder, or the low-power eyepiece of a telescope, Jupiter and its moons will look something like this picture.

The moons move through their orbits pretty quickly. As a result, their positions will be different every night. Some nights, you may only see two or three moons, as the other moons may be behind Jupiter. They can form interesting combinations.
Io, being the closest to Jupiter, has the shortest orbital period, only 42 hours. If you were to observe Jupiter for a couple of hours, you might actually see Io move behind Jupiter or come out from behind Jupiter.
One of the most captivating phenomena involving Jupiter and its moons are the shadow transits. These occur when one of the Galilean moons passes in front of Jupiter, casting a small, dark shadow onto the planet. I’ve caught these shadow transits with even a 3” (76mm) telescope.
Occasionally, I’m treated to the remarkable sight of double or even triple transits, when two or three of the Galilean moons and their shadows cross Jupiter at the same time. These events are relatively rare due to the specific alignment required between Earth, Jupiter, and the moons.
On a very good night, I’m able to see broad surface details—shading known as albedo features—on the Galilean moons. These do correspond to geological features but are usually too broad to match anything specific.
- Io features a yellowish equator with dark-orange poles.
- Europa is off-white.
- Ganymede features several broad, darker and lighter regions.
- Callisto’s surface looks peppery.
An 8” telescope can show you these features on a very steady night; a 12” or larger instrument reveals a few specific details on Ganymede and the broad brownish patches on Europa.
- Other Small Moons
Jupiter has more than 90 additional moons, but most cannot be seen with typical hobby telescopes. However, if you have a large enough telescope, say 16” or larger, you may be able to see more than these four brightest moons. Observing the non-Galilean satellites of Jupiter has always been a challenging but rewarding task for me with my homemade extra-large dobsonian telescopes.
Among Jupiter’s moons, Amalthea stands out due to its size. Despite being much smaller than the four Galilean moons (Io, Europa, Ganymede, and Callisto), Amalthea is significant—about the size of all the non-Galilean moons combined. However, observing Amalthea is not an easy task due to its close proximity to Jupiter and its faint magnitude of around 14.1. To catch a glimpse of this moon, I’d need a telescope with an aperture of at least 20 inches, although a telescope of 36 inches or larger would be preferable.
Himalia, an outer irregular moon, is a notable object for amateur astronomers. Its visual apparent magnitude, varying between 14.6 and 15.6, allows it to be observed with a 10–12″ telescope. Since it takes 250 days to complete an orbit around Jupiter, it moves very slowly across the sky—at times appearing up to 1 degree from Jupiter.
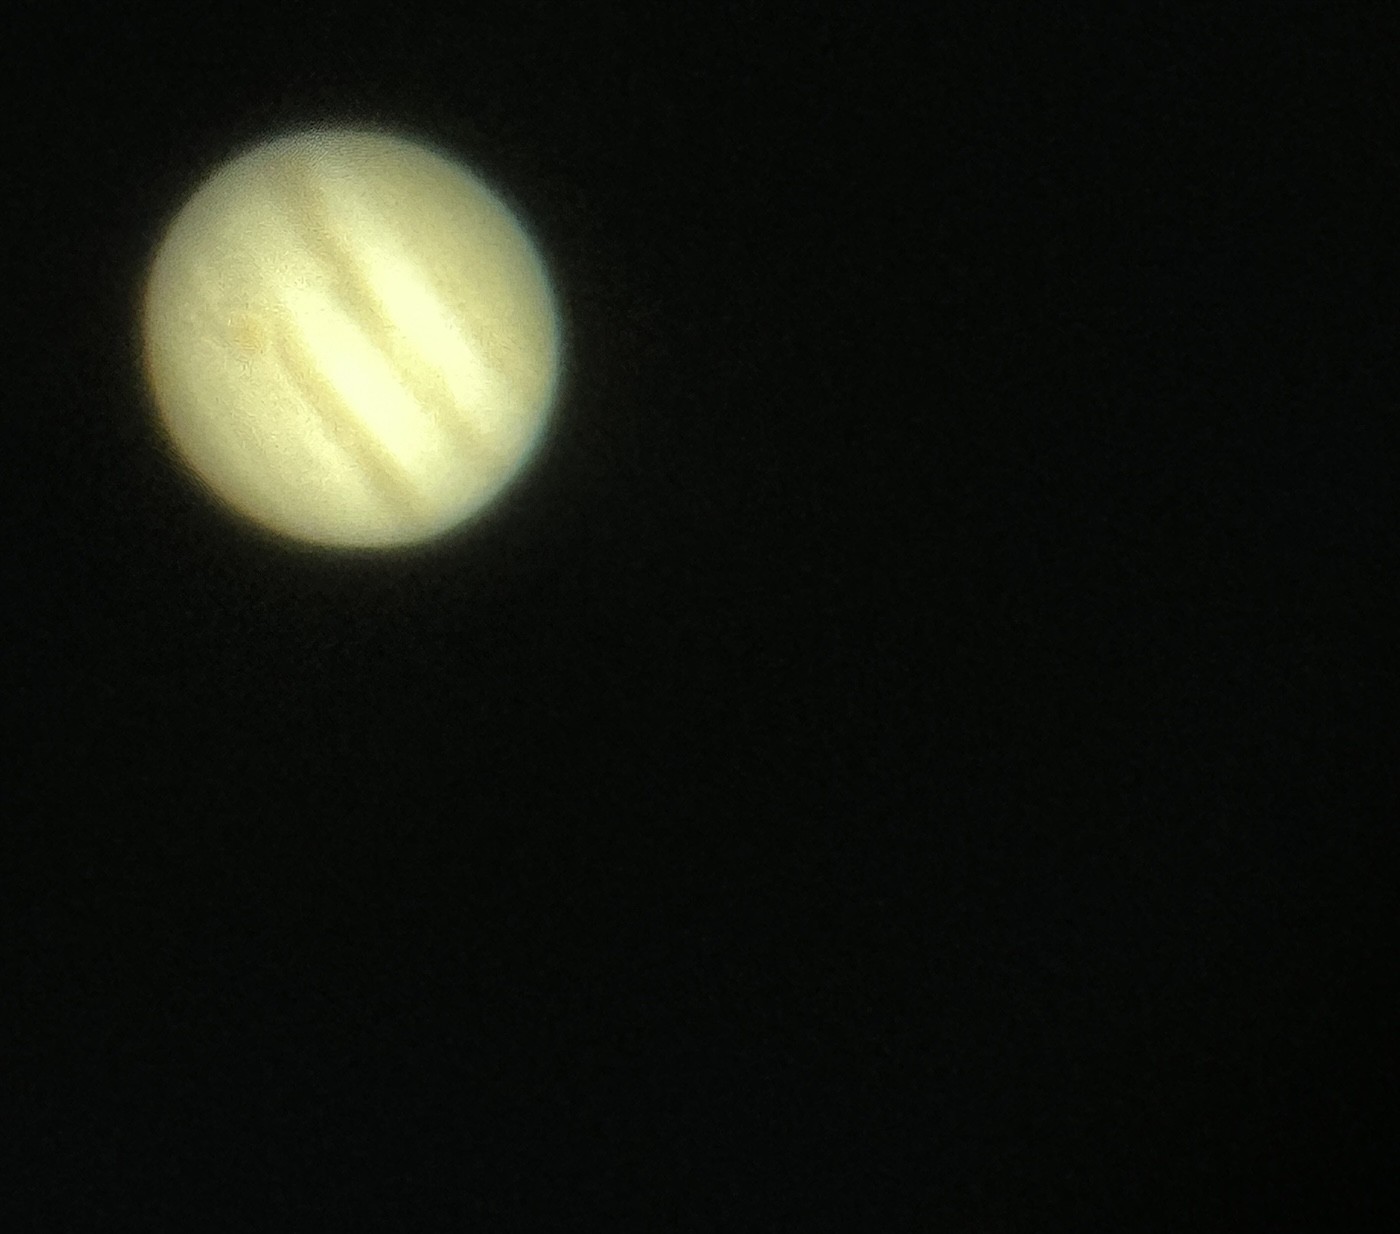
- Great Red Spot and Other Storms
Jupiter’s atmosphere is also marked by storms. The most famous is the Great Red Spot, which has gradually shrunk and sometimes becomes more of a pink or orange color than red. Other, smaller storm systems, called white ovals, can be seen as well. Between the belts and zones, there are sometimes intricate, wavy structures called festoons. Jupiter rotates once in approximately 10 hours, so that is fast enough for you to watch the Great Red Spot move even during a 1-hour observing session.
Seeing and Transparency
Remember that you are viewing Jupiter through miles and miles of air that will distort the image and refract the light as it comes from Jupiter to your telescope. The condition of the atmosphere, or air, will vary from night to night, as will the quality of the image you get and the amount of magnification you can apply.
Air pollution, high humidity, smoke, and other things that scatter light will make things look less sharp. Turbulence in the air, the thing that causes stars to twinkle, will cause the image to drift in and out of focus. These disturbances become more evident as you go up in magnification.
So, if the image of Jupiter tonight doesn’t seem as good as it did a couple of days ago, it just may be the atmospheric conditions that are causing the difference. Making sure that you are in a good location for atmospheric stability (North American users, check Astrospheric) is a must, as is avoiding observing over pavement or rooftops if possible.
Also, be sure that your telescope is accurately collimated (check our collimation guide for more info) and that it has fully cooled down.
Light pollution doesn’t affect Jupiter or the Galilean moons, but it will wash out the faint irregular satellites.
Telescope Color Filters for Observing Jupiter
Most of the time, I observe Jupiter without telescope filters. However, using colored filters that attach to the eyepiece can help bring up details that I might not be able to see otherwise. Color filters may not work well on telescopes with less than 100 mm of aperture, but go ahead and try them. A Baader Neodymium Moon & Skyglow filter is helpful for bringing out many Jovian details and eliminating residual glare and chromatic aberration; refractor owners may want to try the stronger Contrast Booster or Fringe Killer filters.
Colored filters are often numbered based on the Wratten numbering system. Wratten is a system also used for photographic filters. Light yellow, #8 and yellow, #12, can help enhance certain features in the cloud bands of Jupiter. Red and orange features will be emphasized. Deep yellow, #15 can sometimes bring up the festoons in the cloud bands. Don’t expect these filters to cause things to explode into view. They enhance subtle shadings and help bring up details, but they won’t radically change what you see.
The #80A blue filter is often called the Jupiter filter. If you only have one color filter, I believe this is the one to have. The #82A filter is also a blue filter and also works well for Jupiter. Of all of the color filters, this is likely the most handy to have; the blue brings out the cloud bands very well. You can also try observing Jupiter in the daytime to get this effect; the sky acts like a similar blue filter without as strong a tint.
Thanks for the useful photographs. I have a modest 60X Tasco refractor with about a 60mm objective lens.
I see all the Galilean moons and a sharply defined, very bright but still tiny disc as the planet itself.
It is astonishing to me that you suggest that 4 moons are visible through 7X binoculars.
I am very happy you found the article on observing Jupiter helpful. And let me confirm that 7X35 binoculars can definitely show you the four bright moons of Jupiter.
Be sure to take a look at these too.
Observing Saturn
https://telescopicwatch.com/viewing-saturn-with-a-telescope/
Observing Venus
https://telescopicwatch.com/viewing-venus-through-a-telescope/
A 60 mm telescope is small, by today’s standards, but it can open up the universe to you. You can see many bright star clusters and split some of the easy double stars with a 60 mm telescope.
When you are ready to upgrade to a larger telescope, so you can see more, this article will help.
https://telescopicwatch.com/telescope-cost/
Thank you for your thorough and informative comments on Jupiter and observing the gas giant. I am looking forward to my next evening out with my 8 inch dob.