
Most telescopes come with some sort of finder. But as I’ve seen a number of times, it may not be a good one or what fits your needs.
Finders fall into two major categories: magnified and unmagnified. Each has its advantages, and it is not unusual to have both on larger telescopes. Unmagnified finders are typically cheaper than magnified finders, but that does not in any way diminish their value. They just cost less to produce.
Unmagnified Finders: Reflex Sight Finders
There are several types of unmagnified finders. These include site tubes, red dot finders, and those that present rings projected onto the sky. We will take a look at each.
Red-dot finders (RDF) use an LED and a lens to project a red-colored reticle onto a plastic viewing window, which you look through to see the reticle superimposed on the sky. Better RDFs have a variable-intensity red dot so that you can dim it down so it does not wash out the target.
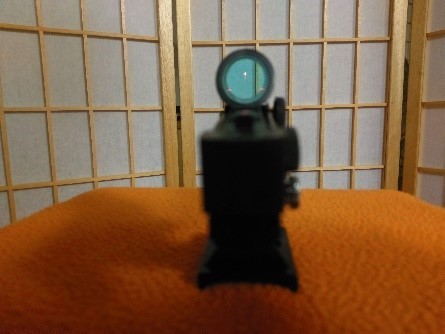
High-quality reflex sights, such as a Telrad or a Rigel Quikfinder, have a “bullseye” reticle with degree circles projected onto a screen, as seen in the below image. The rings represent a known field of view so you can use them to move through the sky in measured amounts. In a telrad, these circles represent ½, 2, and 4 degrees.
Unmagnified Finders
Pros
- Cheap
- Dew is of little concern, as we can simply wipe off the viewing window with our sleeve if it fogs up
- Weigh very little so they won’t affect the balance of our telescope as much
Cons
- Limited to whatever stars we can see with our naked eye, which may be a problem in light-polluted settings.
- Requires battery
My Experiences With Some Recommendable Red Dot & Projected Ring Finders
I Consider Telrad Finder To Be The Best Unmagnified Finder
The original reflex sight, the Telrad, hasn’t changed much since the 1970s, when it was invented. It still uses the original injection mold from 1982.
The Telrad’s big viewing window makes it easy for me to look through, while its reticle of 0.5, 2, and 4 degree circles is easily adjusted in brightness and doesn’t shift with my head.
The Telrad attaches to telescopes with its own base, which can be taped, glued, or screwed to the telescope. It can also be attached to a finder shoe with a suitable adapter.
Numerous accessories, including pulse/blink units, dew heaters, dew shield attachments, and a riser to increase its distance from the tube, are available. I even converted my Telrad to run off DC power, eliminating the need for a pair of AA batteries altogether.
The biggest downside of the Telrad is its size. It simply won’t fit on smaller telescopes. It’s also difficult to fit if the scope is already equipped with a RACI finder.
The large plastic window is also prone to dew, but simply wiping it or adding a dew shield/heater is hardly an inconvenience.
The good news is that the Telrad is mostly hollow, and it doesn’t actually weigh much in spite of its size. But it still affects balance more than a smaller reflex sight or red dot finder.
If not Telrad, It’s Rigel Quikfinder
The Rigel Quikfinder features a 0.5-degree and 2-degree “bullseye” reticle and dew shield by default. The lack of a 4-degree circle means it isn’t quite as easy to use as compared to Telrad.
It’s running on a CR2032 battery. But you can install an AA battery pack if you wish, or run the Quikfinder off DC power if that suits you, similar to the Telrad.
If You’re On a Budget, Go For SVBONY Red Dot
- Explore Scientific ReflexSight: Explore Scientific’s rather unimaginatively named ReflexSight is a carbon copy of the Telrad in many ways. I noticed the same basic form factor, set of 0.5-degree, 2-degree, and 4-degree circles, and lack of parallax error. I didn’t see any improvement in actual in-use performance, even though it’s quite a bit more expensive than the Telrad.
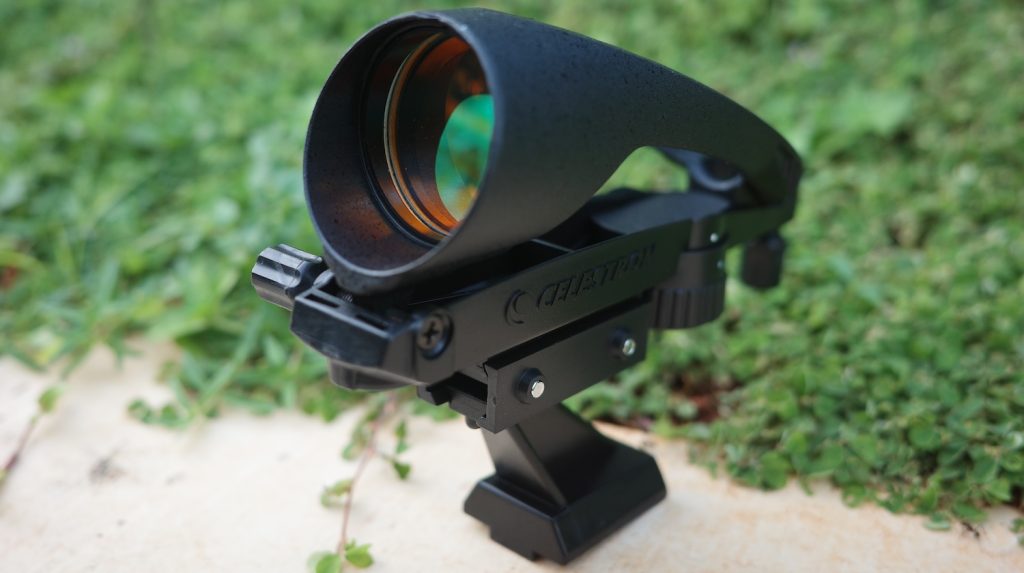
- Celestron StarPointer Pro: Essentially a modified red dot sight with a fatter window and a circular reticle. It is favored by some and I’ll agree that it has few advantages over true reflex sights or a standard red dot finder. It also costs quite a bit.
Magnifying Finders
Magnifying finders, also referred to as finder scopes (though some red dots are confusingly also given this label), are essentially a small refracting telescope (usually an f/4 achromatic type) with a crosshair or reticle eyepiece.
To be useful on their own, magnifying finders generally need to have a true field of view of at least 4 degrees (i.e., 8x the diameter of the full moon or the sun in the sky) and a magnification below 12x. I desire higher magnification and a narrower field only if I need pinpoint accuracy. For example, a good-quality 50mm finder has a true field of at least 5.5 degrees, or about 11 times the angular diameter of the full Moon.
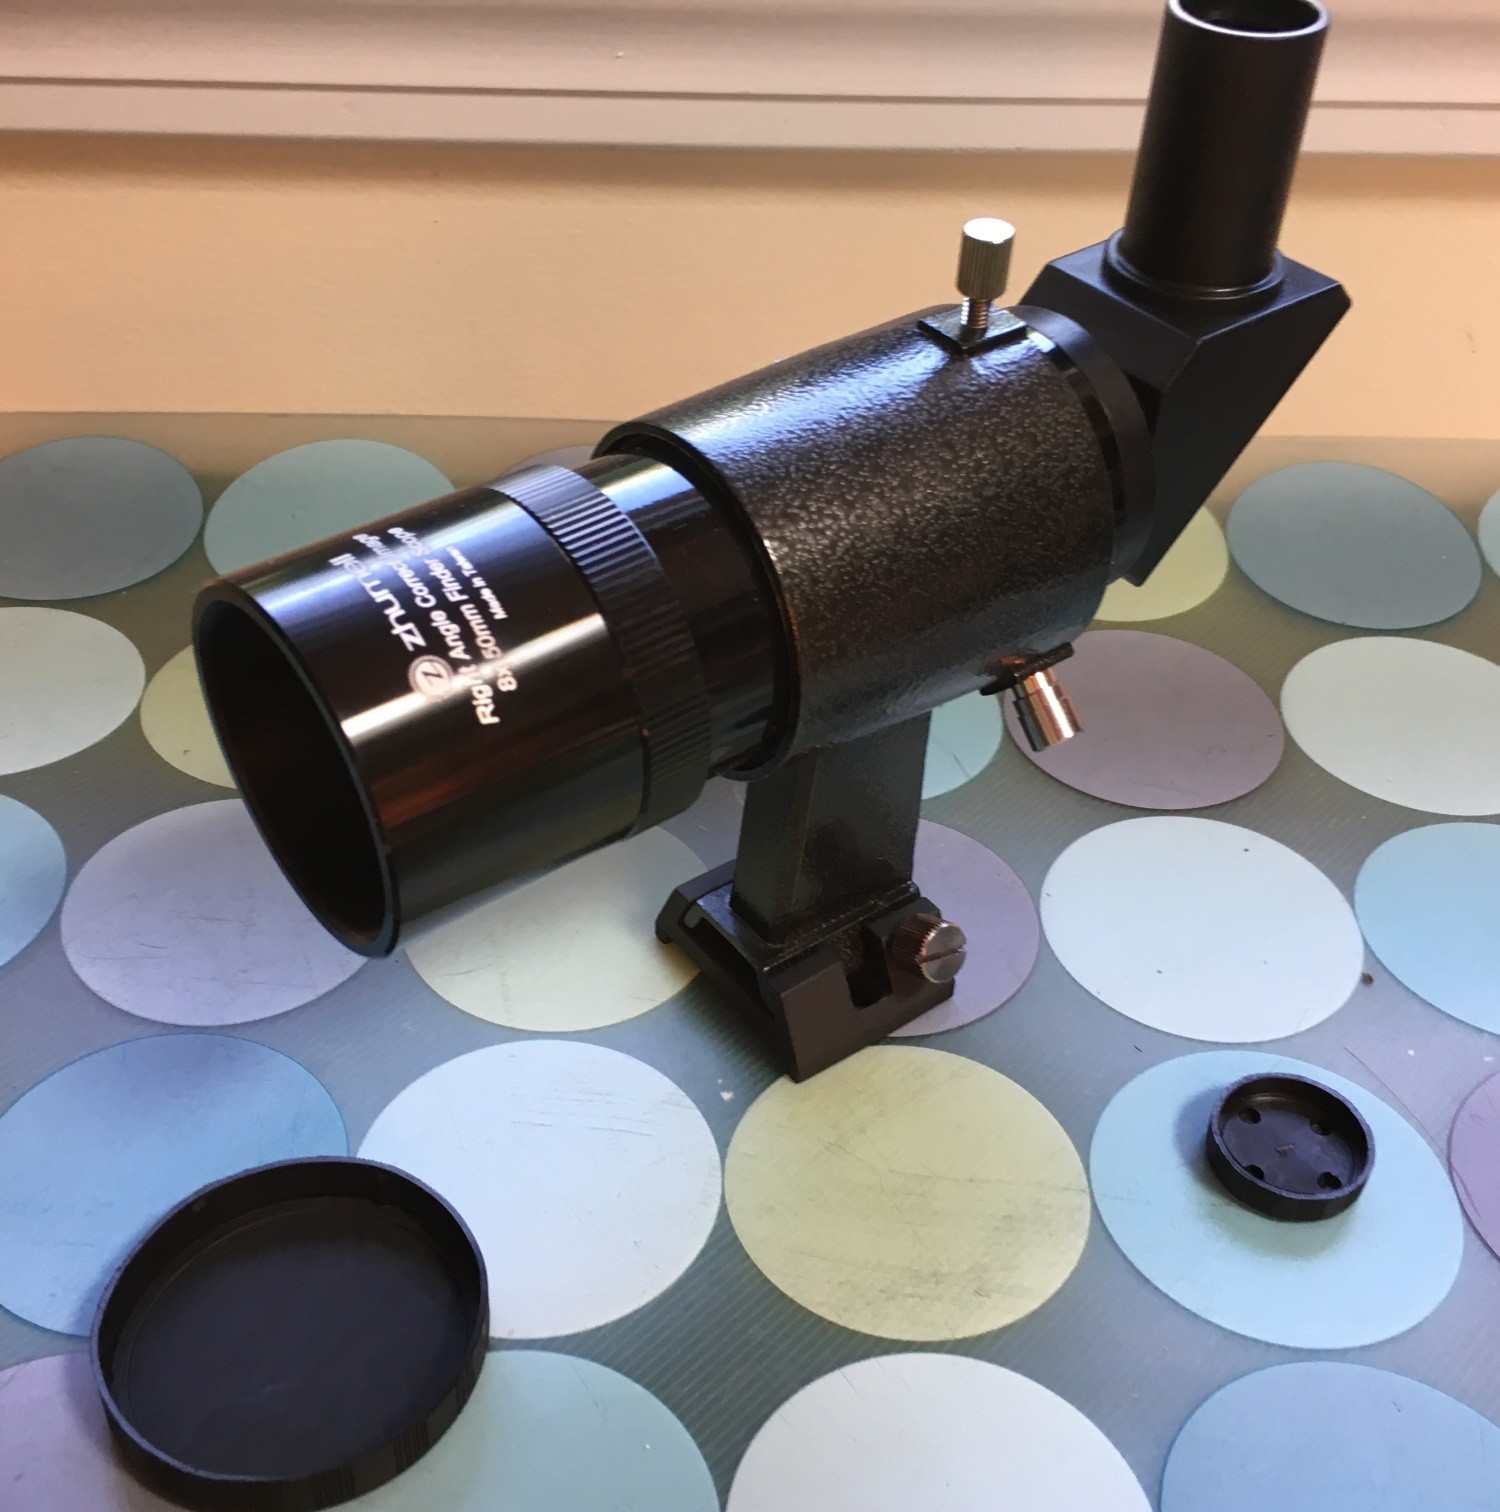
They come in two types: straight-through (like half of a binocular) and right-angle (with a diagonal that turns the light 45 or 90 degrees to put the finder image in a convenient location for the user)
Common specifications for magnifying finders are 6X30, 8X50, and 9X50. There are 5X24s available but they are typically of very poor quality, often sporting plastic lenses that yield a very poor image. You only see these on very low-end telescopes. I would not recommend buying one.
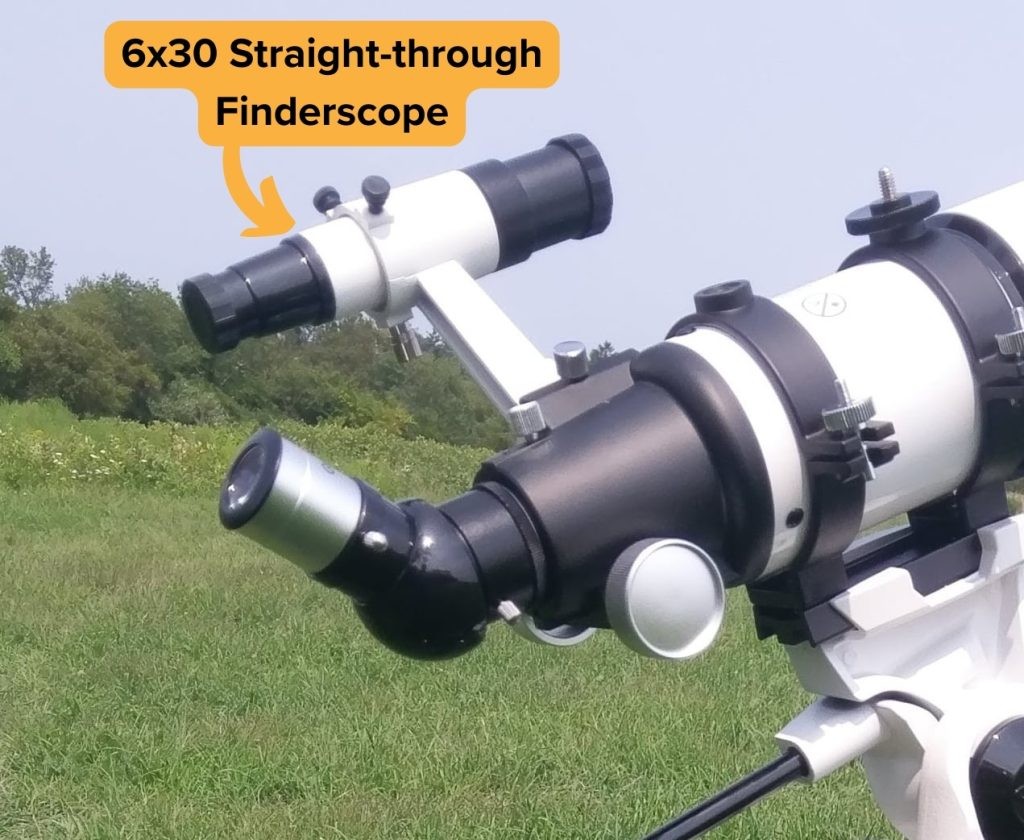
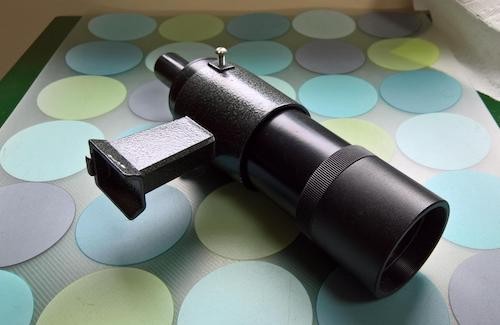
Straight-through finders
- Give an upside-down image, which matches what we see through a Newtonian reflector
- Using it when aimed high in the sky is uncomfortable
- Cheaper
- Typically used by itself
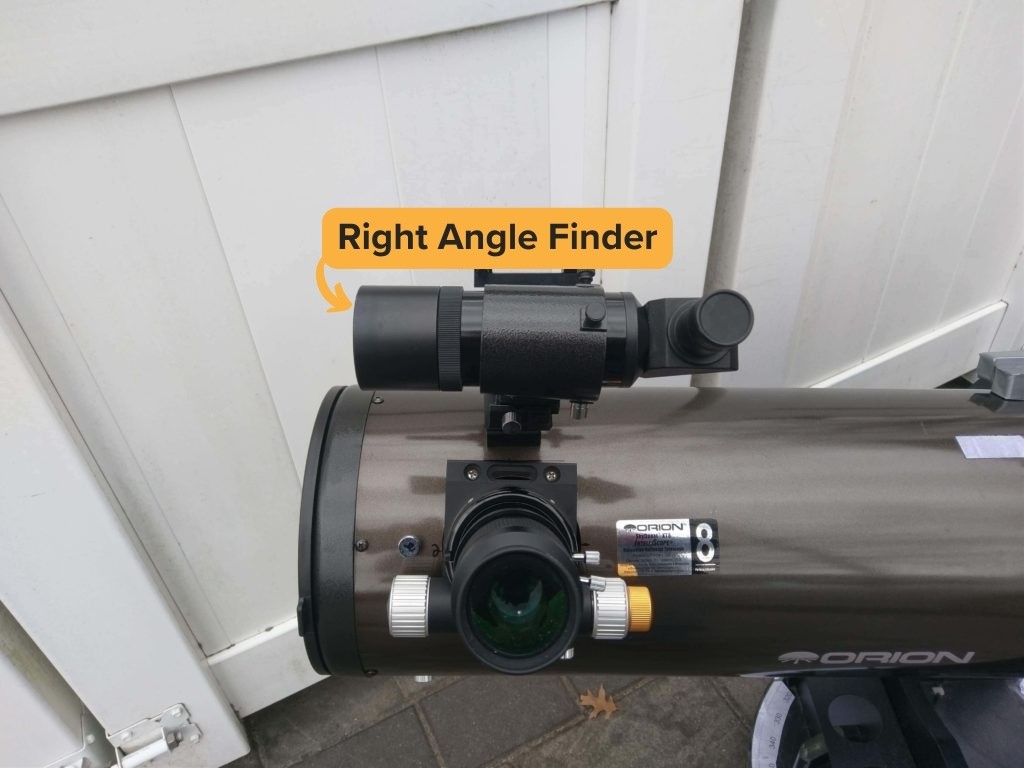
Right-angle (RACI) finders
- Have an Amici prism to correct the image to match the orientation of what we see in the sky or on a star chart
- Comfortable to use
- Can be difficult to use without any other kind of finder because of the difficulty in getting coarsely aimed in the right direction
Straight-through Finders I’ve Personally Used and Can Vouch For
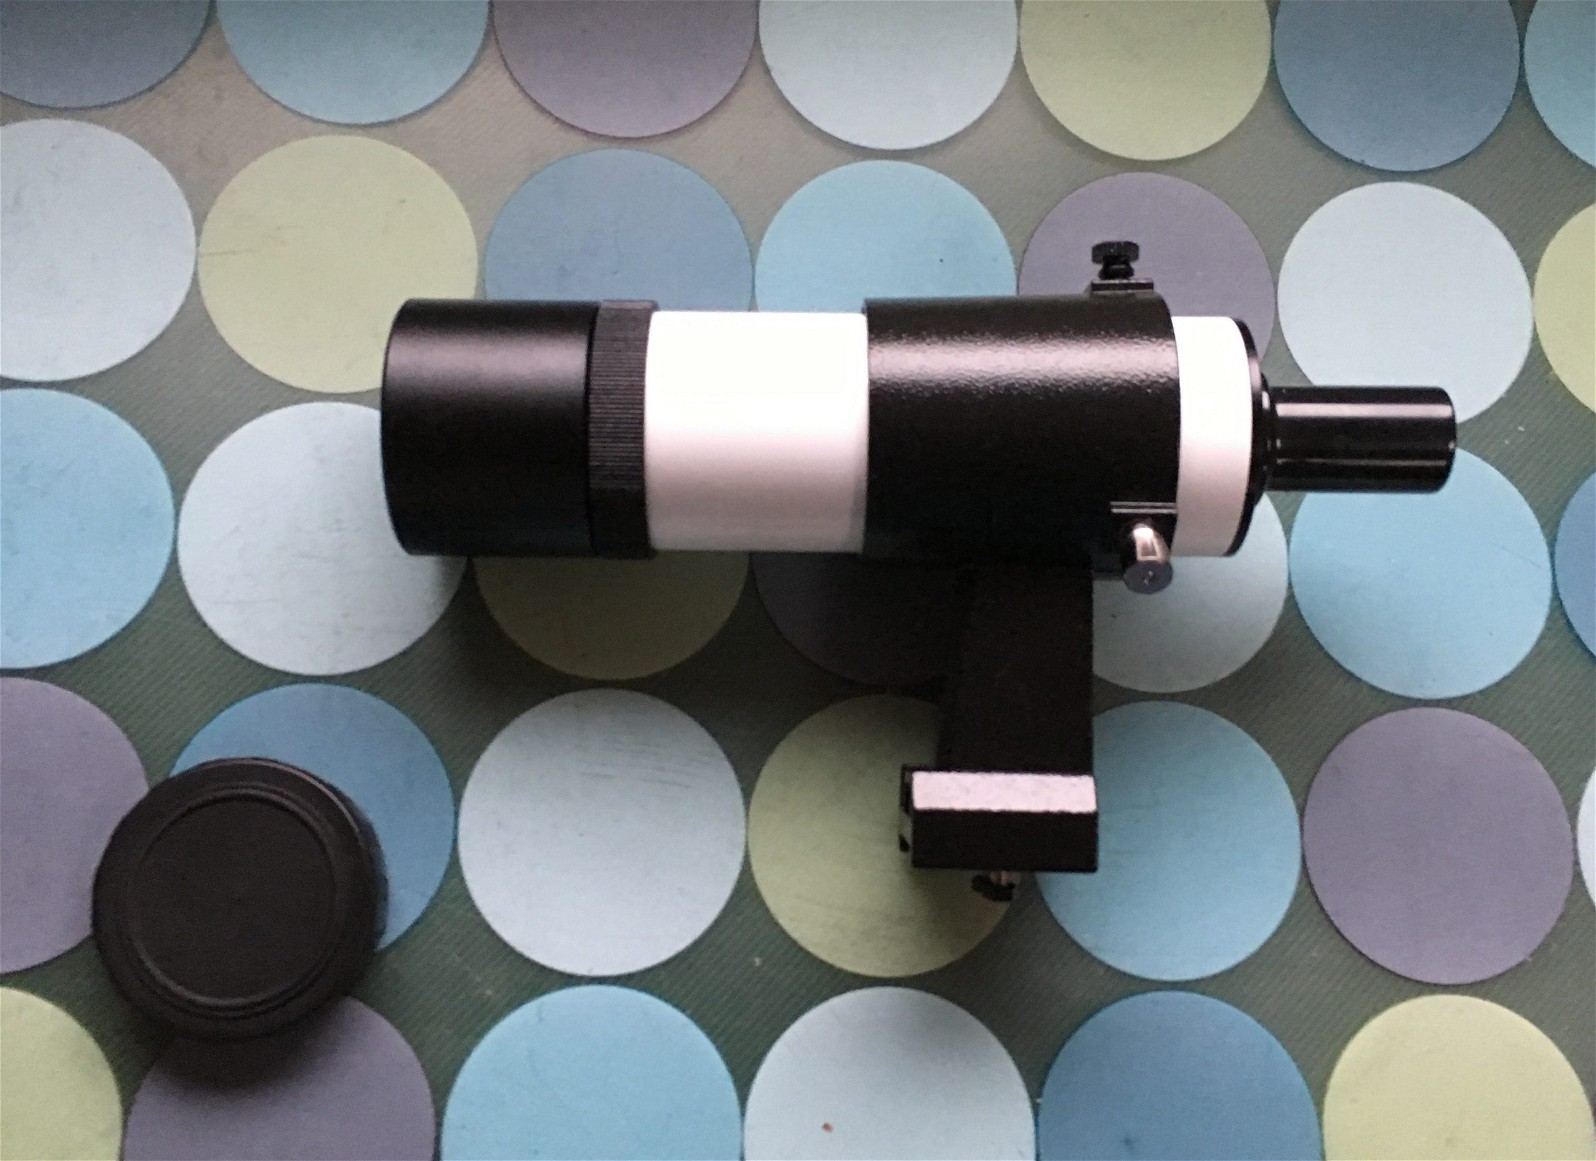
I Consider Takahashi 7×50 To Be Of The Greatest Quality Available
The 7x magnification produces a brighter exit pupil that’s easier to center our heads on than higher magnification finders.
The 6.3-degree true field is fairly wide to use. This translates to a 44-degree apparent field, which is hardly immersive, but it’s impossible to get lost in the view.
Focusing is accomplished by twisting the eyepiece.
However, I had to buy a bracket separately, and the price of all of these is quite high.
I Found The Most Features on Explore Scientific 8×50 Illuminated Finderscope
This finder features an illuminated reticle, which is AAA battery-powered and it lights up multiple degree markings etched in its crosshairs.
This finder’s ring/bracket assembly attaches to a shoe/base with the ES/Bresser/Meade system, but adapters or hybrid bases are fairly easy to obtain.
I Got The Best Performance from Astromania 70mm Finder/Guide Scope
With a typical 25mm Plossl eyepiece, the magnification will be 16x and the field will be 3.25 degrees across, making it best for use on larger telescopes.
Such a large finder anyway upsets the balance of many smaller scopes that I’ve got, and it doesn’t even fit some of them.
Since it mostly doesn’t reach focus with a diagonal, I use it configured as a straight-through finder only.
Astromania’s finder/guide scope required me to obtain a crosshair eyepiece separately, though.
The Cheapest I Could Recommend Is The SVBony SV182 6×30
The 30mm finder’s low light collection means that I couldn’t see much more than I could with just my eyes, but the additional magnification and crosshairs make it more accurate than a cheap red dot.
It has a fixed eyepiece with no lifeguard, and the lens is adjusted to focus the telescope by rotating its retaining ring at the front.
I really like that it remains fairly lightweight and affordable while also offering a huge 7-degree true field.
RACI Finders I’ve Personally Used and Can Vouch For
Generally, most people find red dot and reflex sights to be the most intuitive. They work well on their own but I also find them great when used in conjunction with a right-angle correct-image finder.
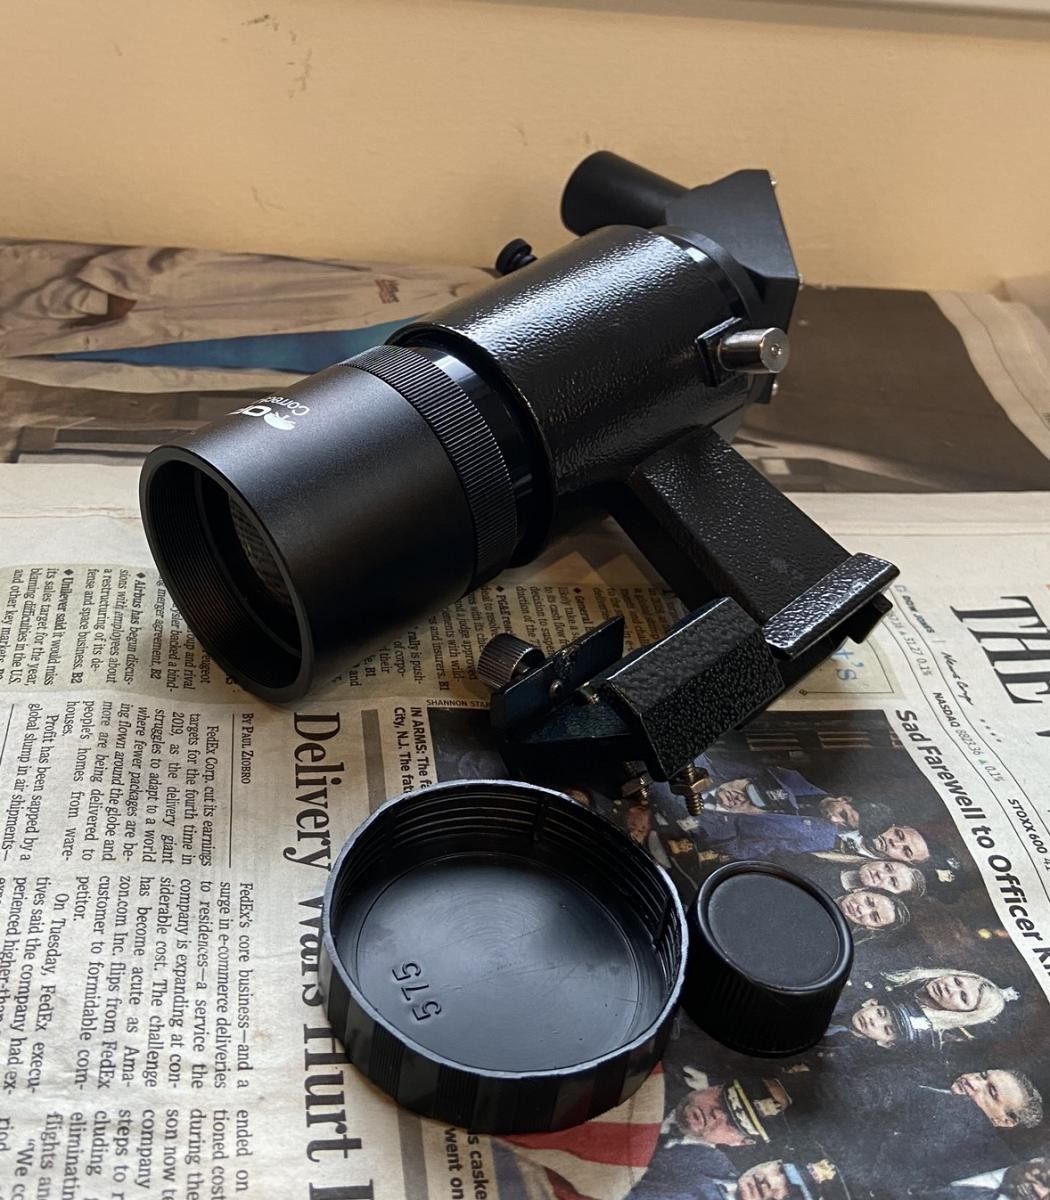
I Found The Most Features on Baader Vario 10×60 RACI
While it is supplied with a 45-degree erecting prism for some reason, I easily converted the Baader to use a standard 90-degree Amici diagonal. It has a T2-threaded, nonrotating helical focuser at the back.
The provided 25mm Polaris T2 reticle eyepiece produces 10x magnification and a 4-degree true field. I find this to be rather narrow but extremely sharp.
The illuminated reticle has double crosshairs to avoid obscuring our target and is adjustable for brightness.
The reticle is also sealed so dust cannot get on the focal plane of the eyepiece and ruin the view.
Attachment with various different finder base designs is also possible.
I Got The Best Value from Apertura 10×50 RACI
Apertura’s 10×50 RACI finder features an illuminated-reticle 20mm crosshair eyepiece, allowing for a 5-degree true field of view. But I could easily swap it out for a wider-field eyepiece permitting up to an 8.5-degree true field, which was an instant win.
The eye relief is plenty, and the view with the stock eyepiece is quite sharp.
The Apertura 10×50’s bracket attaches to your telescope via a Vixen/Synta style shoe, and an extra one is conveniently provided with this finder, so you don’t have to go shopping for a base or remove your current finder.
Apertura 8×50 RACI Is My Budget Choice, and SVBony 6×30 RACI Is The Cheapest
The Apertura 8×50 RACI finderscope is a fairly basic, inexpensive finder with a fixed, tiny eyepiece and a difficult-to-adjust “focusing mechanism” via adjusting the objective lens retaining ring.
The true field of view is fairly narrow at 5.6 degrees, though I always got pretty sharp views.
As usual, it attaches to our telescope with a Vixen/Synta-style shoe.
For many people, the Apertura 8×50 may be just fine, and there is little need to spend more on a fancier finder. But I personally know many users who find using one for long periods uncomfortable without an eye guard or without an easy method for adjusting focus.
SVBONY’s 6×30 RACI finder (sold under many other brand names) is limited by its aperture. The lack of light-gathering ability makes it less effective for me to use it under more light-polluted conditions compared to my Apertura 8×50 unit.
It sports a fairly basic mechanical design, but I find it to be a lot more comfortable to use for extended periods than the straight-through or red dot finders that I’ve had. Also, the 7-degree true field means that it is fairly easy to use even without the aid of a red dot or reflex sight.
Attaching Aftermarket Finders to the Telescope
Many finders attach to the telescopes with a standard shoe, which allows us to easily interchange them with another finder, usually of the Vixen/Synta style.
The other most common bracket system is the Explore Scientific/Meade/Bresser system, which I’m starting to see being phased out. Other attachment systems I’ve resorted to include directly mounting to the telescope with screws or adhesive tape and Picatinny rail attachments.
I’ve decided I like the astromania 9×50 angled finder scope. My SV 6×30 doesn’t have enough power to easily find clusters when my alignment is slightly off. Would it fit on my celestron 127slt? If not will the Astromania universal dovetail base work?
Yes, it will fit the finder shoe on the 127SLT.