Laser collimators are used for aligning the optics of Newtonian reflector telescopes and some catadioptric and Cassegrain telescopes, if need be.
Laser collimators project a beam of light down your telescope tube and allow you to make sure your optics are aligned by getting light to hit the center of your primary mirror and bounce back perfectly into the focuser.

You want to get a laser collimator if you:
- Use a reflecting telescope with a focal ratio of f/4.5 or faster
- Observe a lot at high magnification
- Have a sturdy, metal focuser
- Do astrophotography
You don’t want a laser collimator if you:
- Use a slow f/ratio reflecting telescope (for eg., a f/10 scope)
- Have a focuser with any play or wobble, such as a plastic rack-and-pinion focuser
- Use a telescope which doesn’t require frequent collimation
The Good and The Bad That I Noticed
Laser collimators are superior to regular Cheshire collimators and collimation caps. However, laser collimators are not perfect.
Pros
Easier to use in the dark if we have set up the telescope after dark.
Very sensitive to misalignment, making them arguably a must-have if you have a telescope with a focal ratio below f/4.5 or so.
Theoretically, it should be able to offer near-perfect alignment accuracy, just as good as collimating on a defocused star at high magnification.
Can be used to collimate Schmidt-Cassegrain, Ritchey-Chretien, and other Cassegrain-type telescopes if you know what you are doing, though I don’t consider it to be the most intuitive or affordable option.
Cons
Extremely sensitive to mechanical misalignments in the telescope that may not ultimately matter, such as the screws or compression ring in your focuser de-centering or tilting the laser.
Can be rendered nearly useless if the laser itself is not aligned with the barrel of the collimator. This requires adjustment with the laser sitting in some sort of V-block to correct.
Make us think our secondary mirror is aligned when it’s actually rotated out of alignment and tilted severely. This may be hard to know if we don’t check with a collimation cap or Cheshire first.
Require that we put an accurate center dot on the primary mirror. Without one, they are nearly useless for collimation.
I’d actually recommend you use the laser collimators not on their own but in conjunction with other collimation tools and methods, such as a collimation cap/Cheshire. Before using a laser, I always use such a tool to check for coarse secondary mirror alignment.
Checking the collimation on a defocused star after we use the laser collimator is also always a good idea.
My Experiences With Laser Collimators That I Consider The Finest
I Got the Best Performance From Howie Glatter

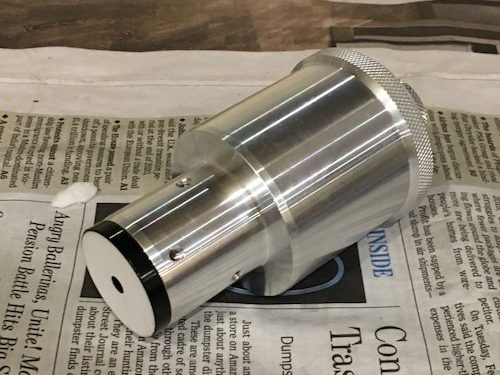
The Howie Glatter laser collimator offers superb machining accuracy and a laser that is certain to be dead-on from the factory.
Numerous alternative lenses, upgrades, and accessories are also available for this collimator.
I could use the hybrid 2″/1.25″ version with either size focuser without any difficulties or concerns about decentering the laser with an adapter.
However, before buying a Glatter TuBlug, which cost as much as the collimator itself, I had to look into the focuser to check my primary mirror alignment and then go back down to the adjustment screws instead of being able to check the alignment in real time. This was a bit of a pain initially.
The TuBlug, if you buy it, can also amplify the sensitivity of your laser to miscollimation. However, it may induce mechanical misalignment/sagging if your focuser cannot handle it.
$310 at Agena AstroA Cheaper “Howie Glatter” That I’ve Used: Farpoint

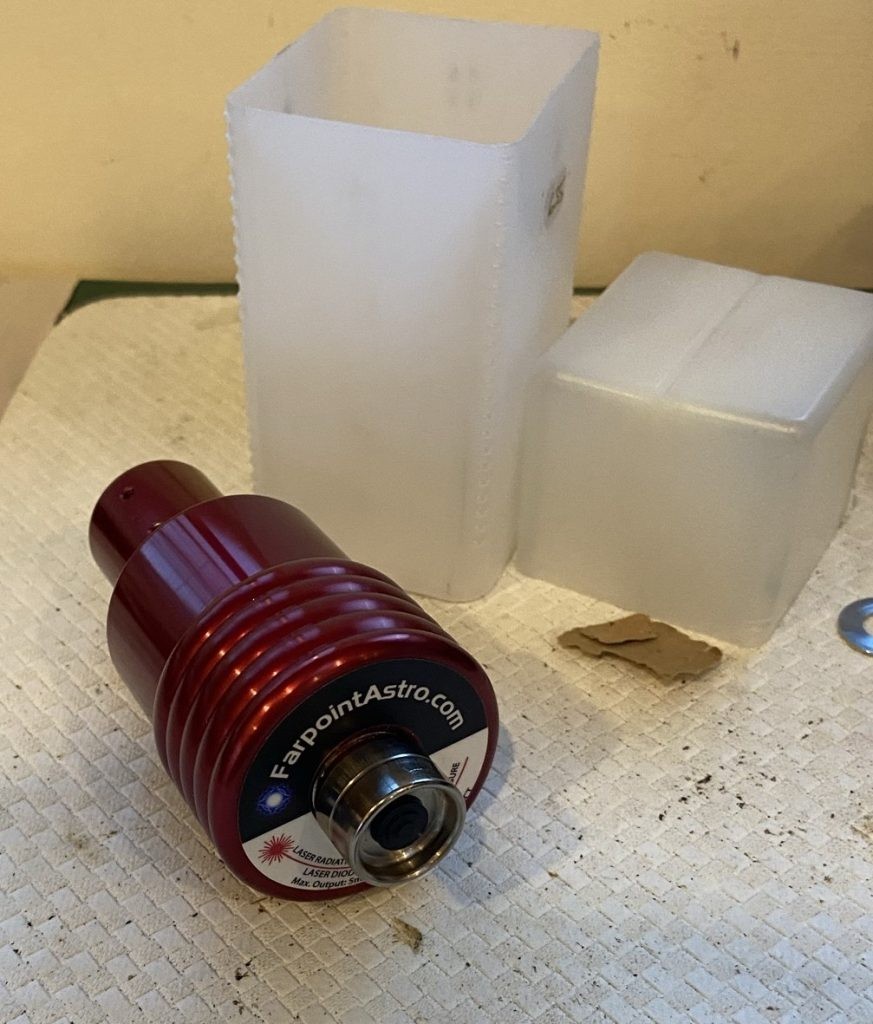
The Farpoint laser collimator is one great collimator that I noticed to be very similar to the Glatter in basic design and advantages.
It comes in a 1.25”/2” hybrid barrel for use in any size focuser without the need for an adapter, just like the Howie Glatter.
However, compared to the Glatter, it is a little harder to see very small amounts of misalignment, and the family of accessories and other products is not as diverse as what is offered for the Glatter.
Hotech SCA: Often Recommended, But Not Ideal for All

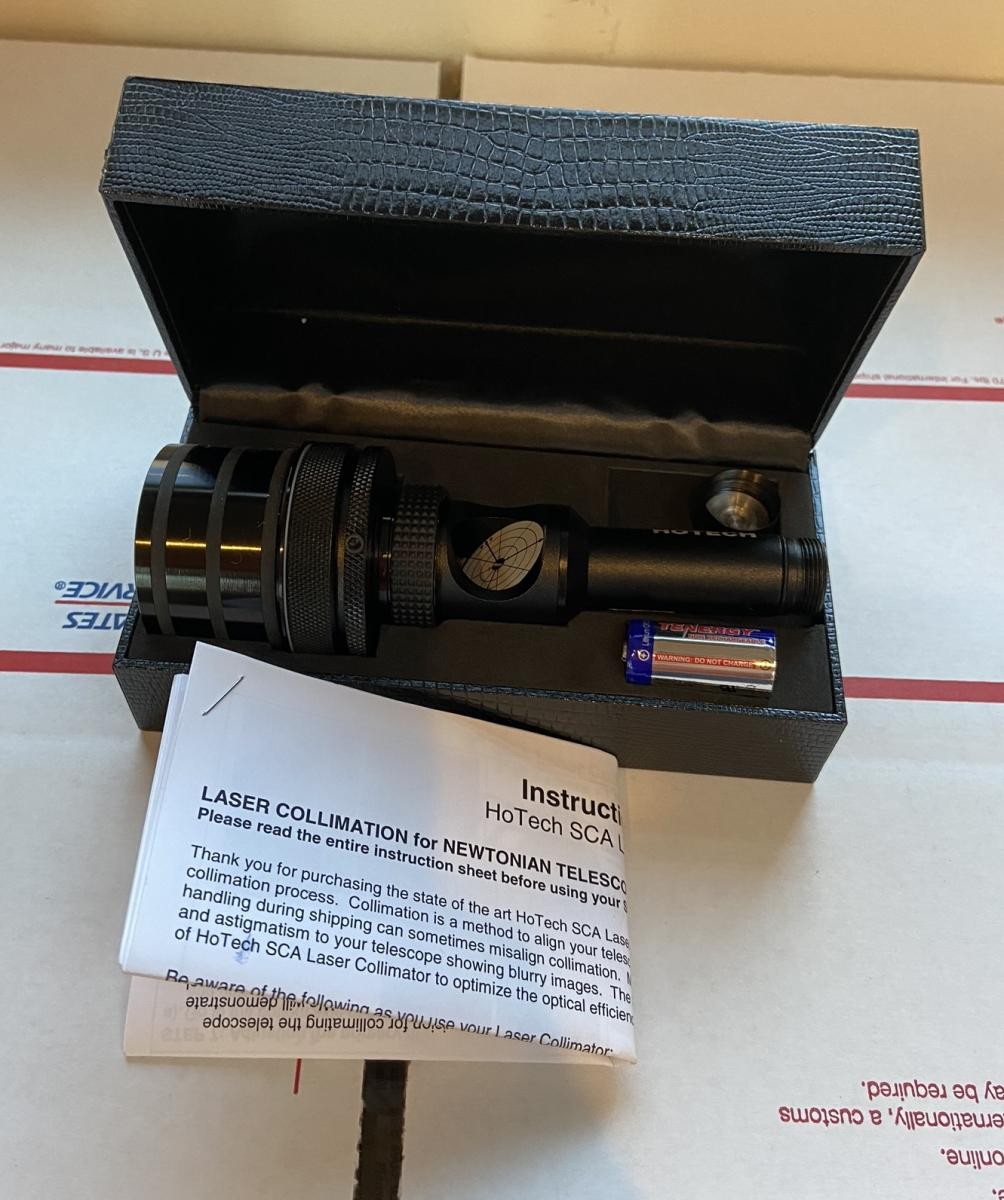
The Hotech SCA laser collimator fits in either a 1.25” or 2” focuser using its proprietary “self-centering” rubber adapters.
It also has a built-in 45-degree window, so I could use it even while adjusting screws at the other end of the telescope.
However, I sometimes had issues due to the SCA rubber adapters with some telescopes, especially very fast instruments.
For Those In a Budget, I’d Recommend Apertura Laser Collimator
The Apertura laser collimator uses a 45-degree window like the Hotech SCA laser, though we’ll need to provide our own 1.25” to 2” adapter.
This is the same laser that is thrown in with the Apertura AD Dobsonians.
One thing I’ve noticed is that it’s a lot less accurate than more expensive lasers due to the lack of a precision 2” adapter, grid lines, and machining tolerances.
There’s also a pretty good chance the laser will arrive misaligned with the collimator barrel from the factory, making it useless until we adjust it in a V-block with the (thankfully exposed) hex key screws.
The Cheapest Recommendable Laser Collimator That I’ve Had My Hands On: SVBony
The SVBONY laser collimator is similar to the Apertura laser in design and lack of precision, as I’ve used and confirmed. But it’s cheaper and does include a tight-fitting 1.25” to 2” adapter by default.
Like the Apertura laser, many of these lasers ship misaligned with the barrel, requiring us to adjust the alignment in a V-block.
However, the SVBONY laser’s screws are hidden behind rubbery coverings, which I just poked through and destroyed to access the adjustment screws with a hex key.
Check Amazon Price
Wow! This can be one of the most helpful blogs we have ever come across on thesubject. Basically wonderful info! I am also an expert in this topic therefore I can understand your hard work.
Hello! I simply would wish to supply a huge thumbs up for the wonderful info you might have here for this post. I am returning to your blog post for additional soon.